Garrett Lodge: INTERIOR Before + After
We wanted to share with you all our process of renovating Garrett Lodge & OH BOY was it a process. But hey…there’s a first time for everything, right? This renovation was certainly a first time thing for us!

BEFORE:
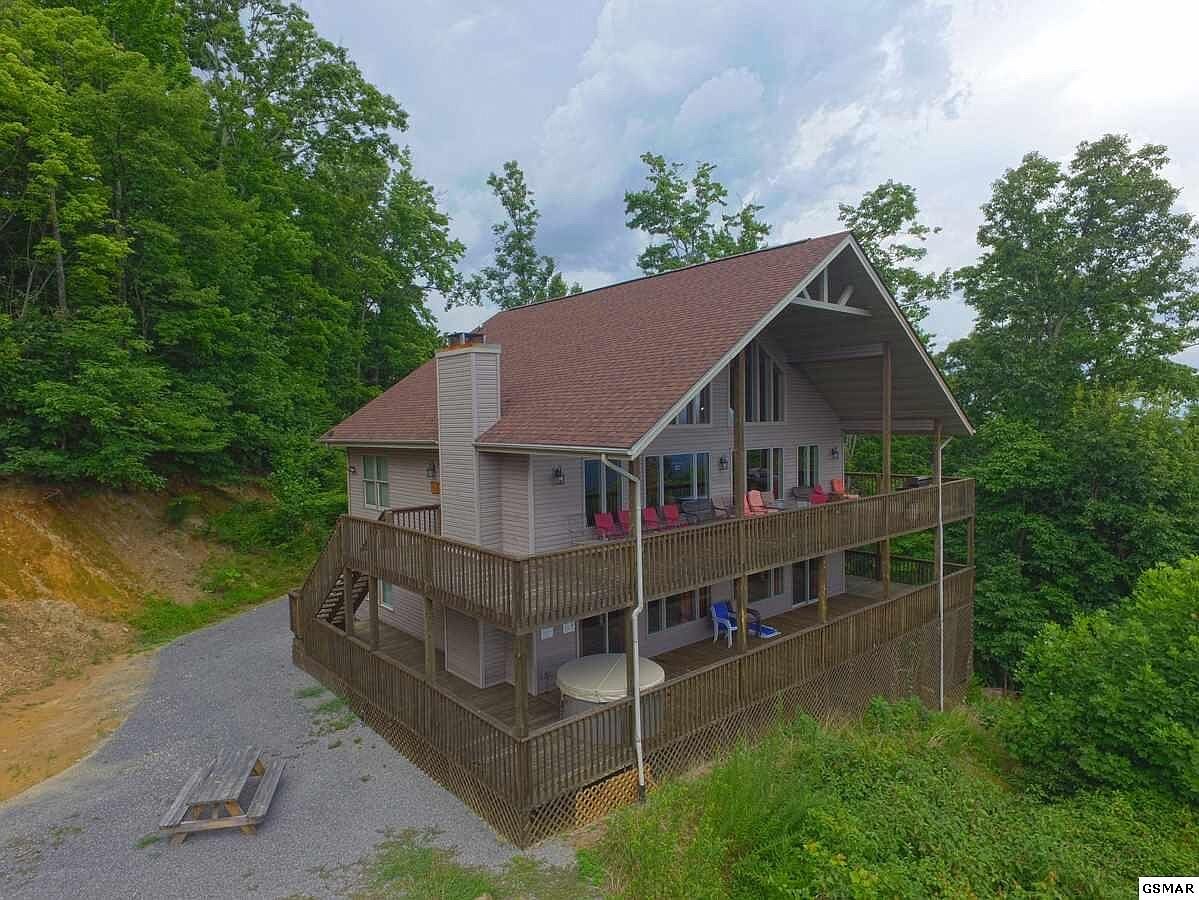
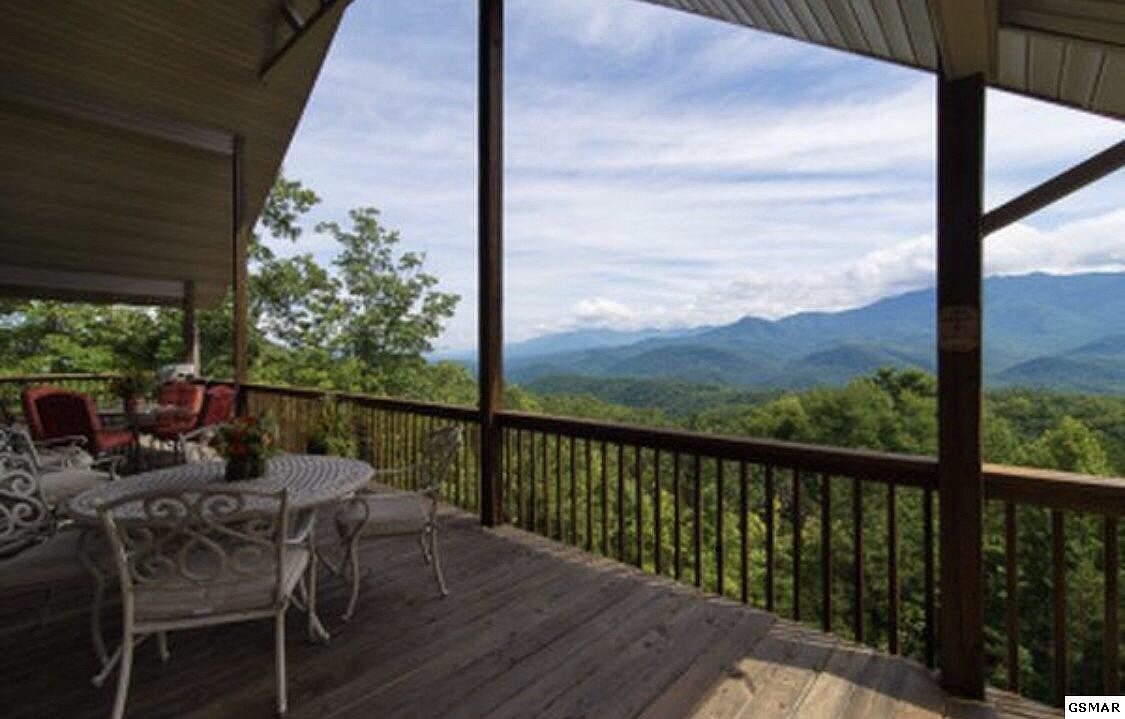


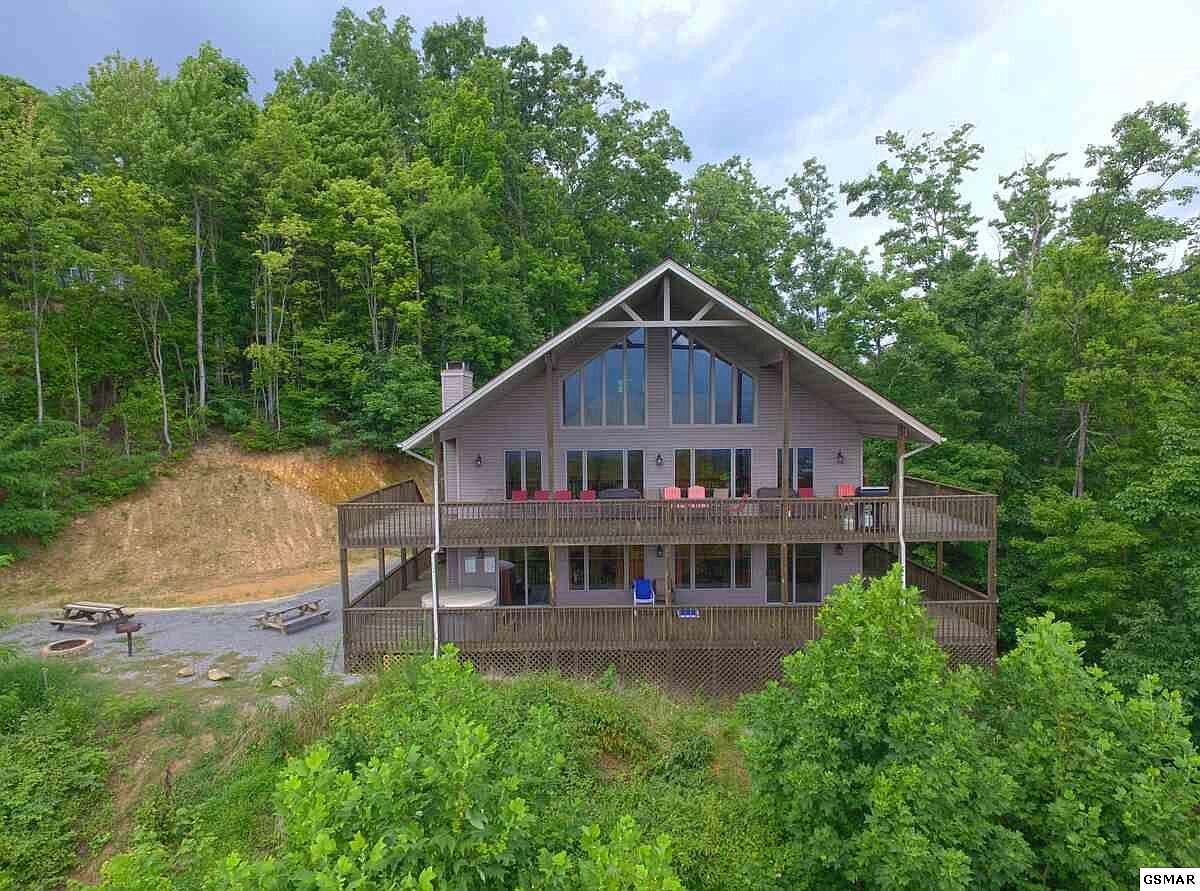
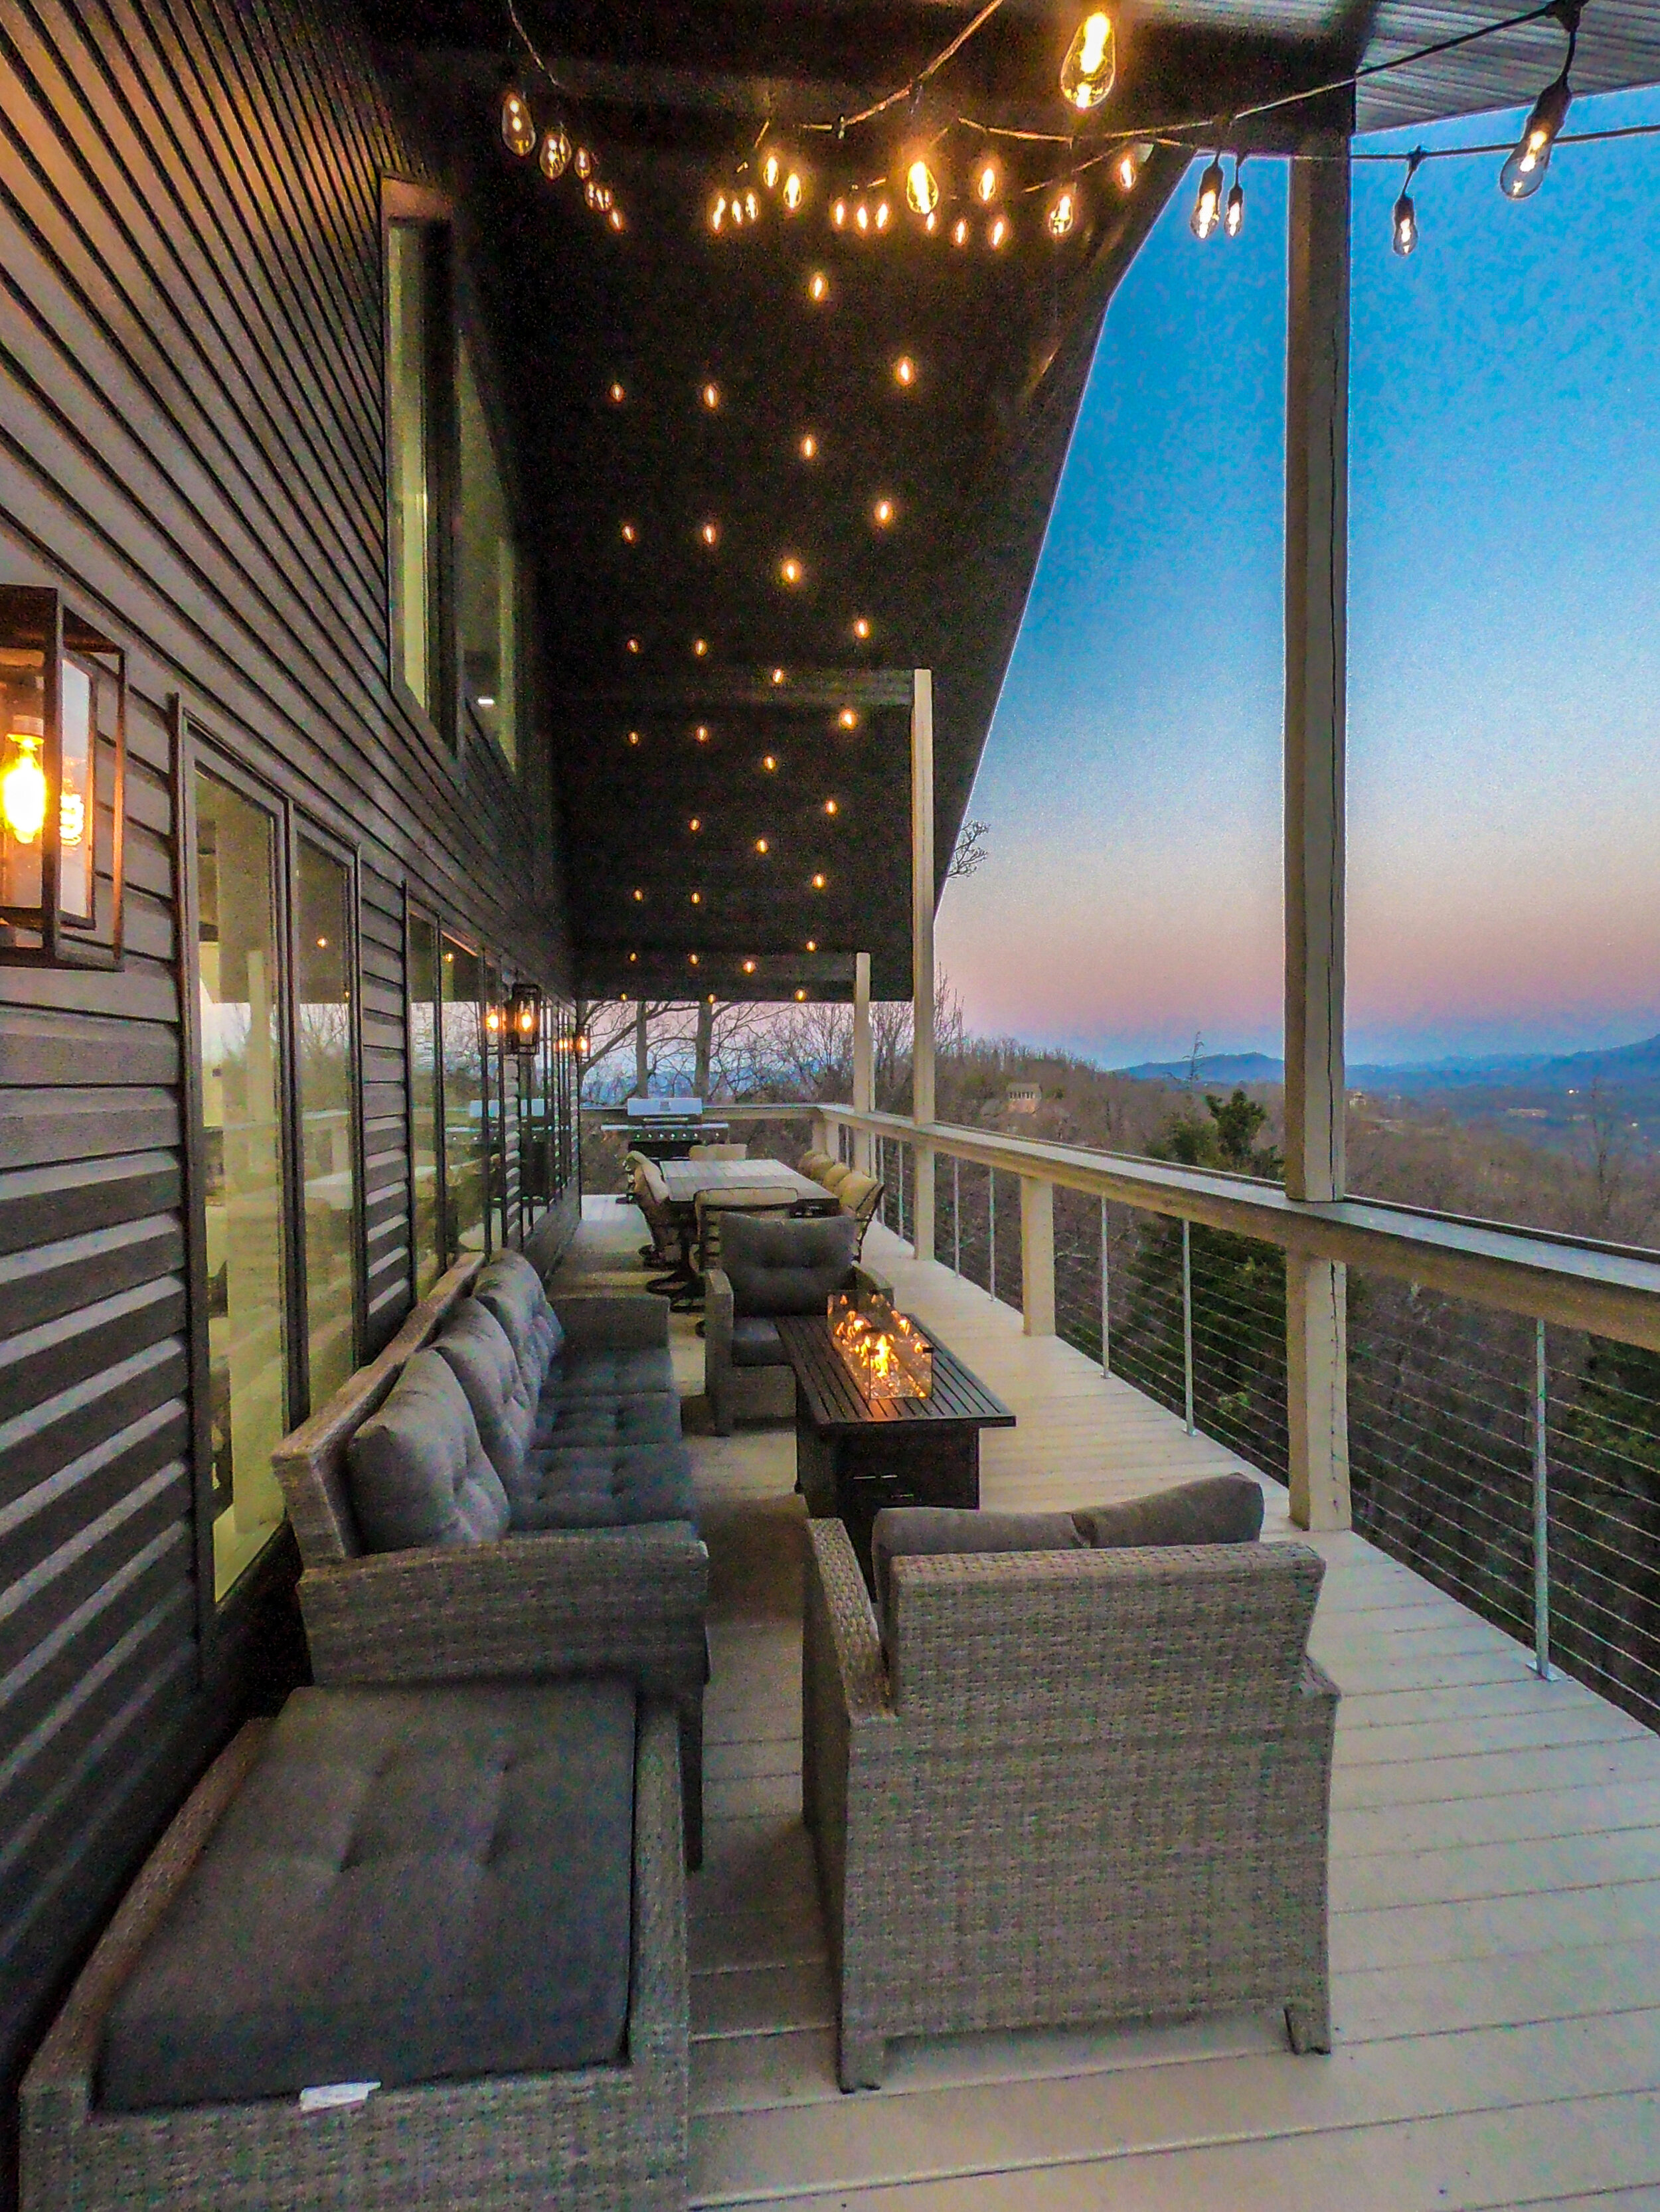
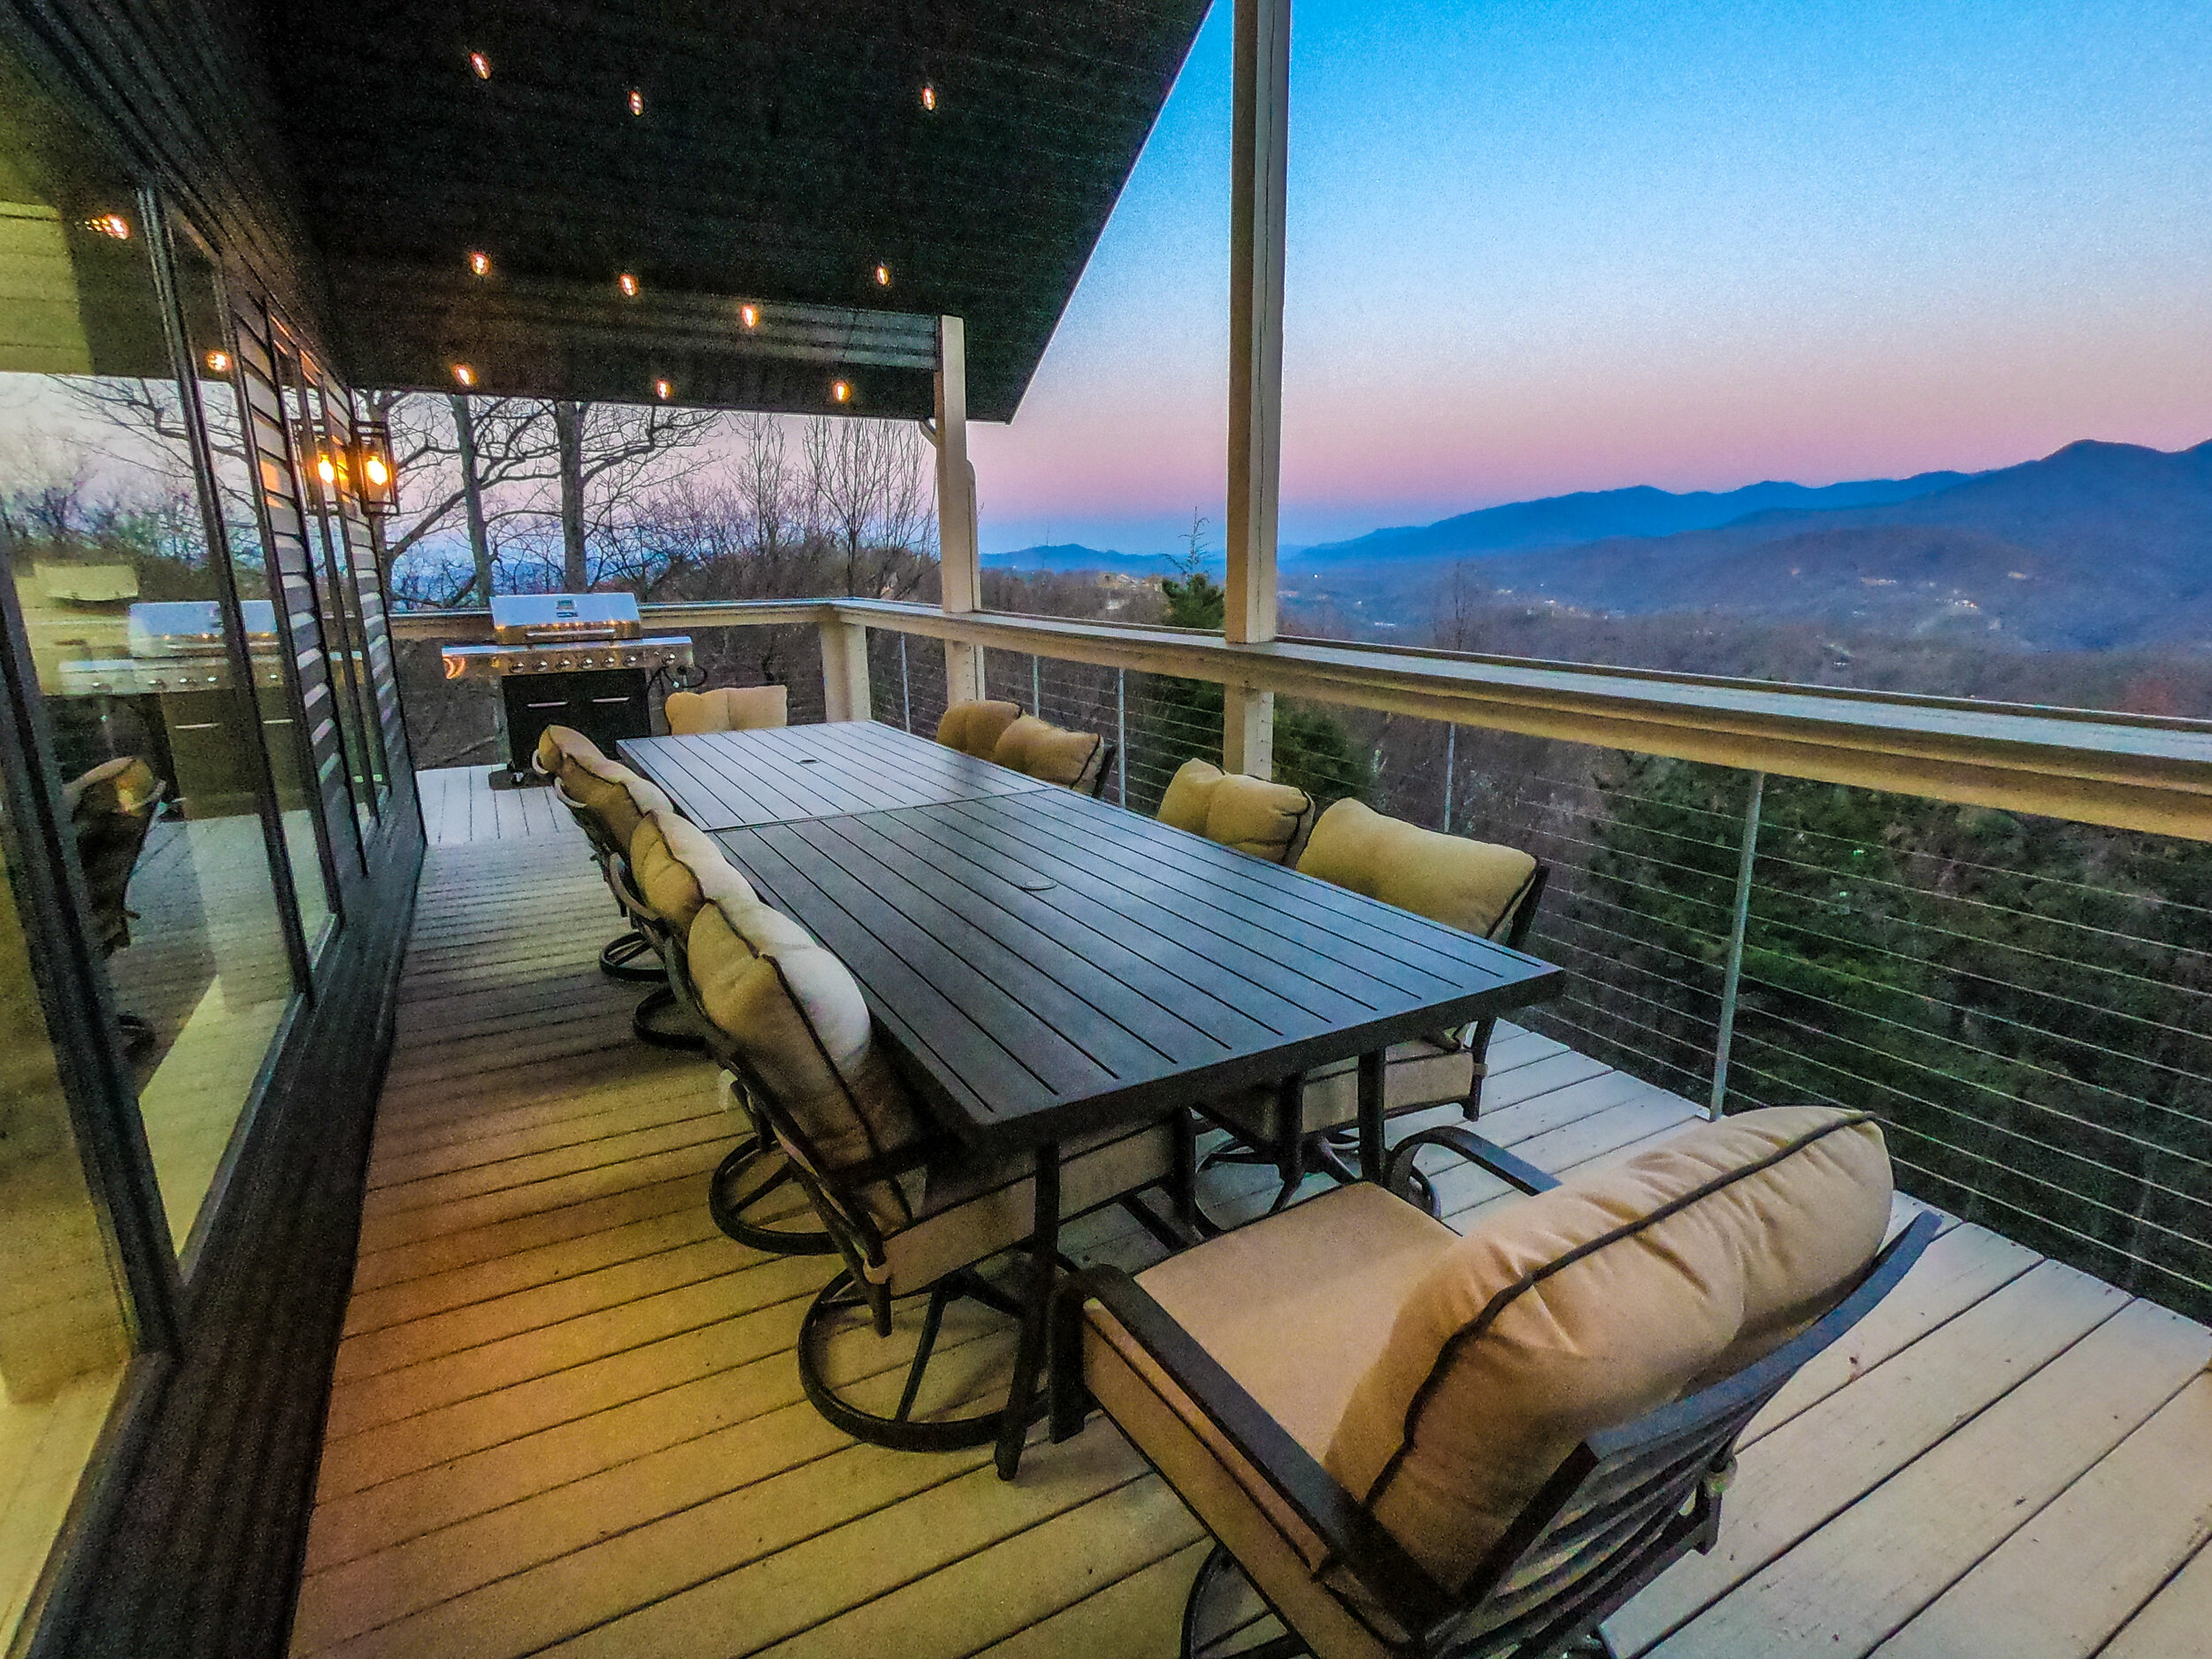
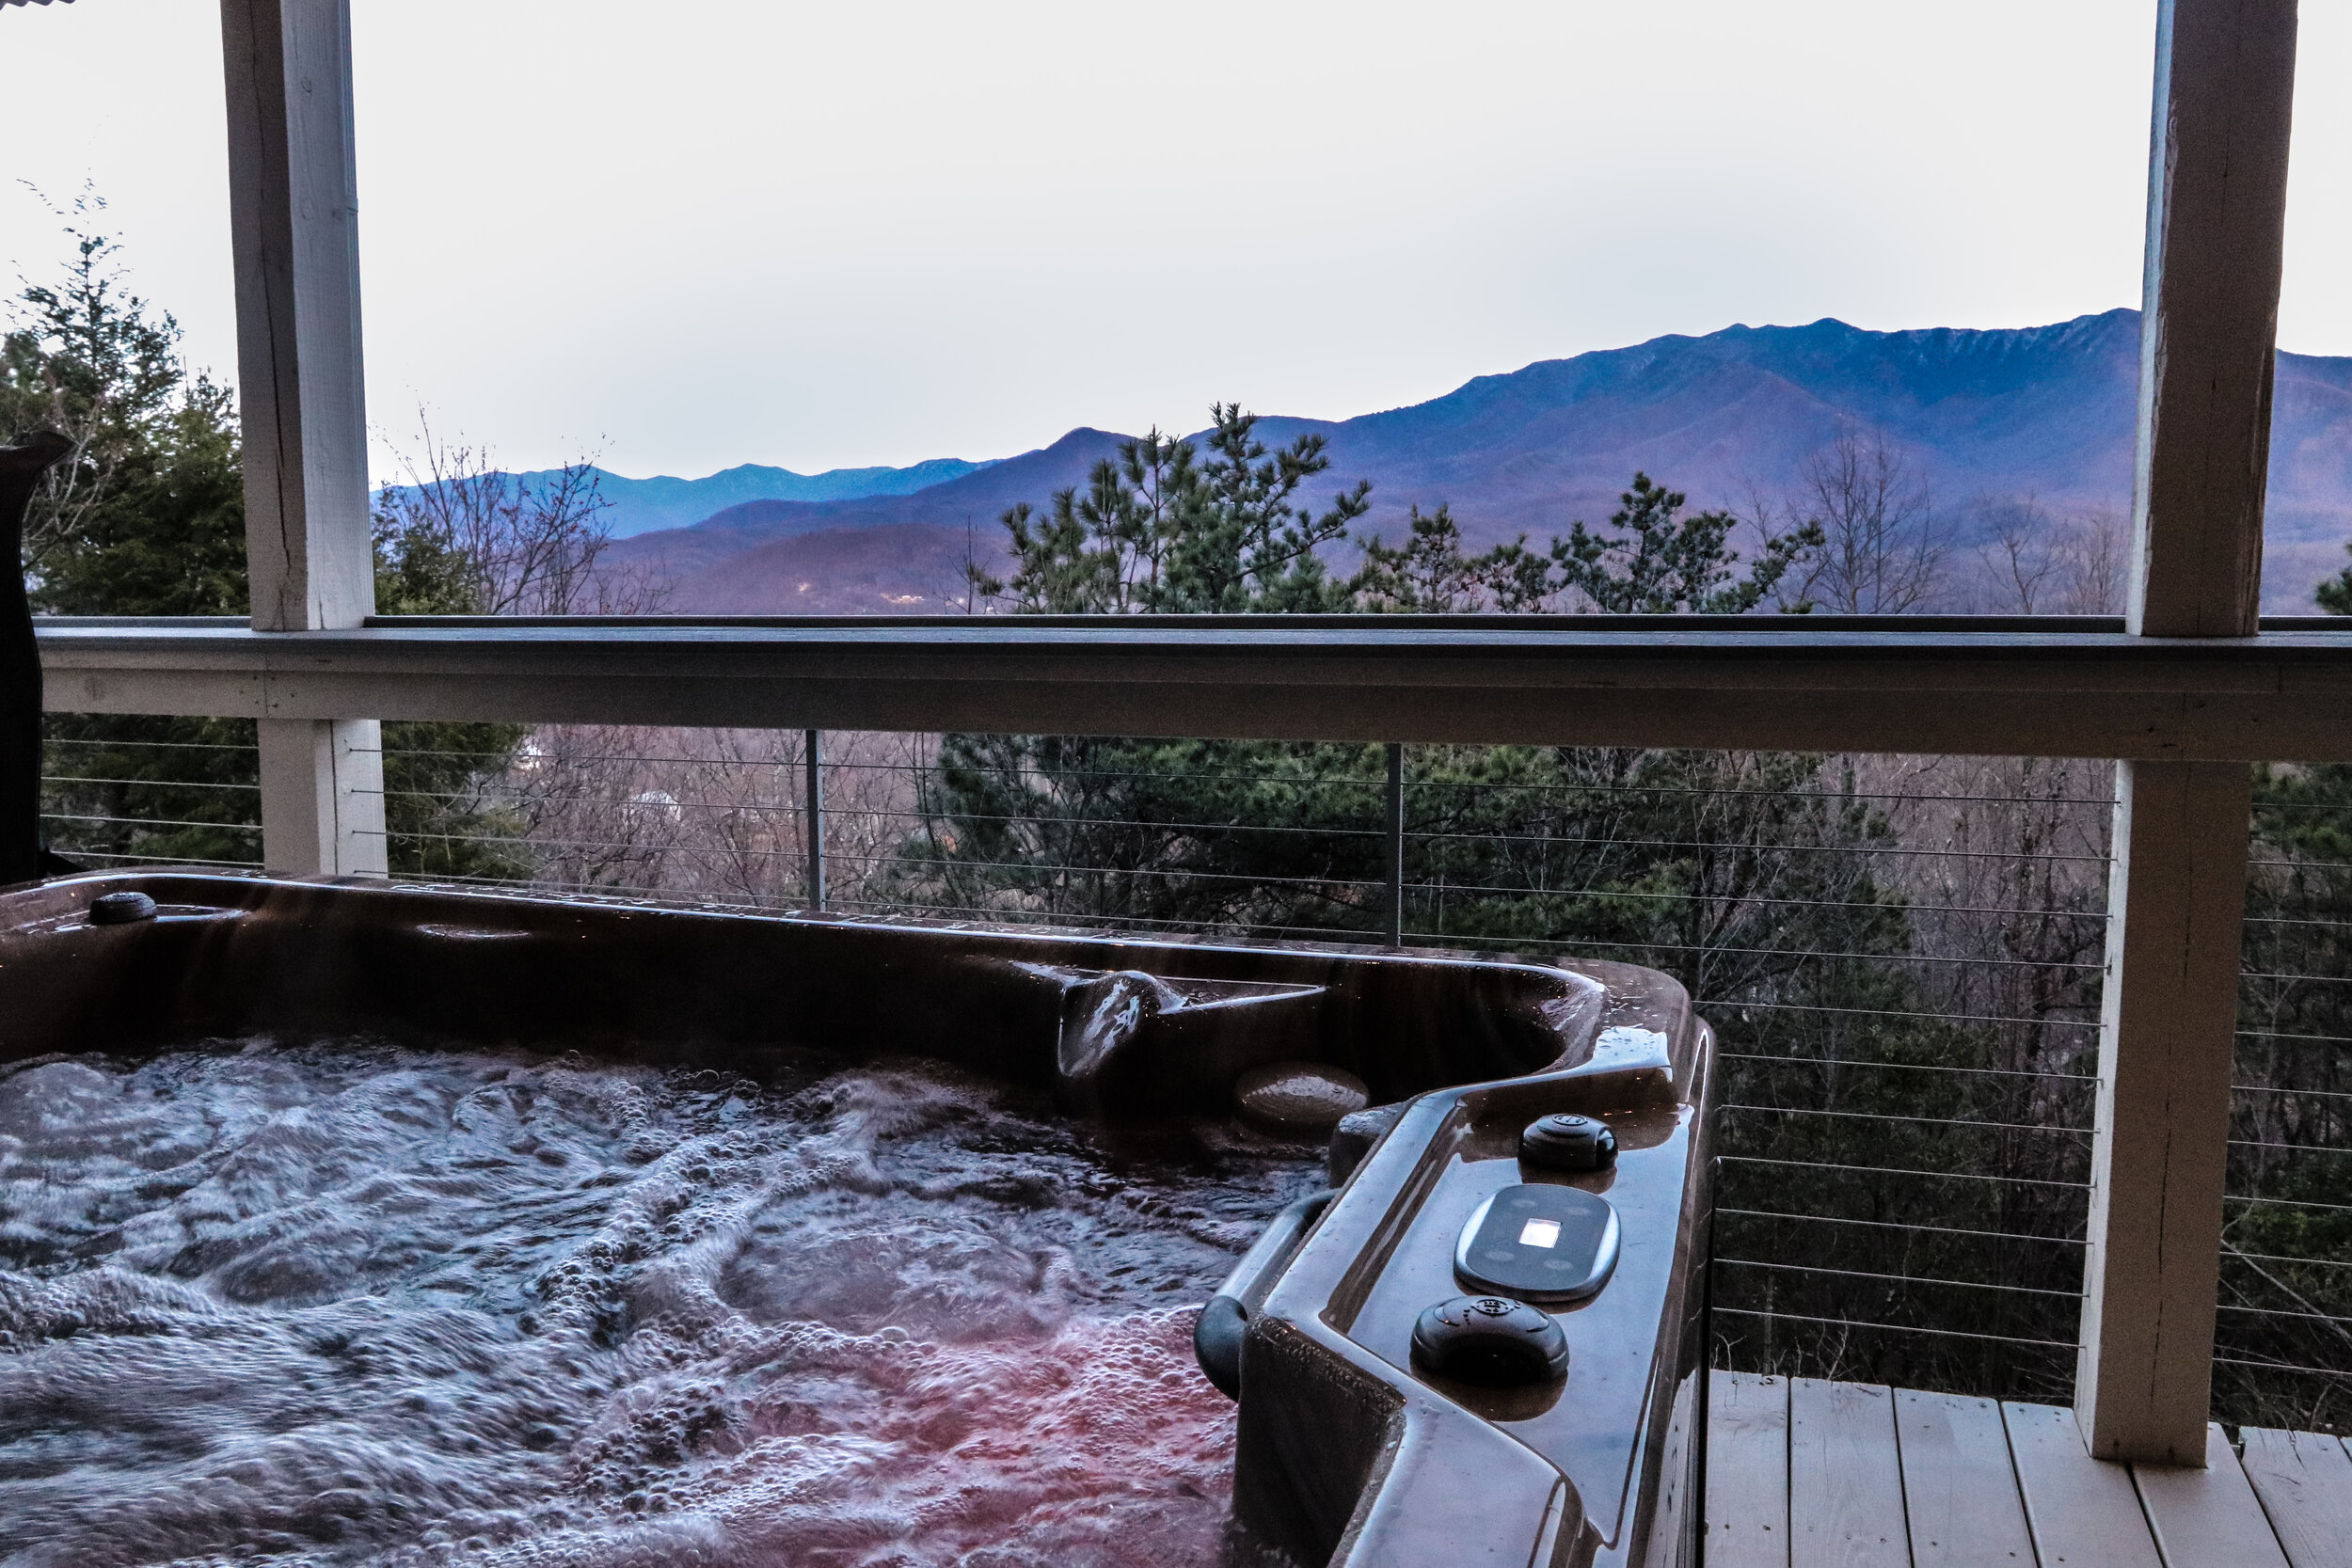
Garrett Lodge was built in 2000 and sits on 1.7 acres. We bought this home because (1) THE VIEWS… this home has some of the best views in the area… and (2) FLAT LAND. This home is located in Chalet Village and its’ most unique asset is that it has a yard! Most homes in this area are literally built off a cliff requiring a foundation that costs a LOT of $$$$$.
What is NOT unique to this home is the pine T&G walls..the orangish/brown tongue and groove paneling you see in ALL of the before pictures, like this one below! We are not a huge fan of this look. We get that it’s a cabin & cabins have wood, but we don’t think it has to be this way!
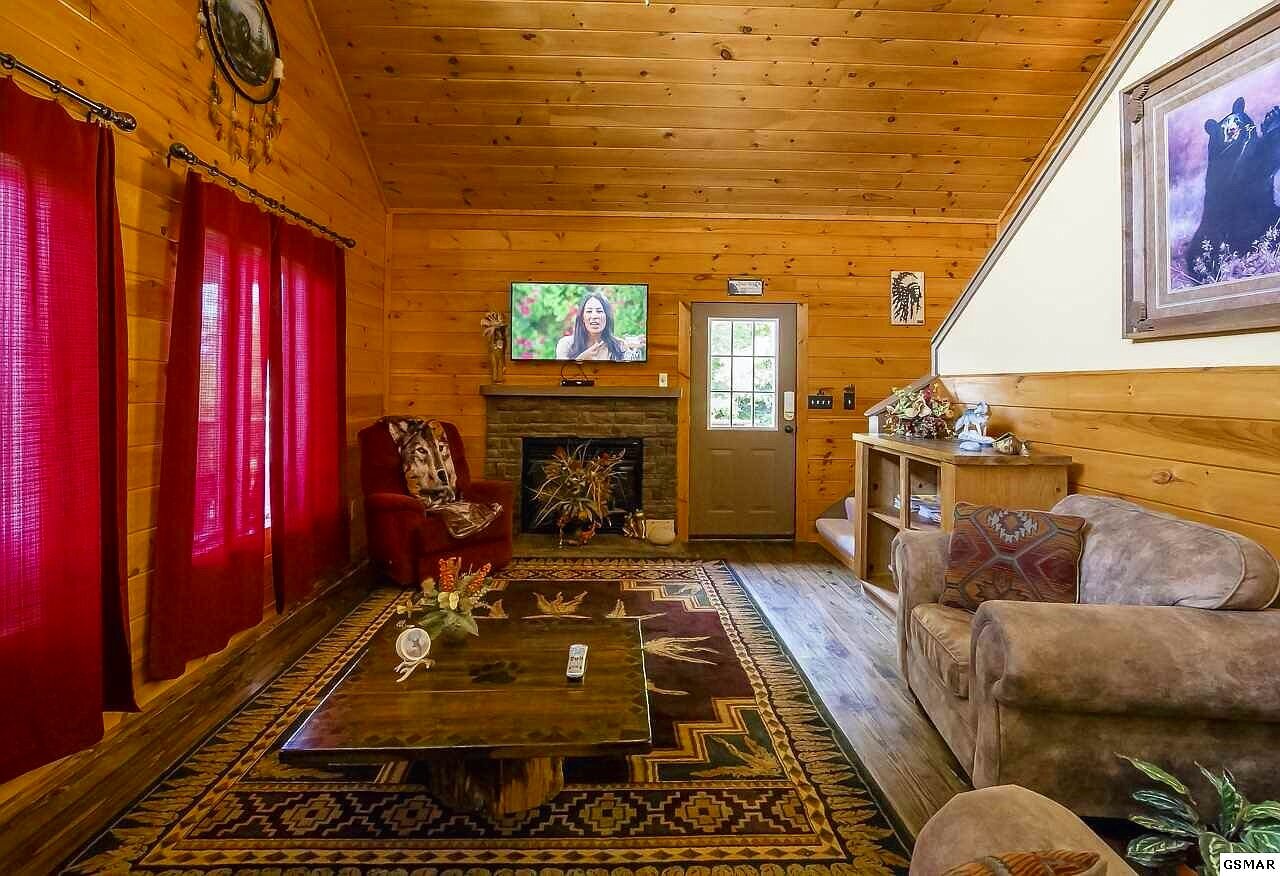
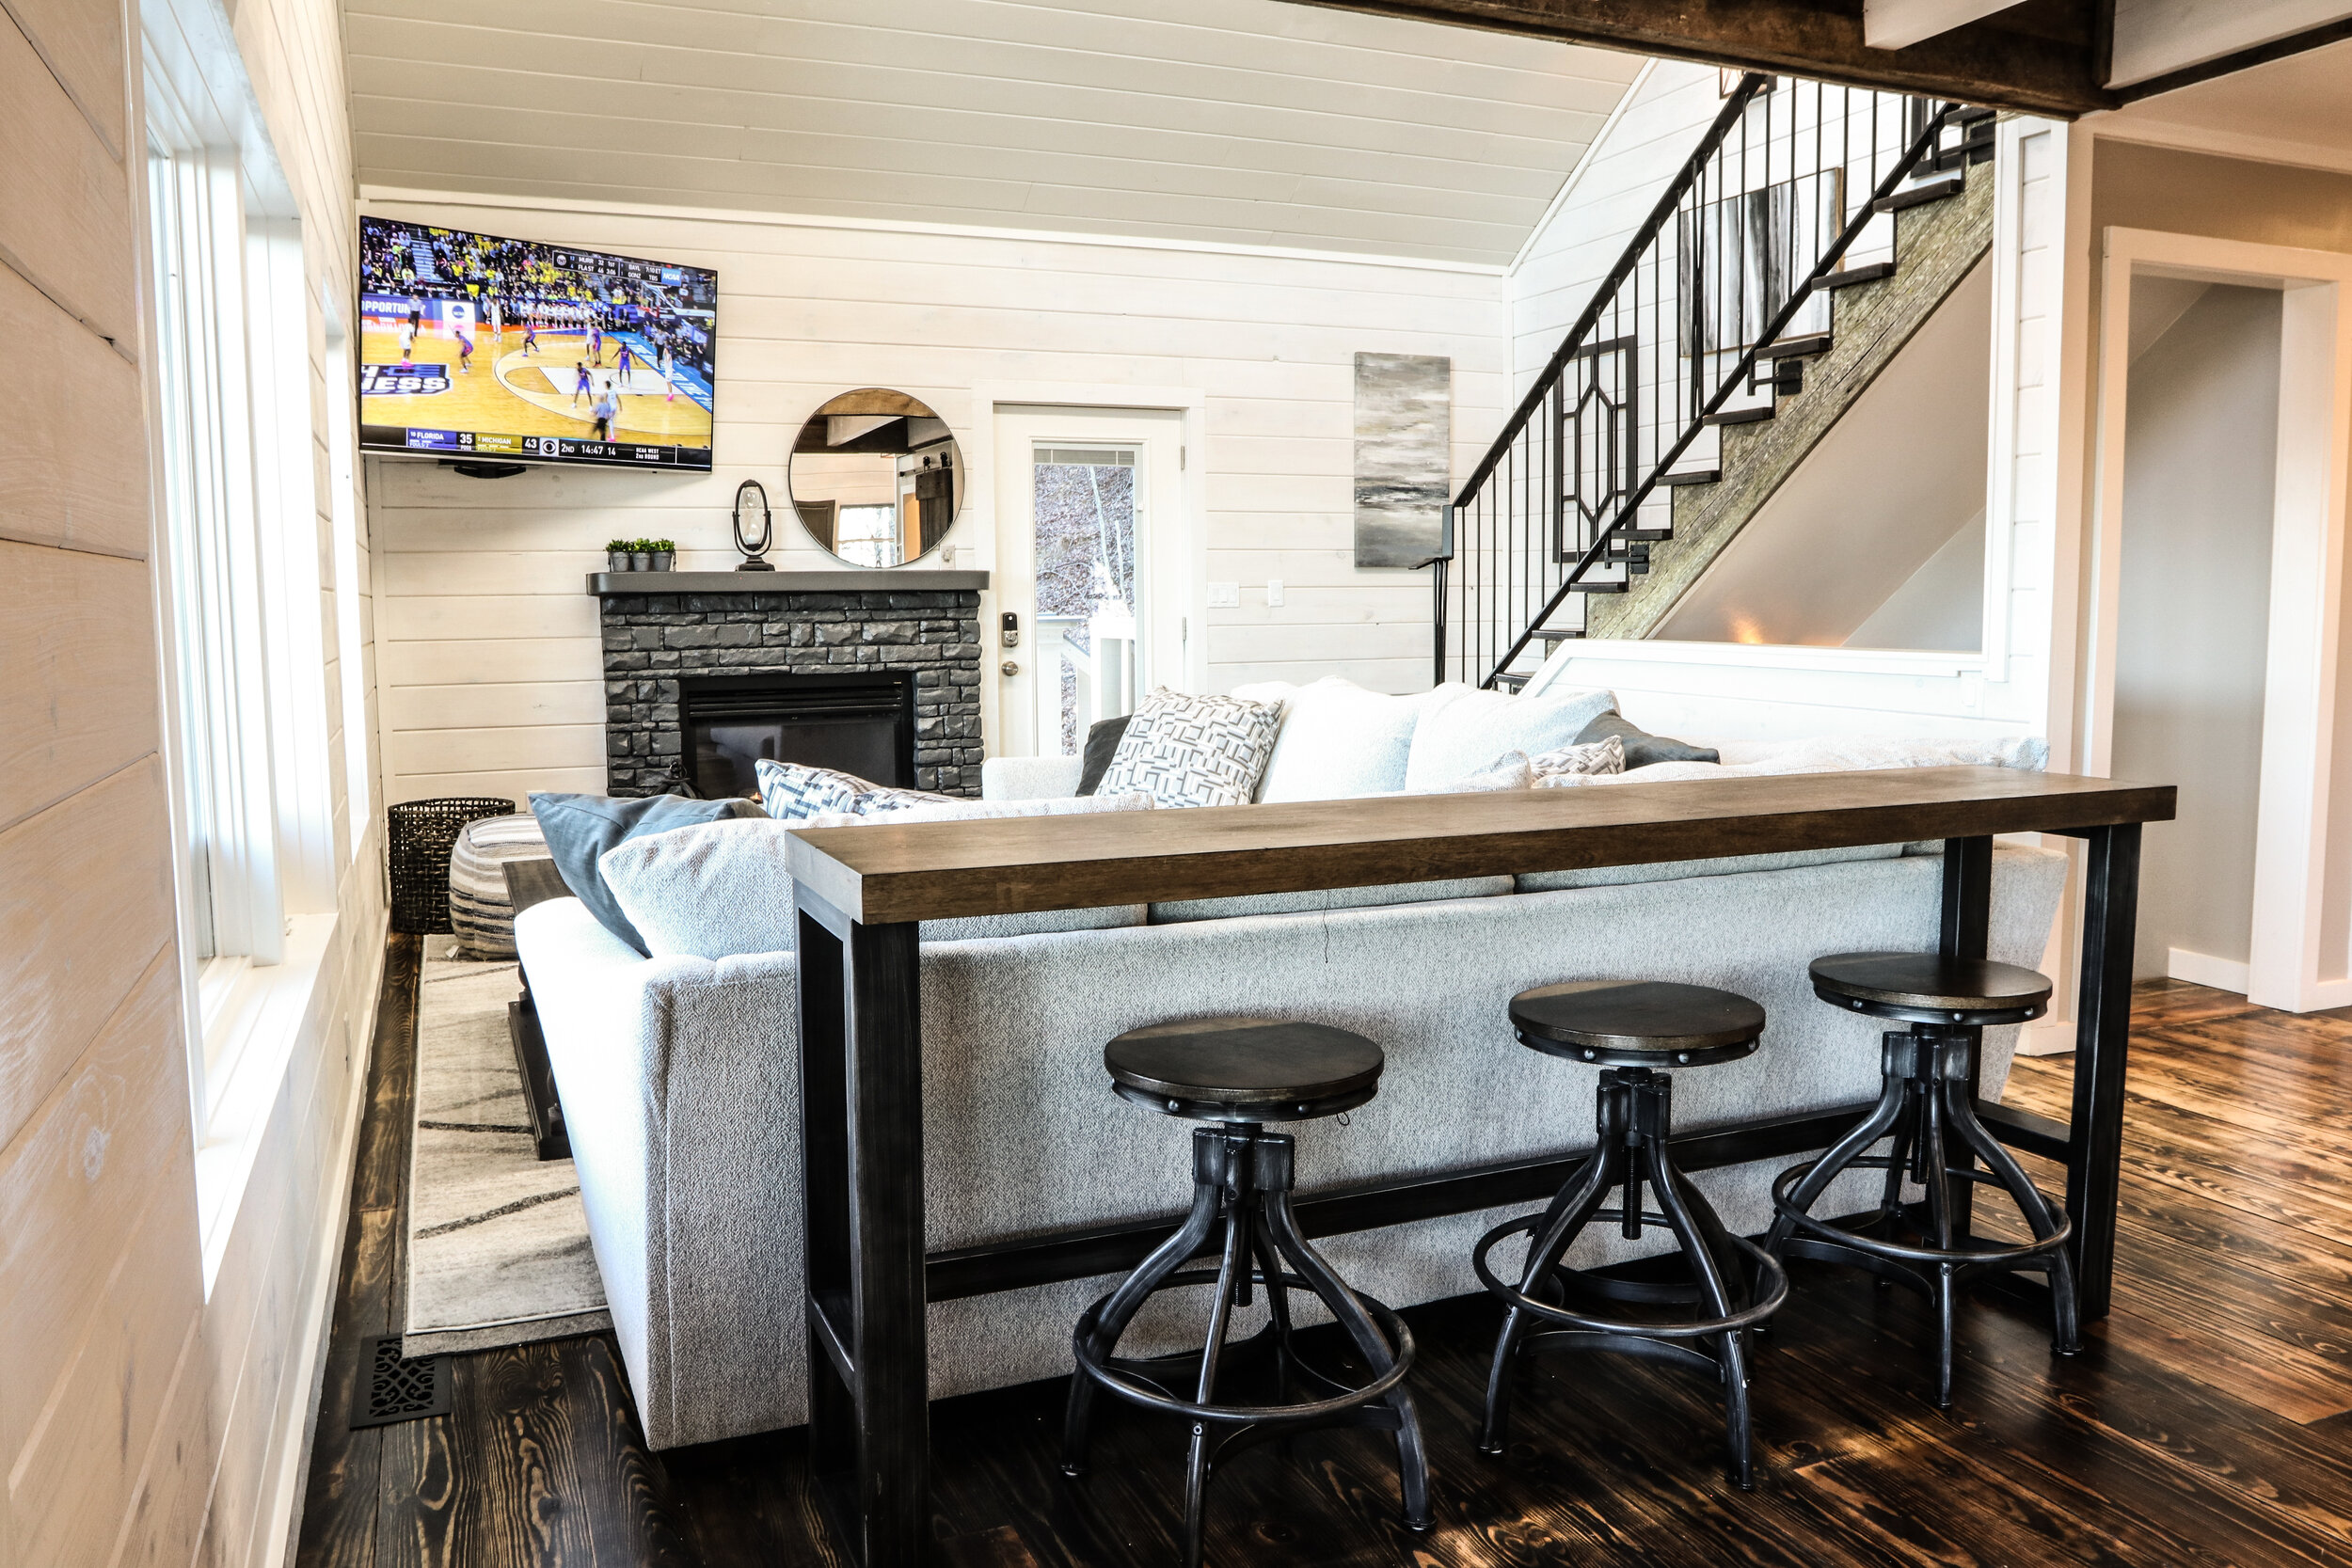
One thing we were unsure of about this home was how narrow the living/dining/kitchen area was. It seemed difficult at first glance how to fit enough furniture in the place so that you could sit and actually face the VIEW and not the wall… BUT we decided we could work with it.
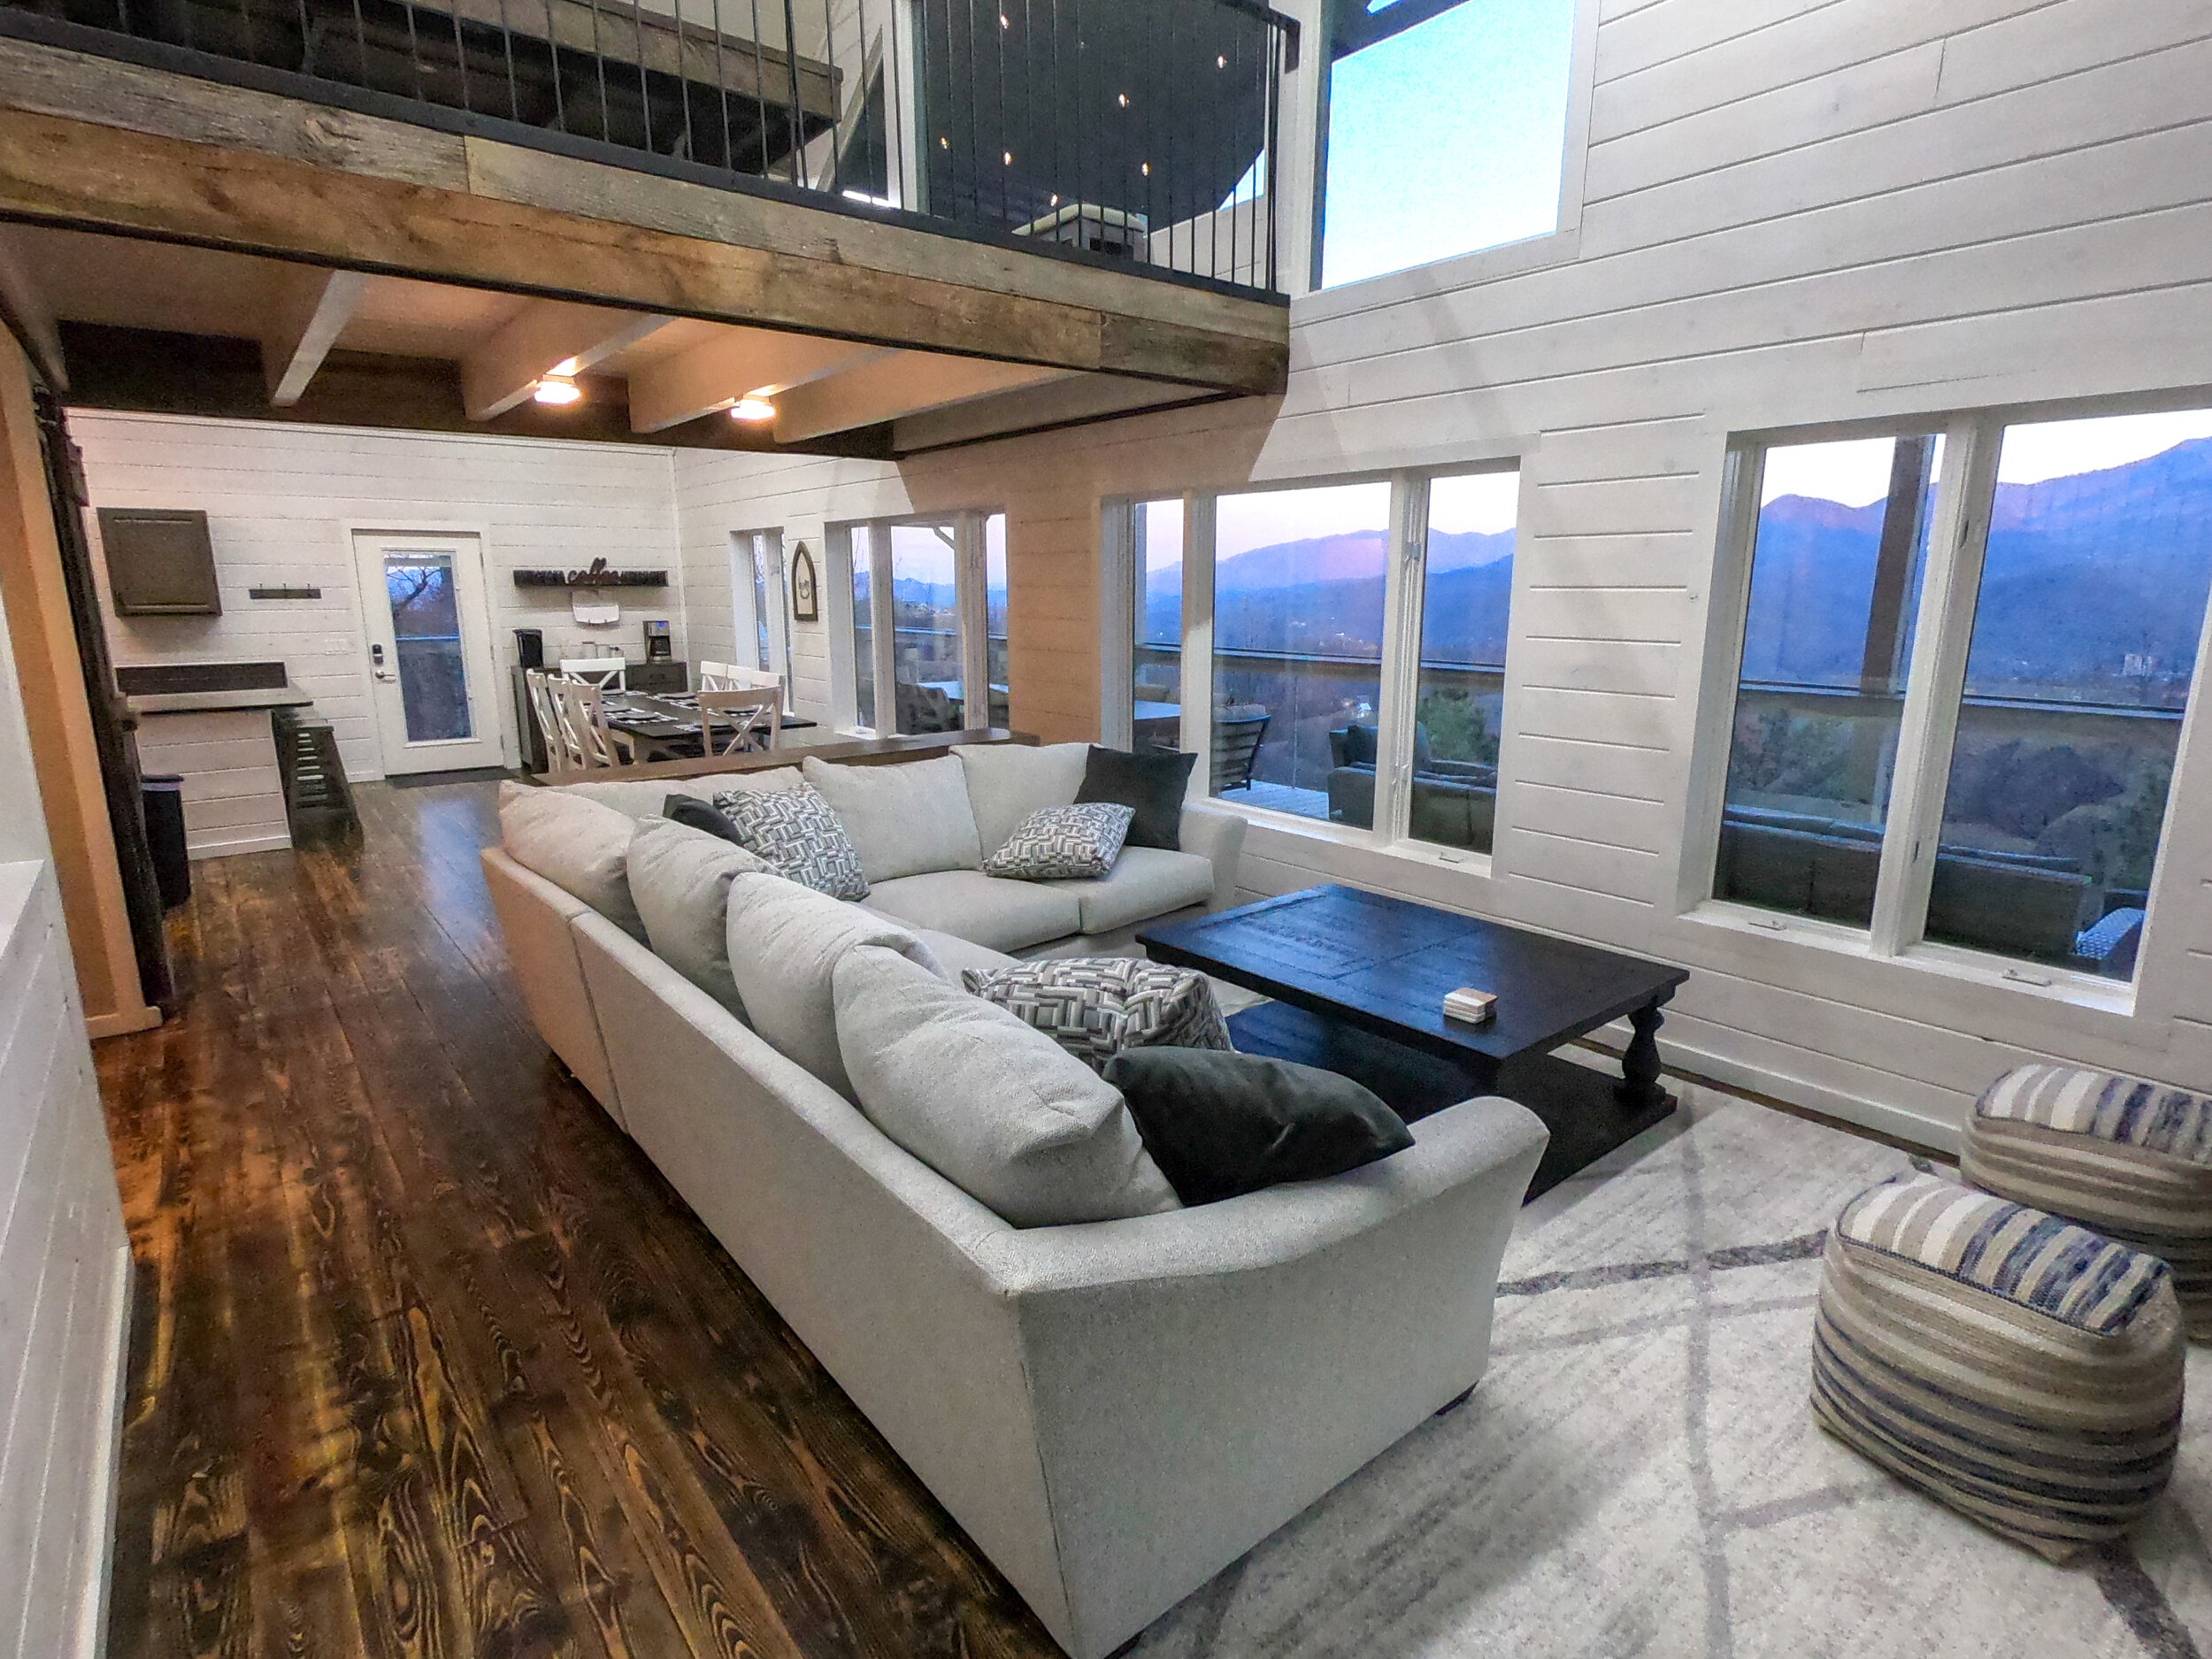
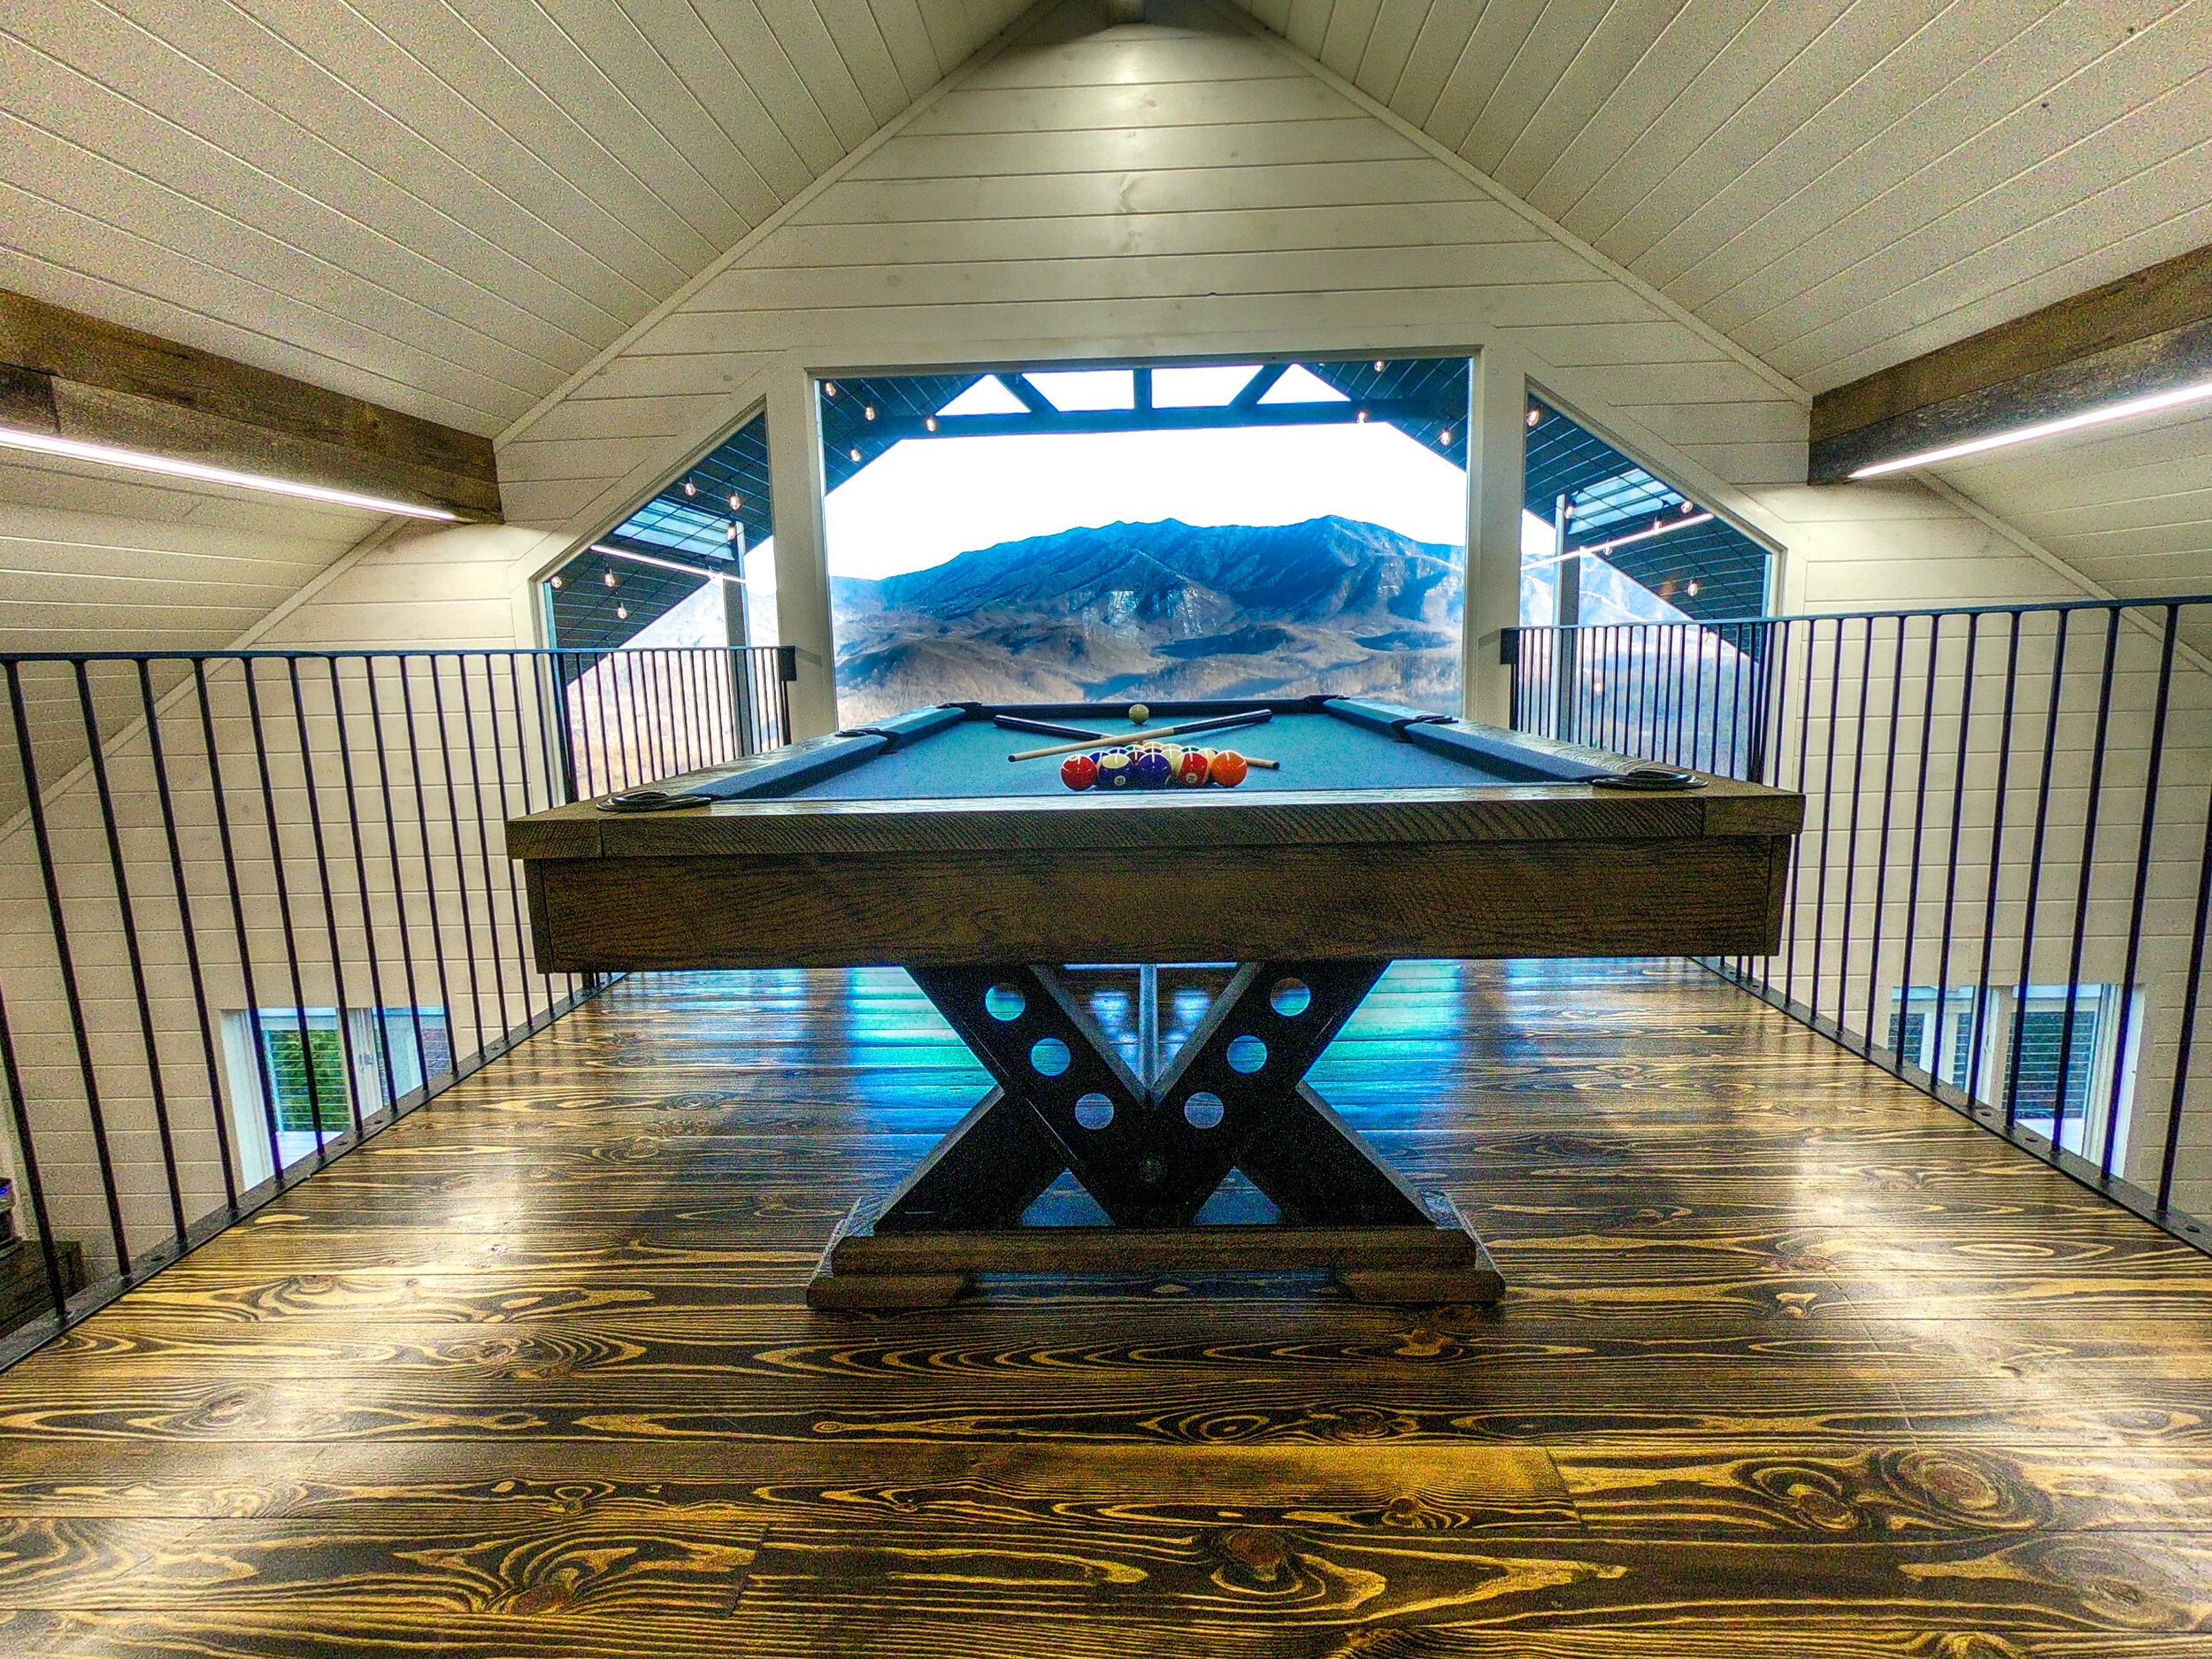
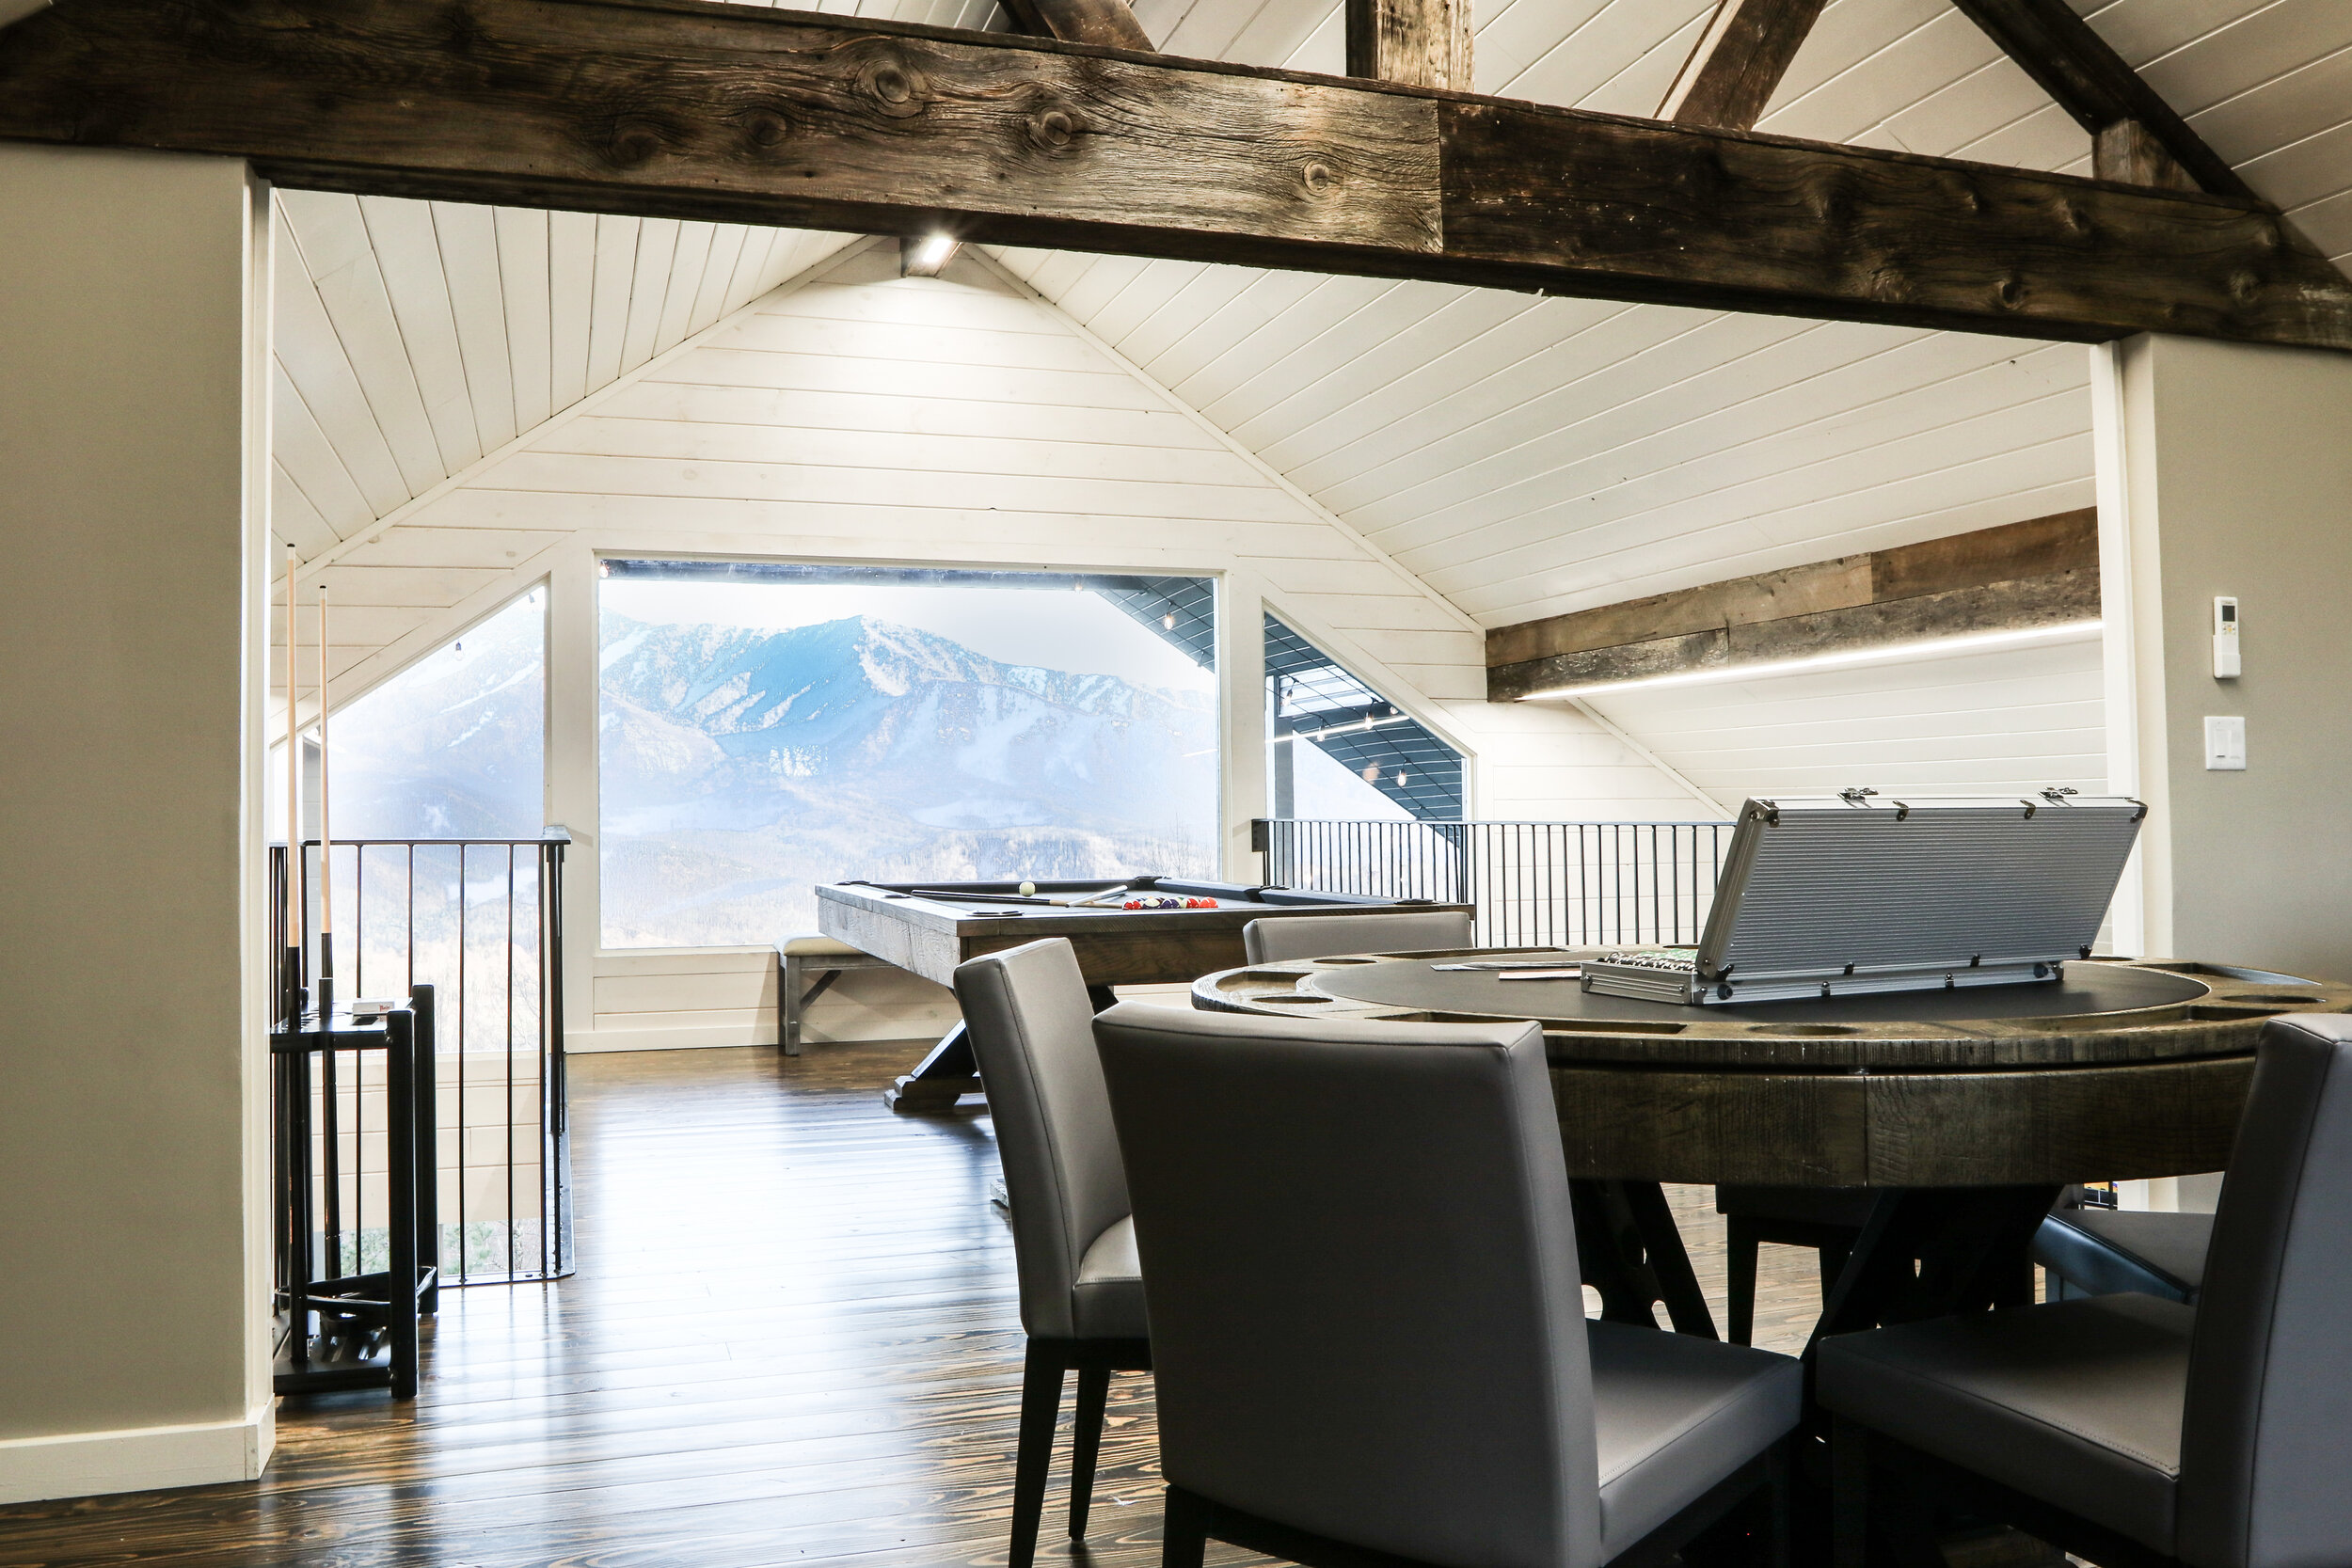
This 4 bedroom home originally had a loft upstairs and a game room downstairs. We thought that was great, but decided we REALLY wanted this home to have a THEATER! This ONE idea…(we realize, now, that it only takes 1 idea to lead you to a spiral of more ideas) led us to thinking we needed to expand the loft upstairs and convert it to a game room!
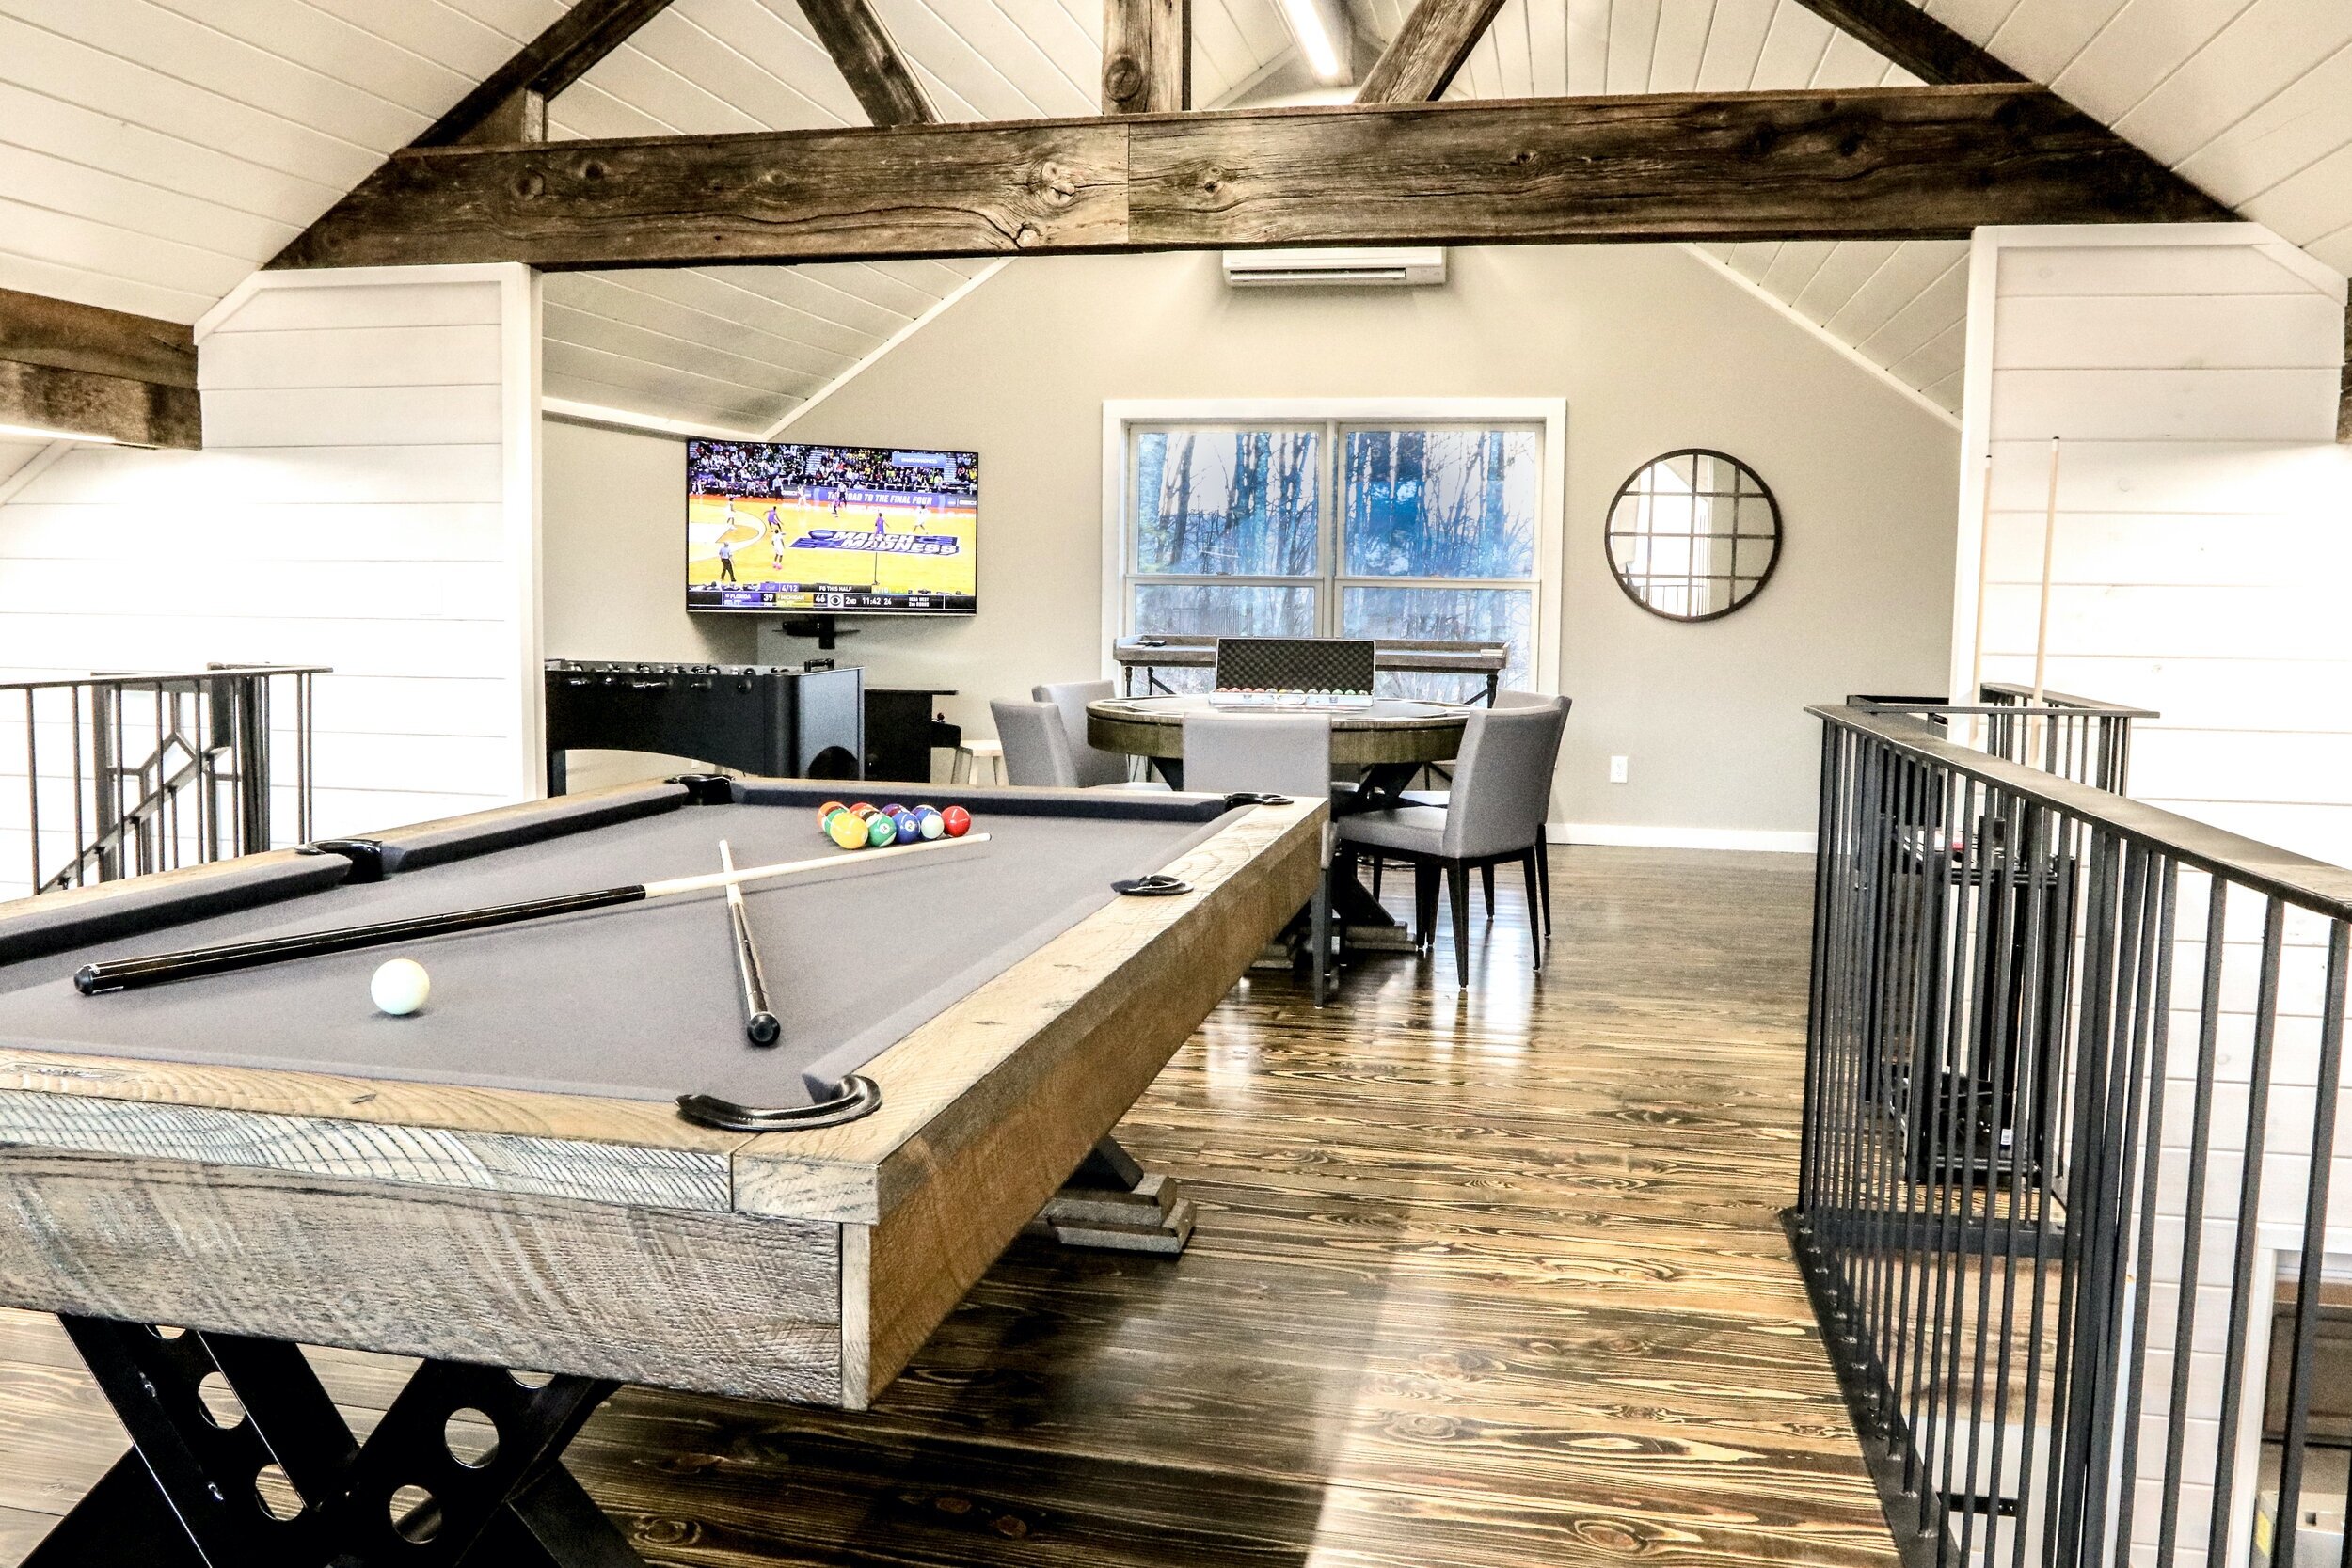
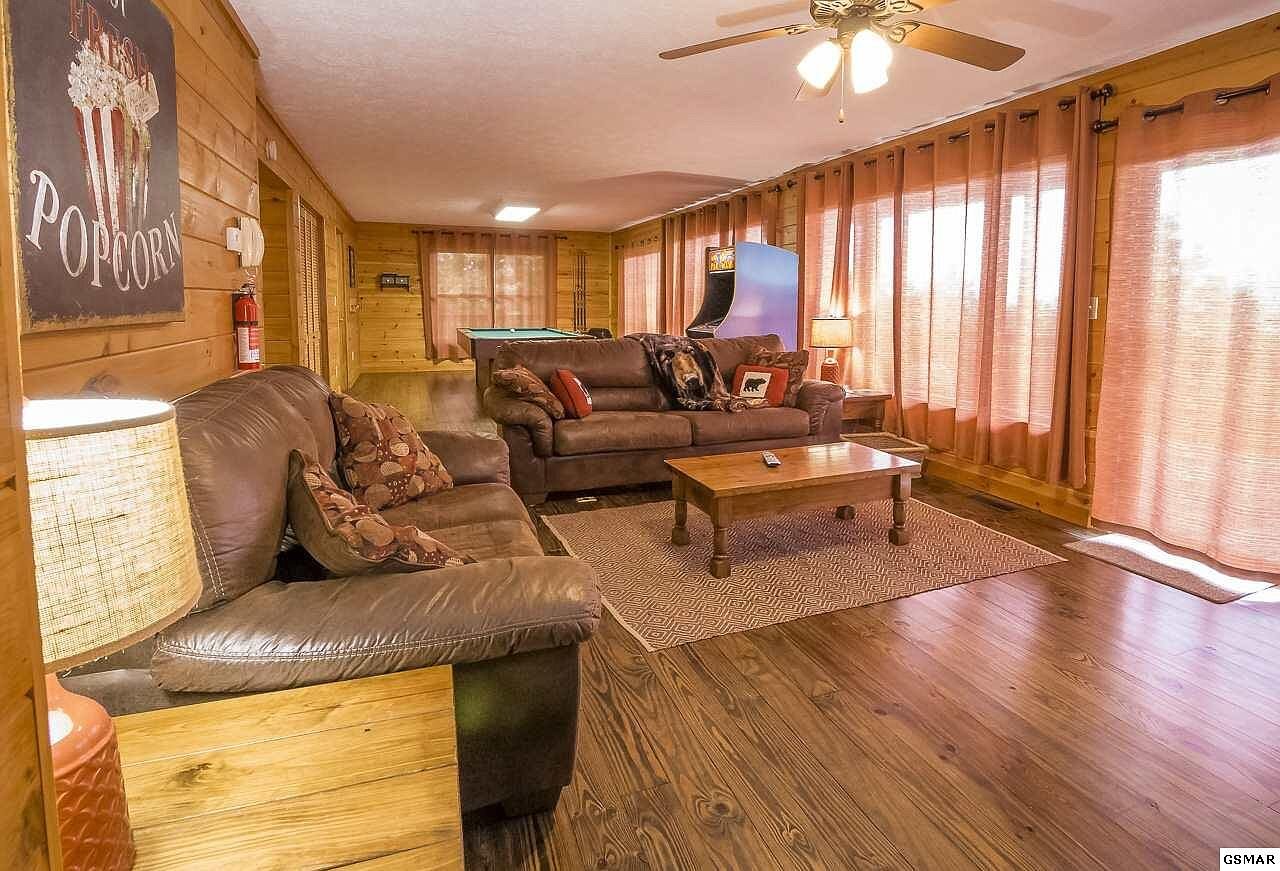
As you can see above in the 1st pic.. we extended the loft over the main level dining/living area. The original wall of the loft ended at the pretty beam we also added hehe. We removed the carpet, added new floors to match the existing wood flooring throughout the rest of the home… painted the walls, trim & ceiling & added a rustic/modern metal railing. I’m pretty sure I could write an entire blog post about the metal railing because there is a hilarious story behind that!
Any who… moving onto the KITCHEN!


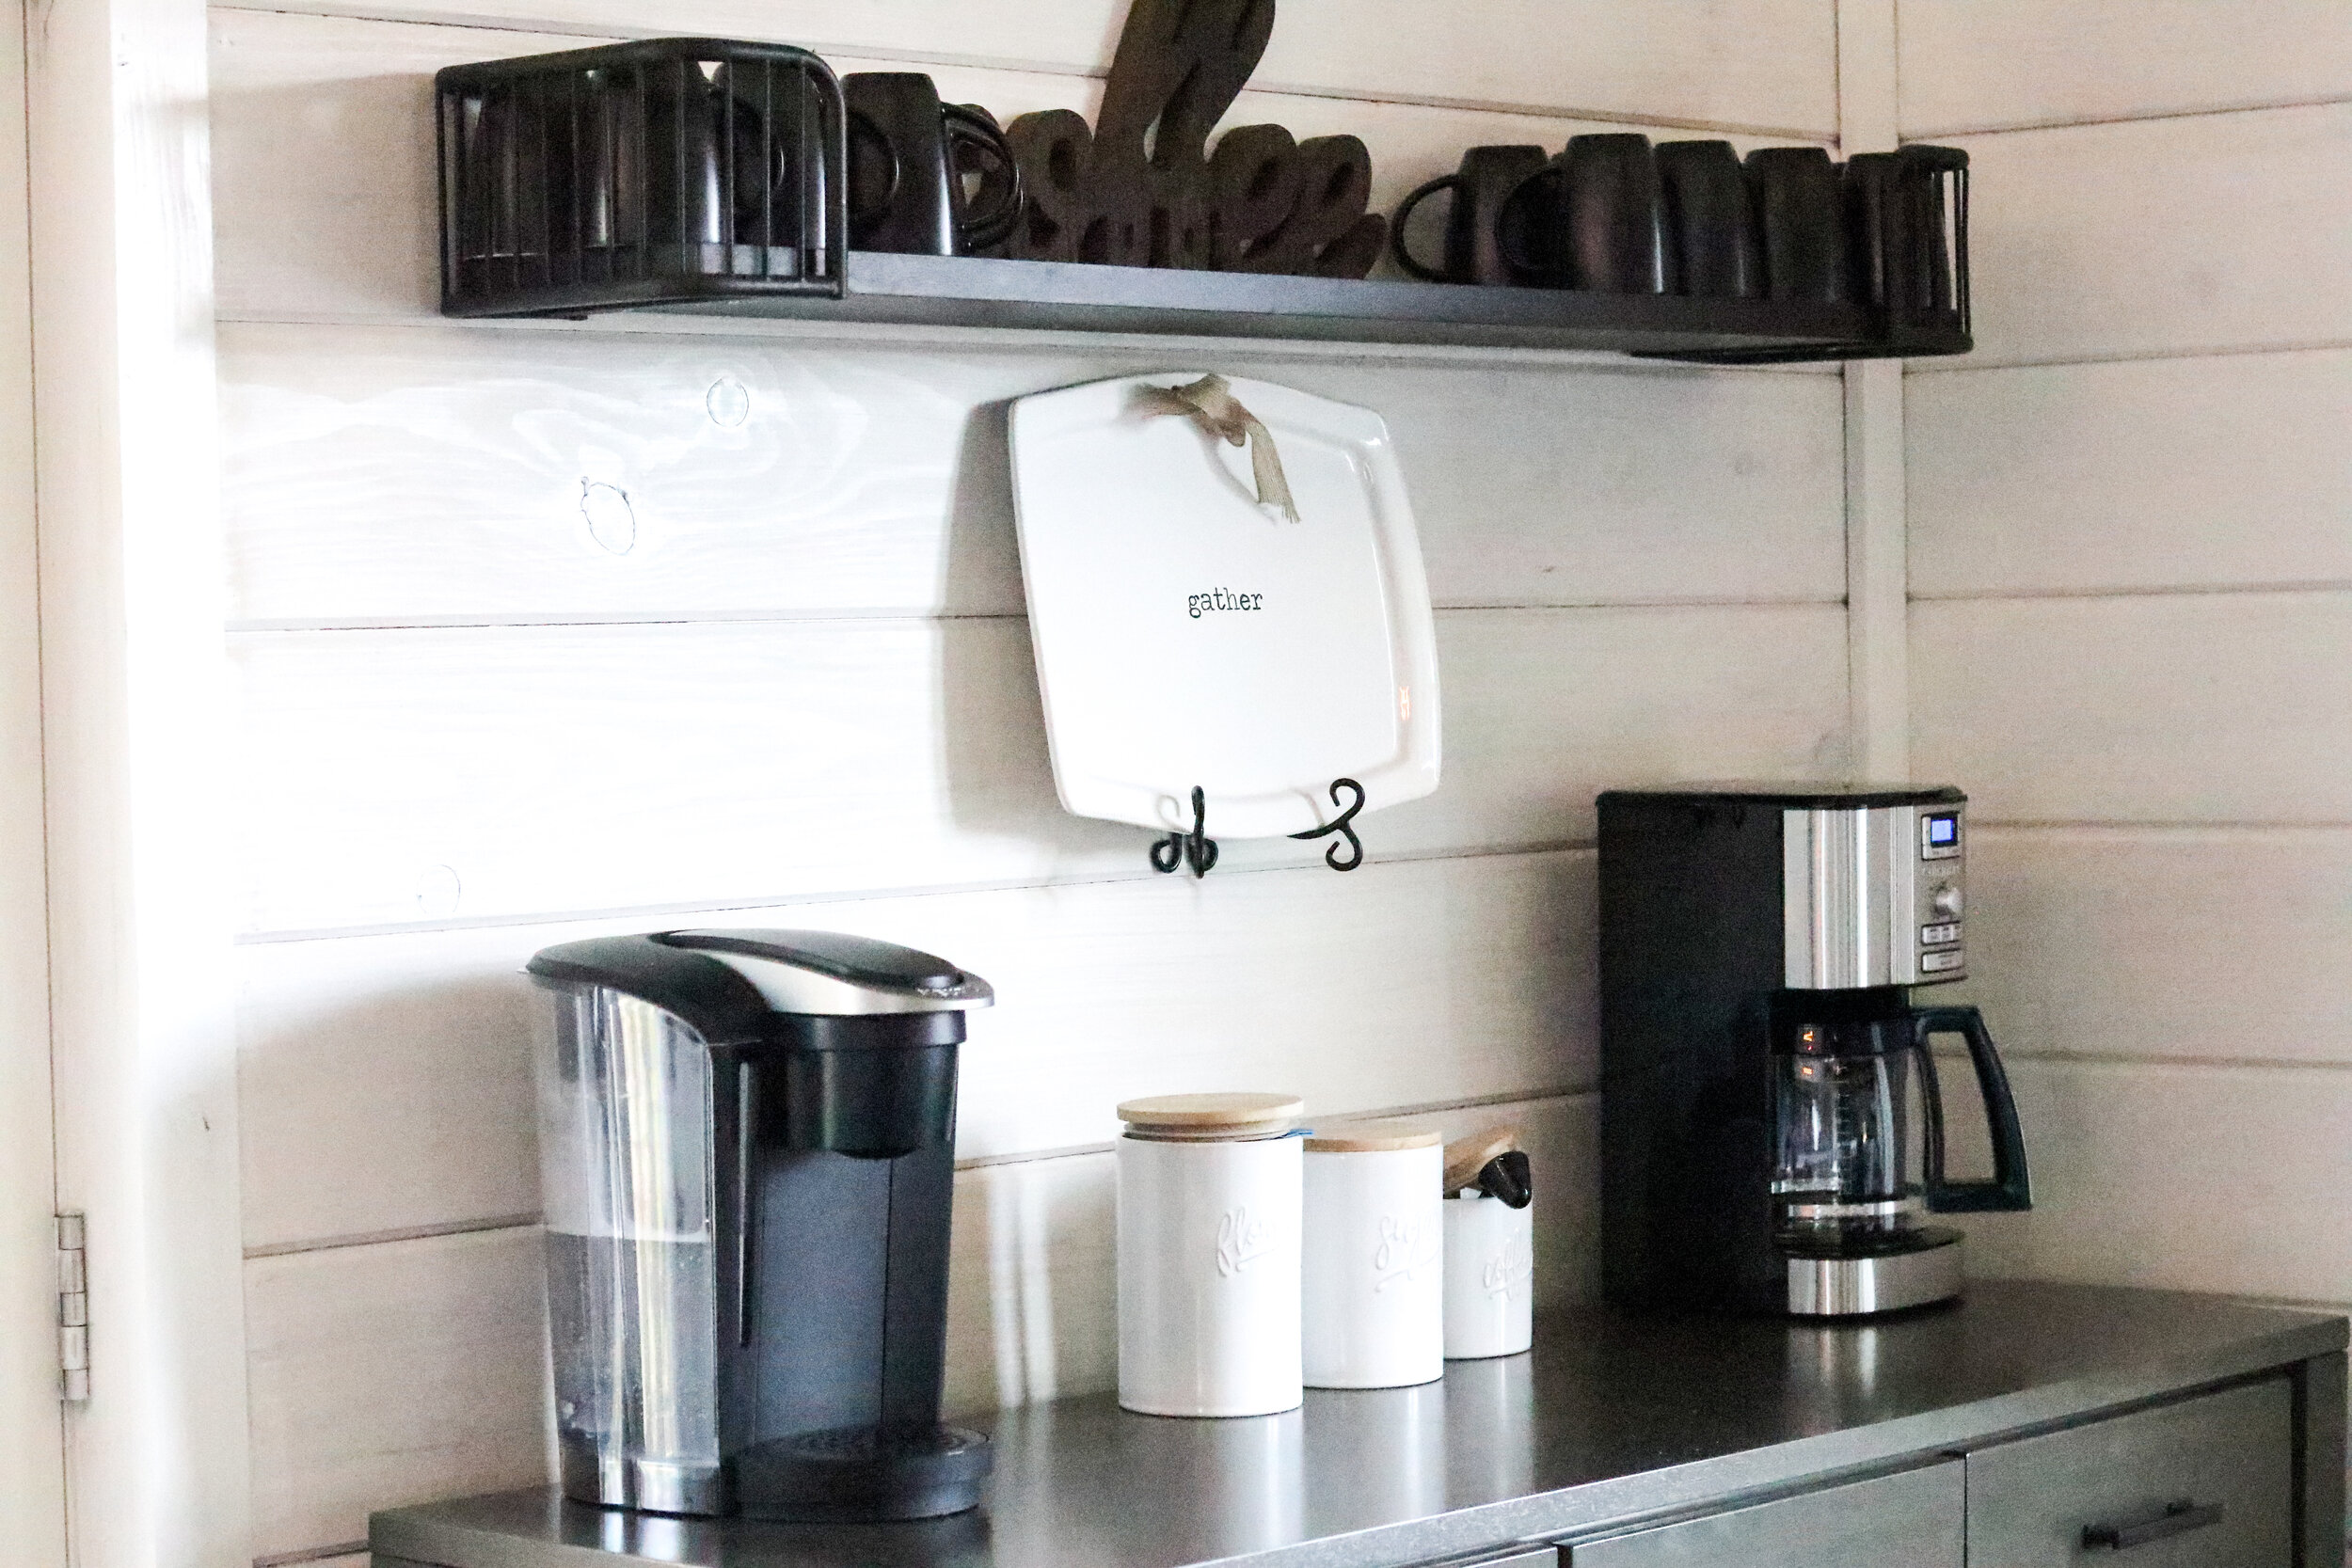
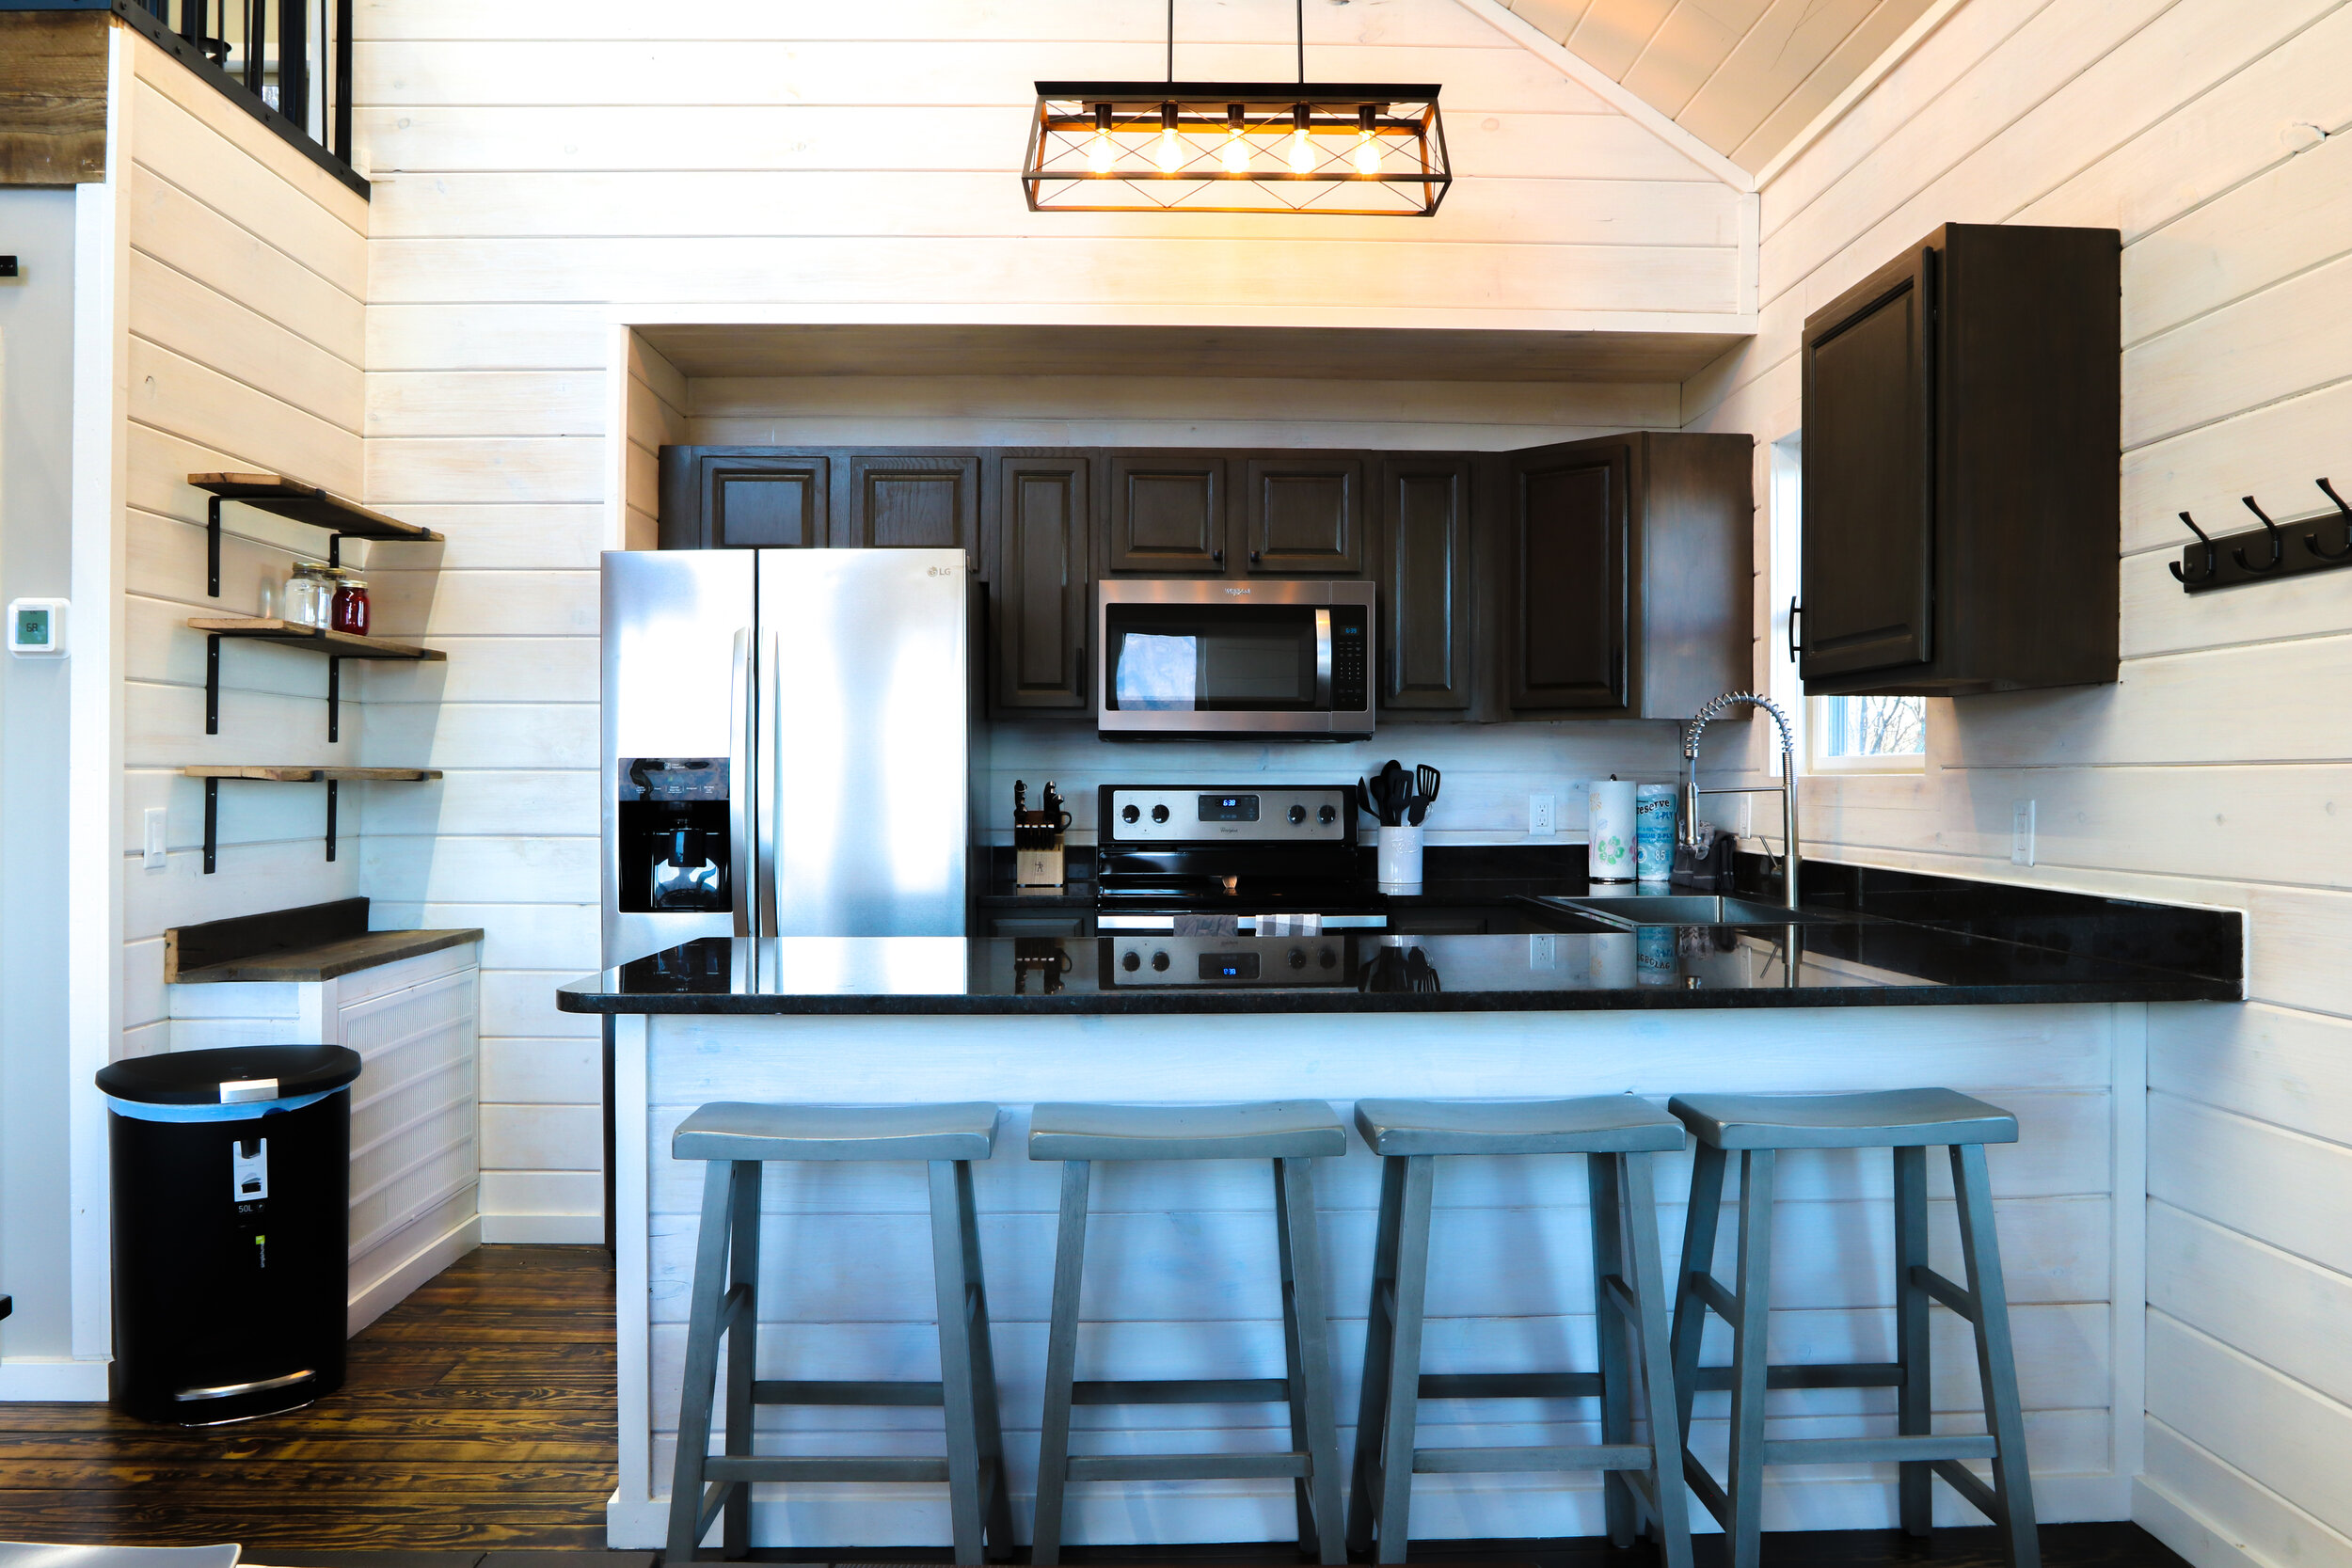
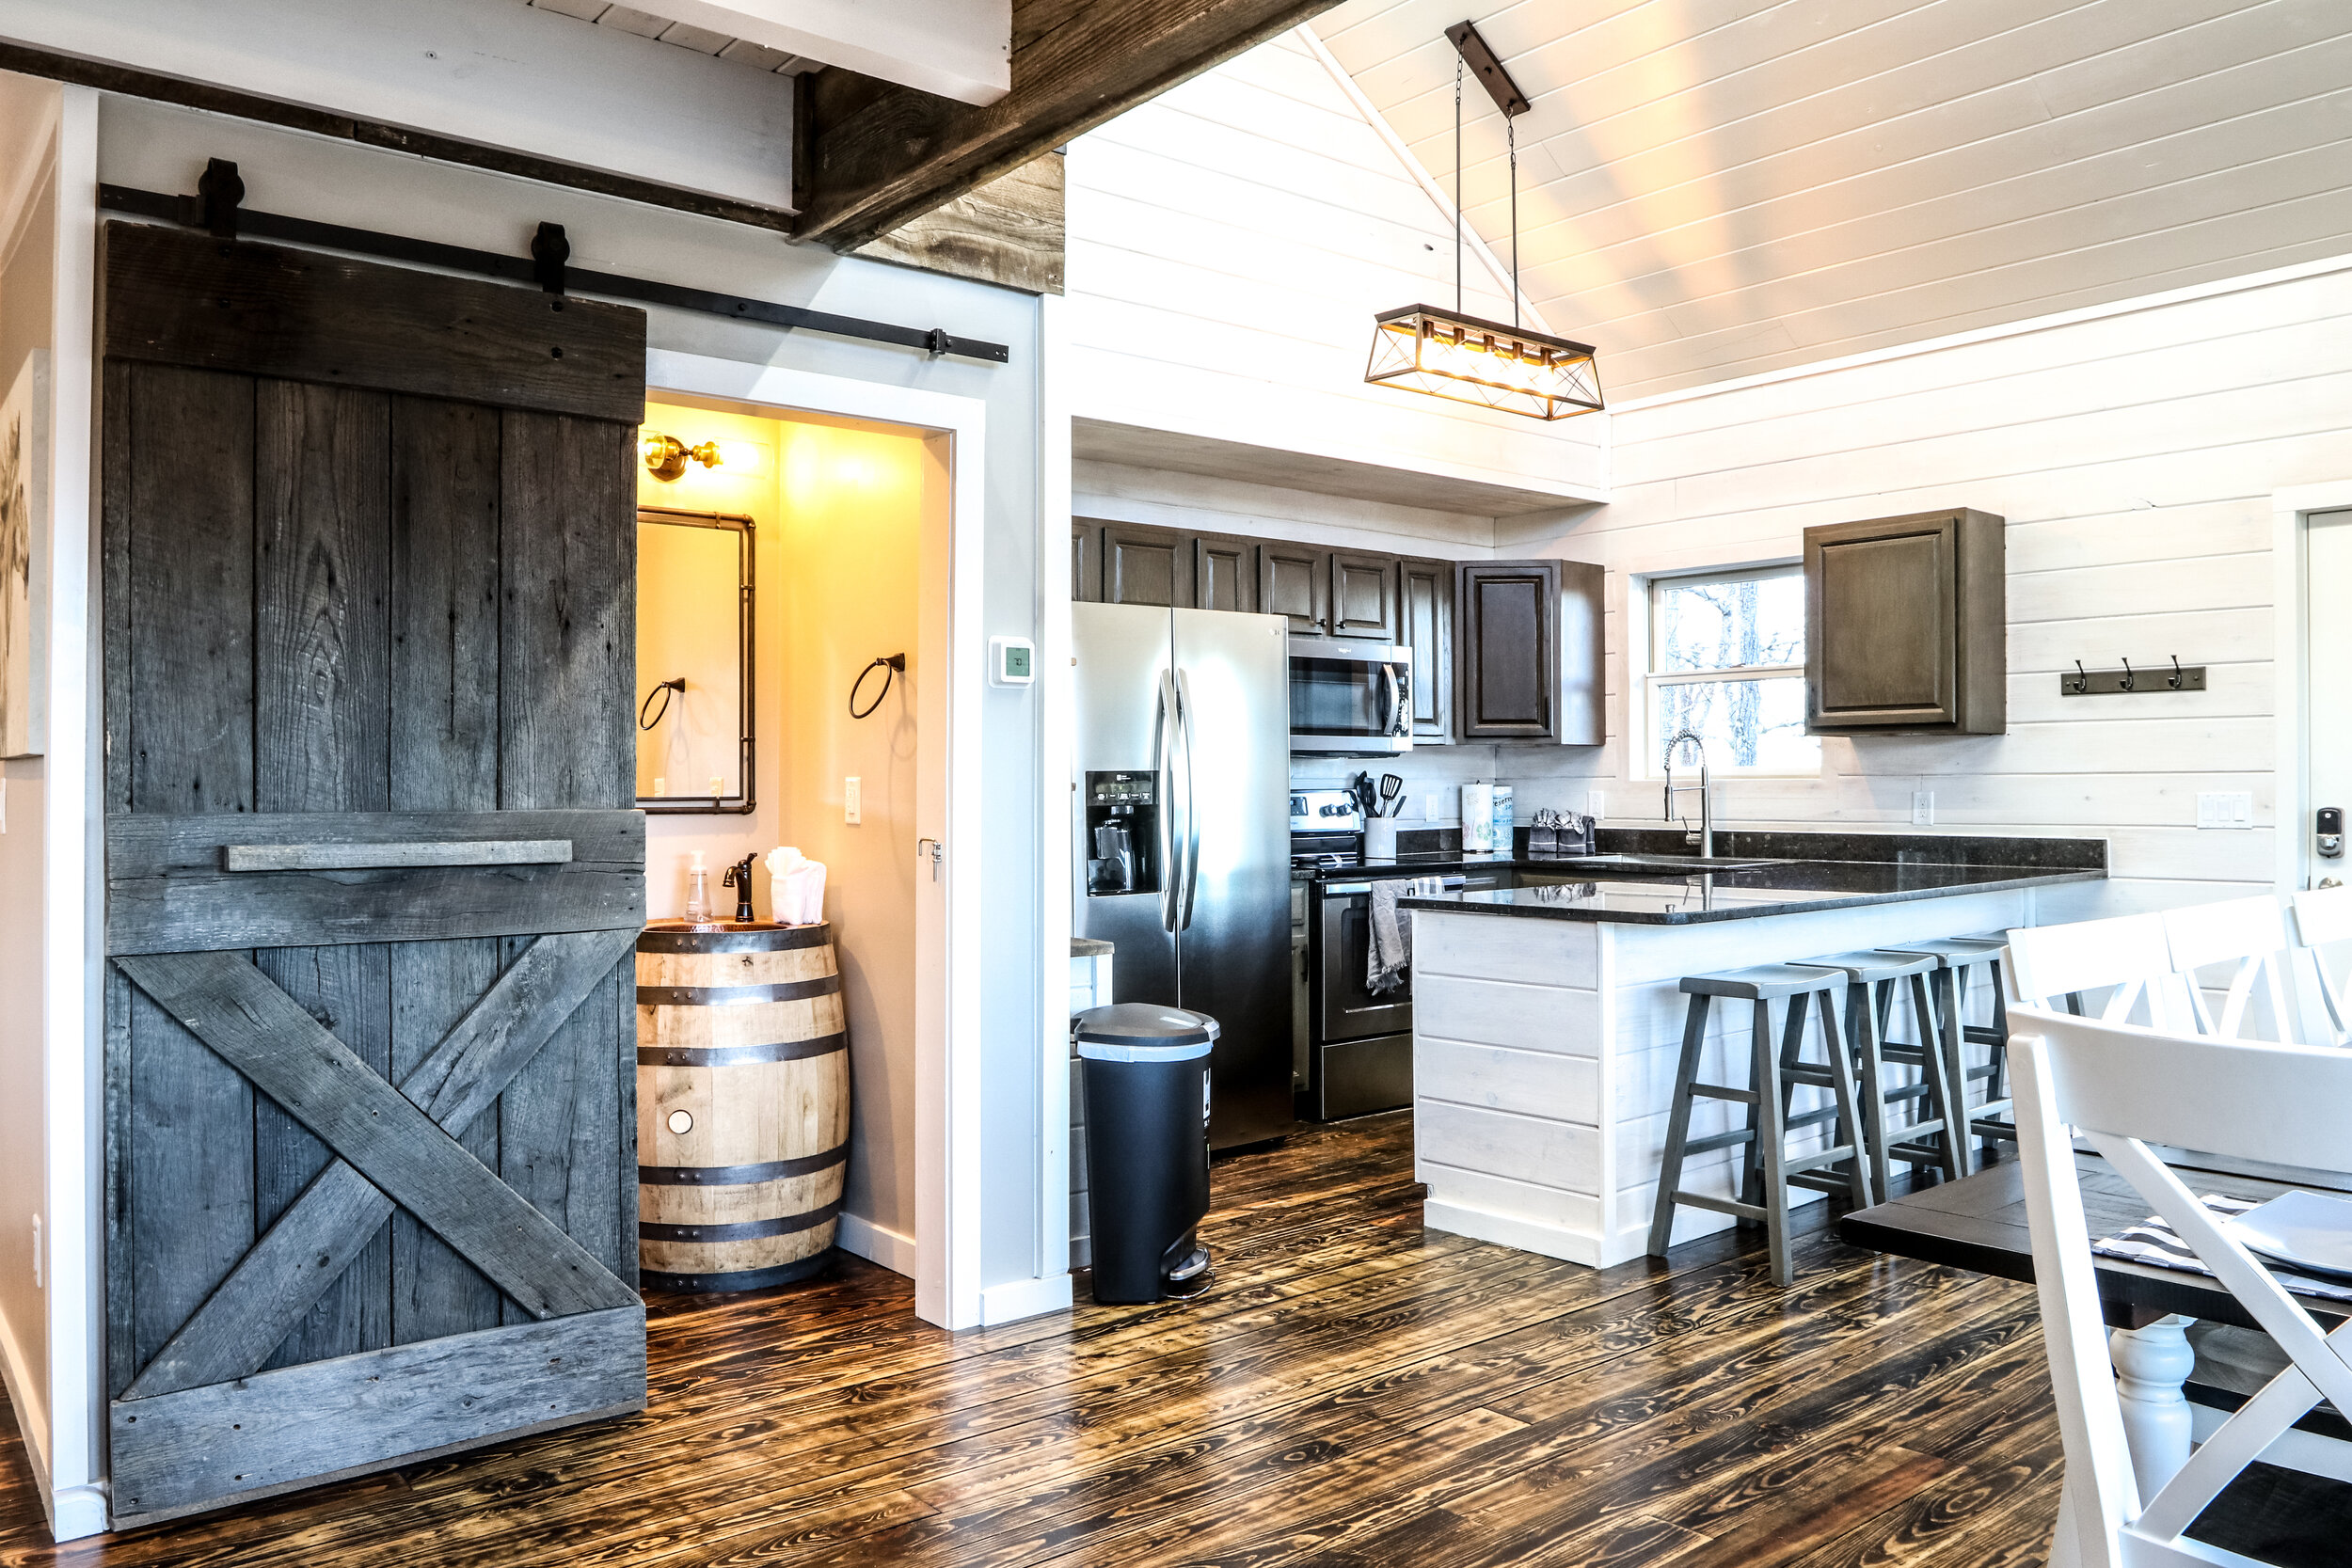
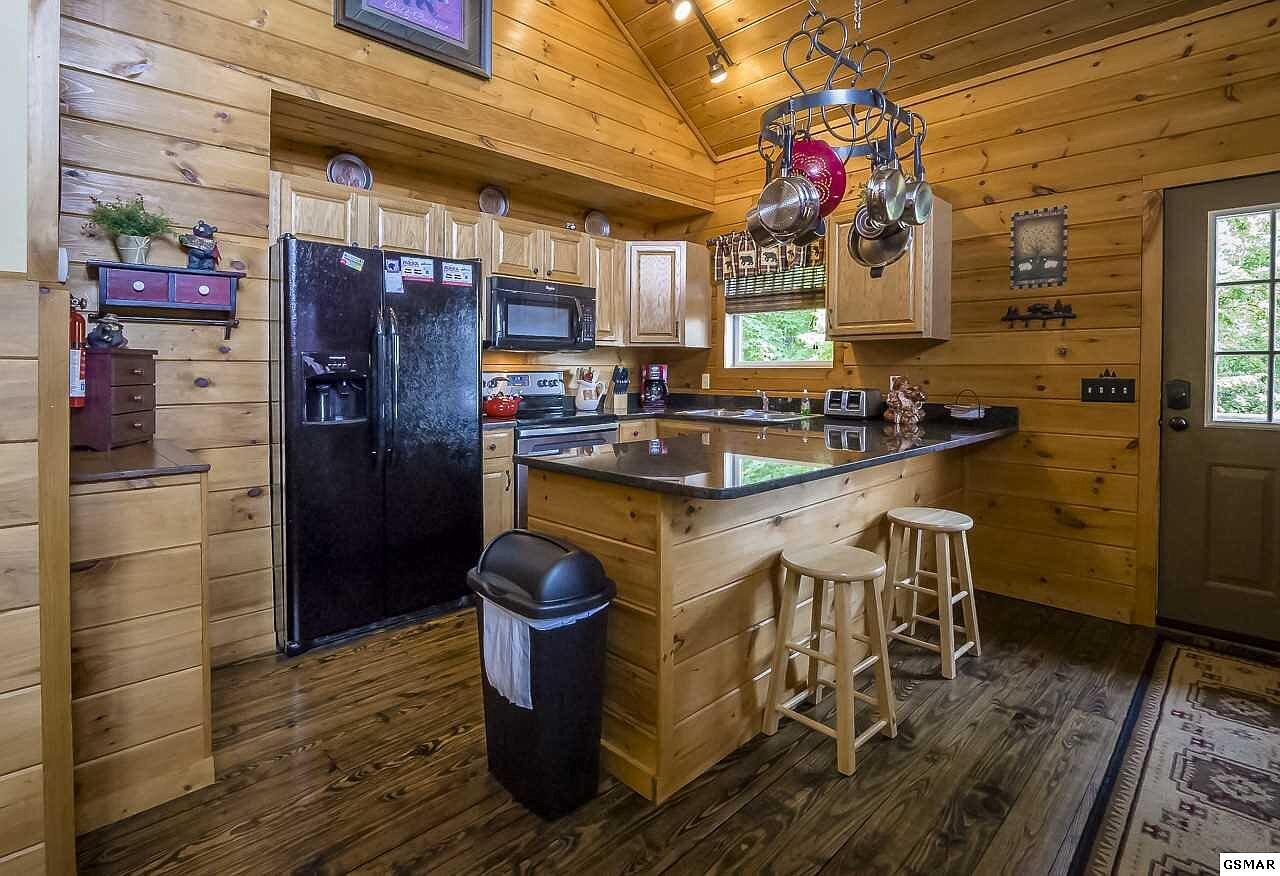
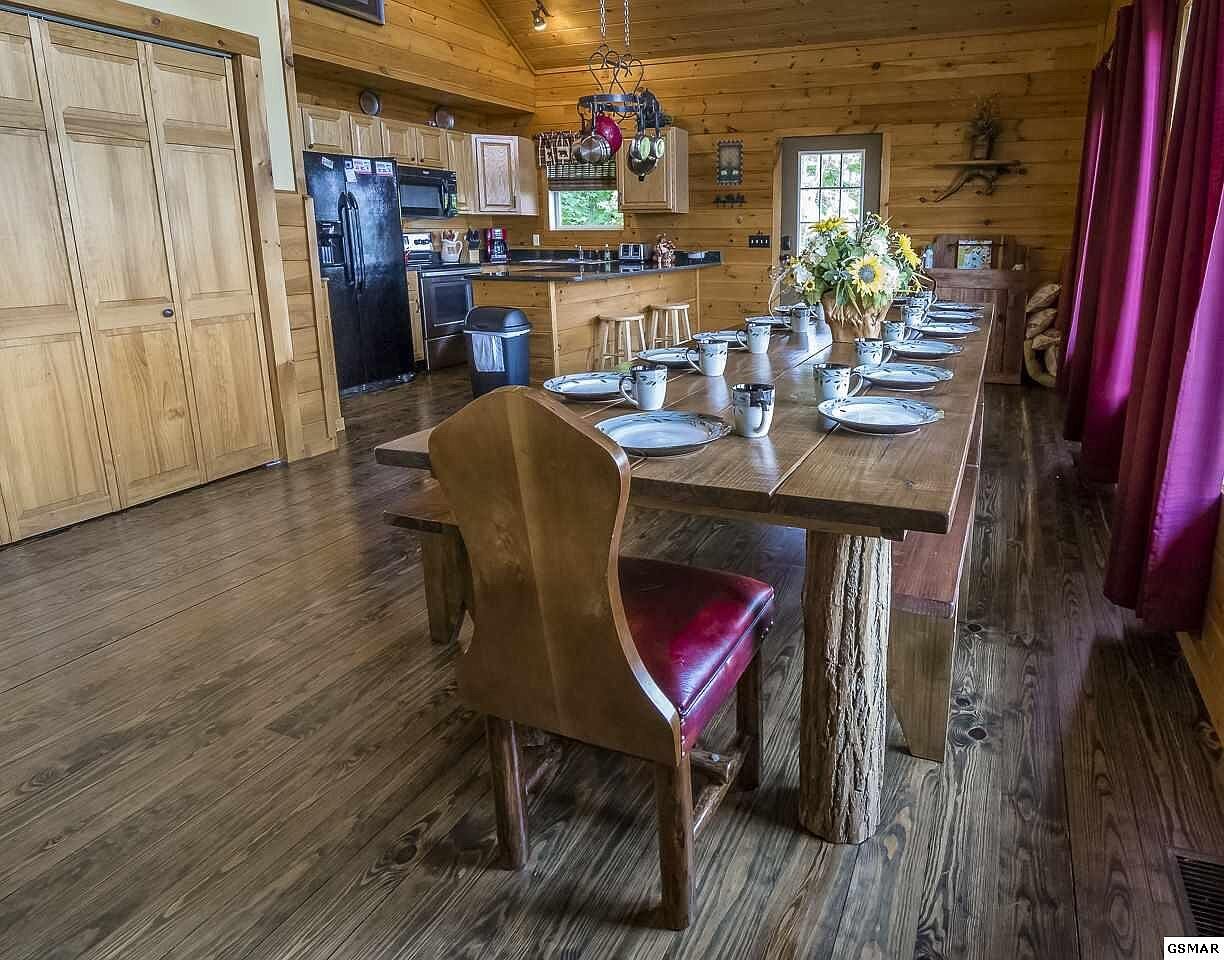
Thankfully we didn’t have to do too much with the kitchen to get it looking fresh! The first think you might notice is the walls… we whitewashed every single inch of this house! We ditched the orange pine tongue and groove and gave it a much brighter look with some white paint + water! Talk about adding brightness…we changed the track lights to this Laurel Foundry chandelier with LED light bulbs, of course. We got rid of the pot and pan ceiling rack and added in some new barstools! We sanded the original wood flooring down and are able to see all of the character now & added a shelf pantry, which you can barely see on the left.
The cabinetry only needed a fresh coat of stain and new hardware! We went with a dark grey to give contrast with the white walls! We initially thought we would get new countertops, but this was NOT needed in the end and became a good place to save some $$$.
We scored amazing discounts with our friends at The Home Depot and were able to replace the refrigerator and the microwave at a good cost! Finally, we replaced the kitchen sink with a farmhouse sink and added a disposal!
We were very happy with how our little kitchen turned out!
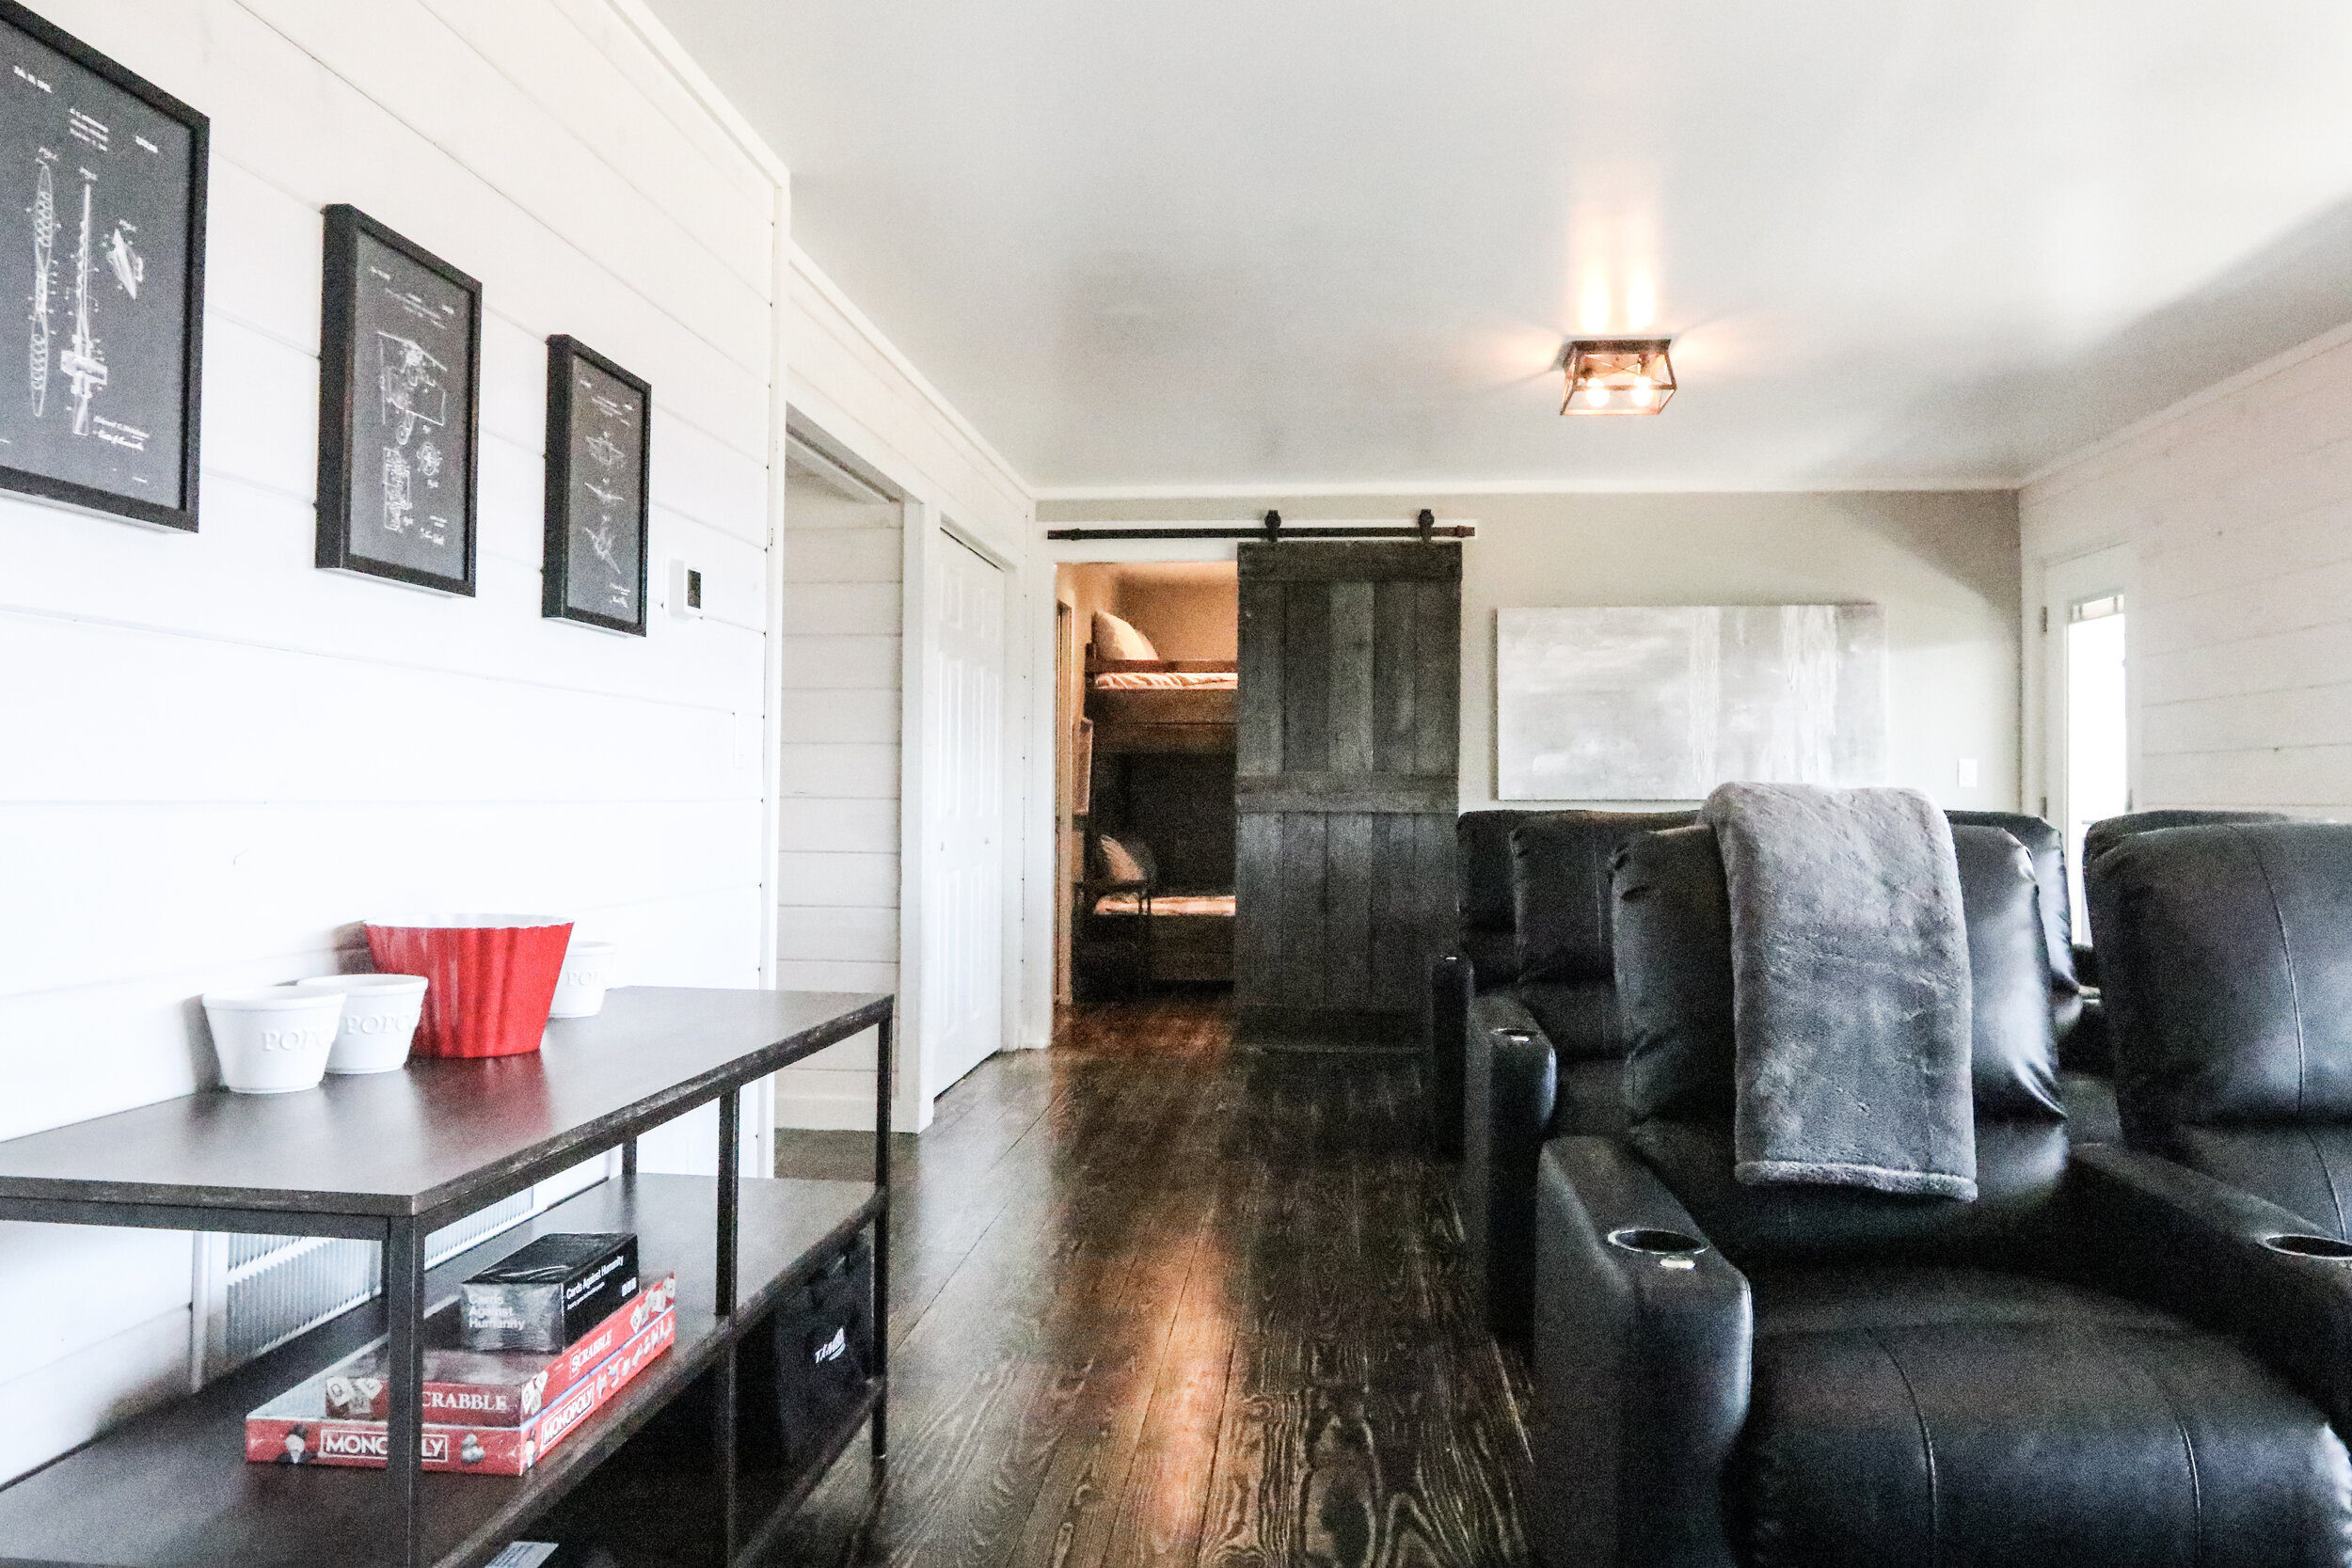
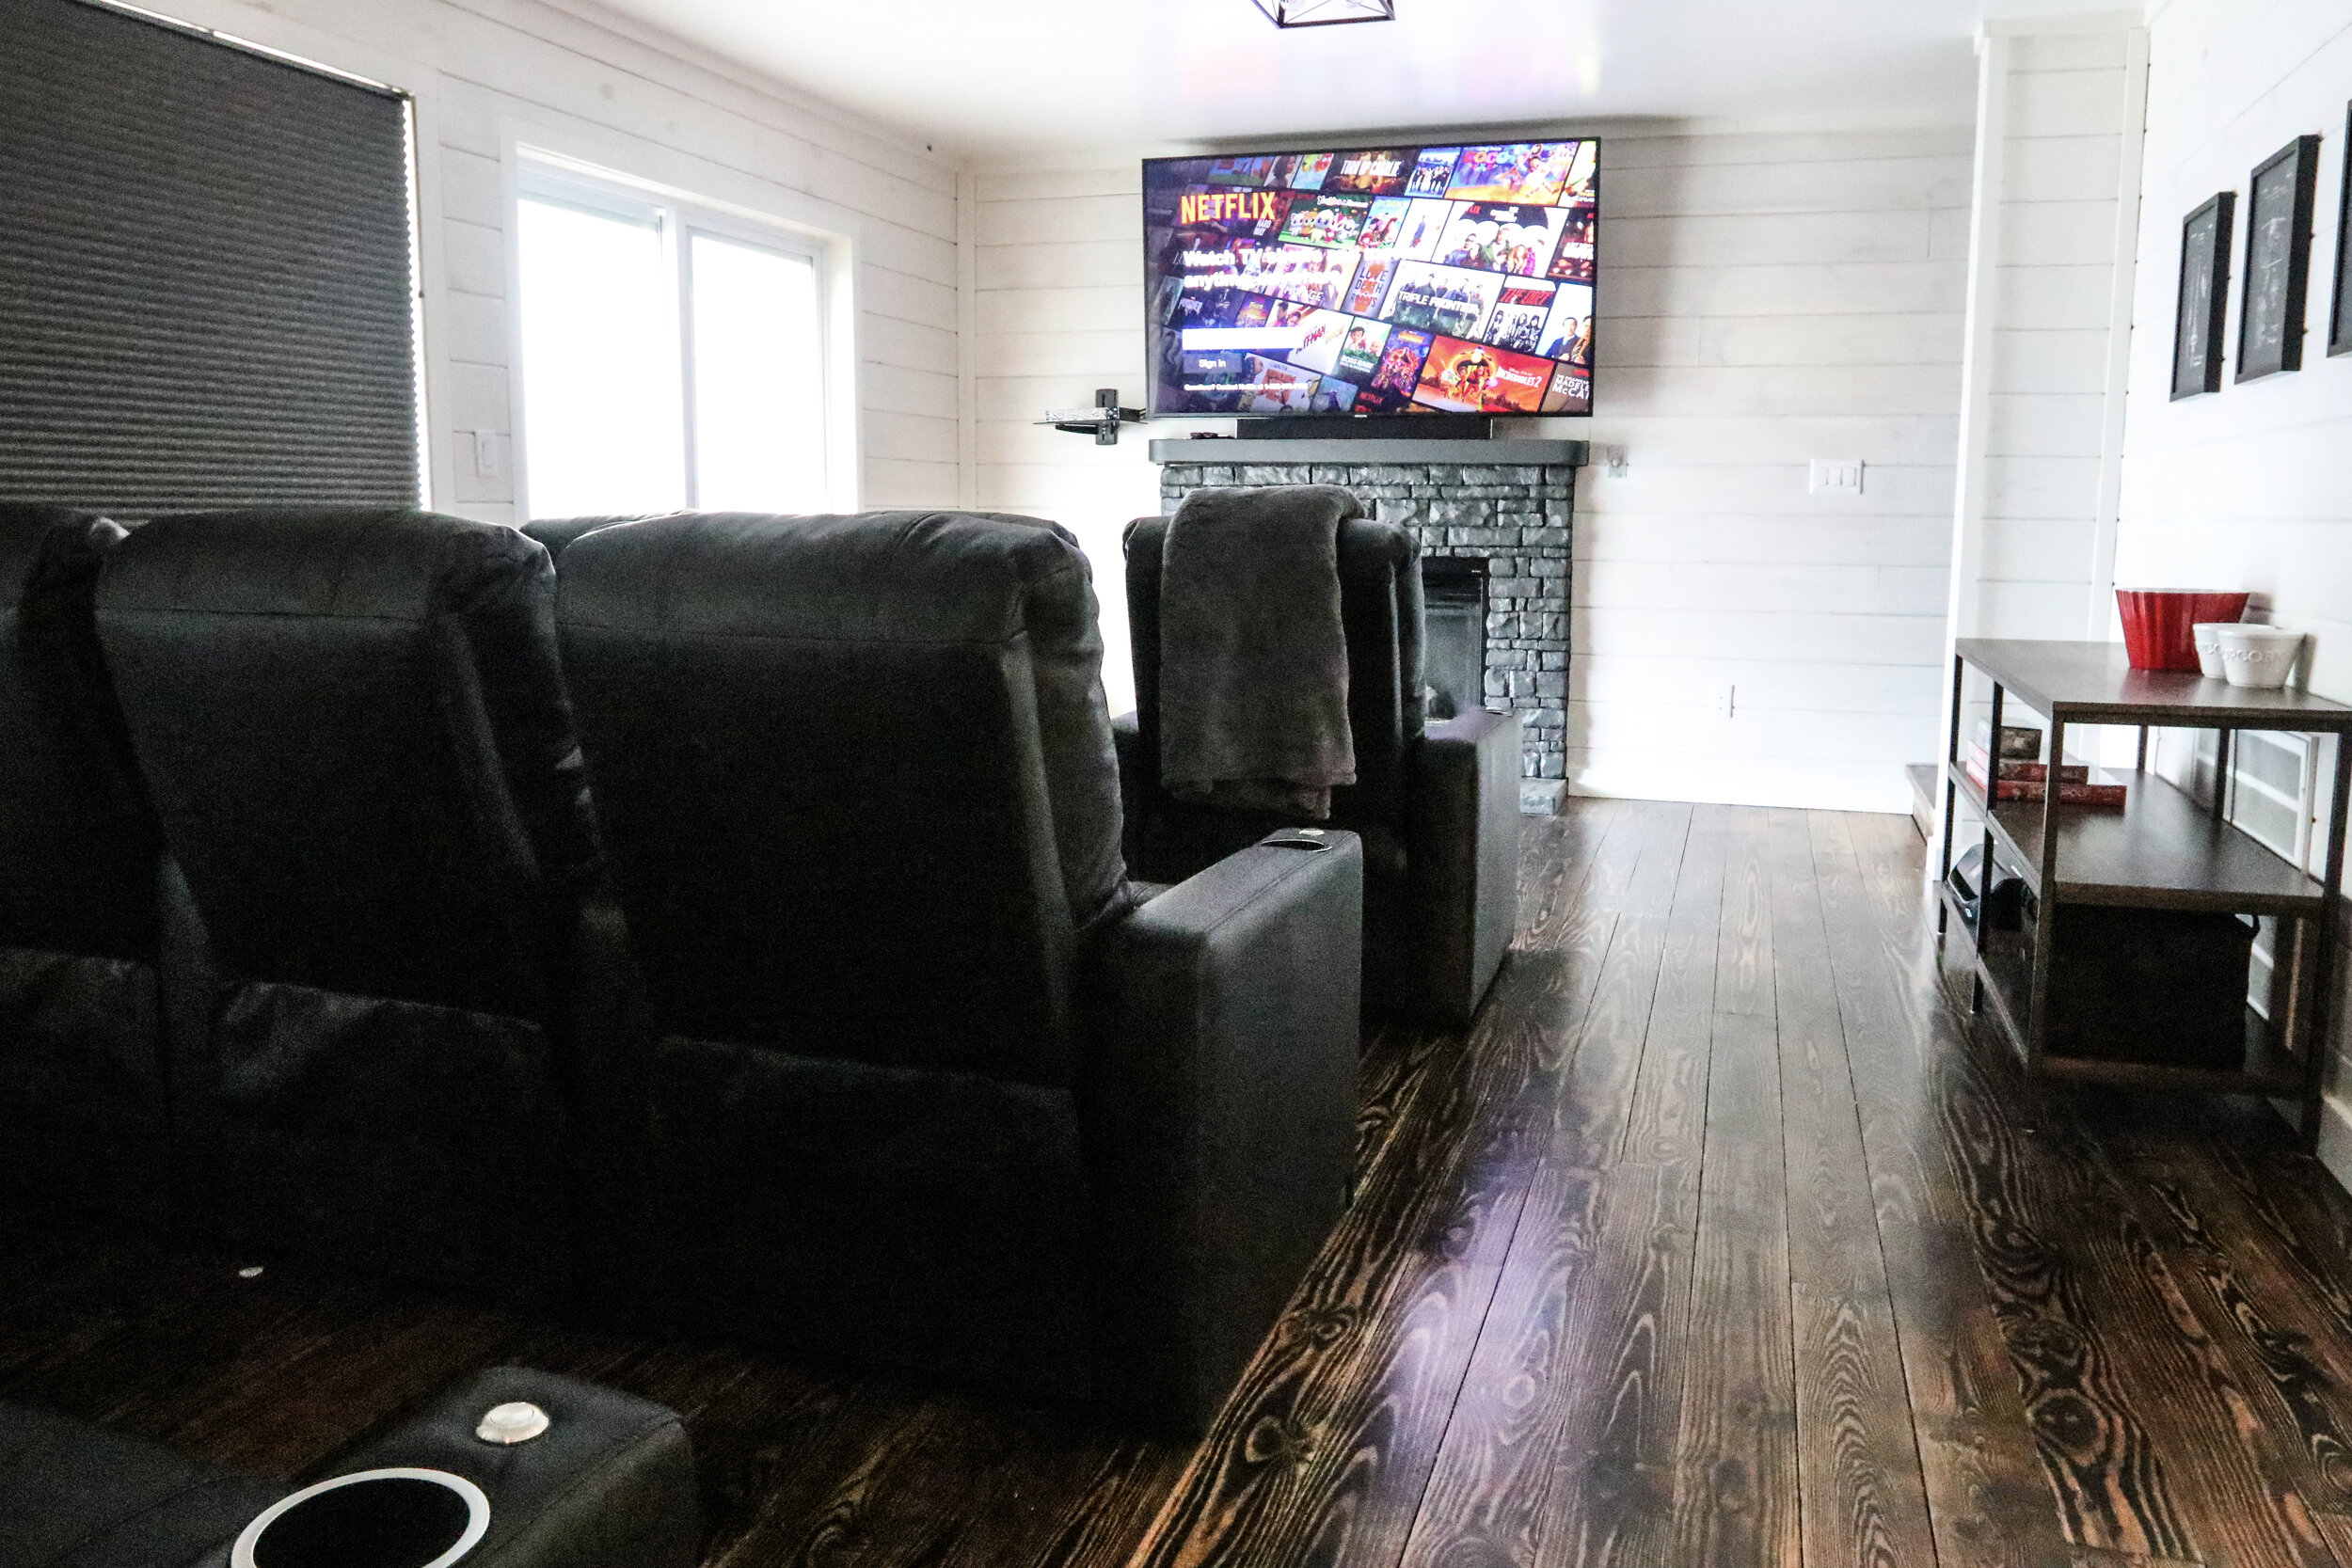
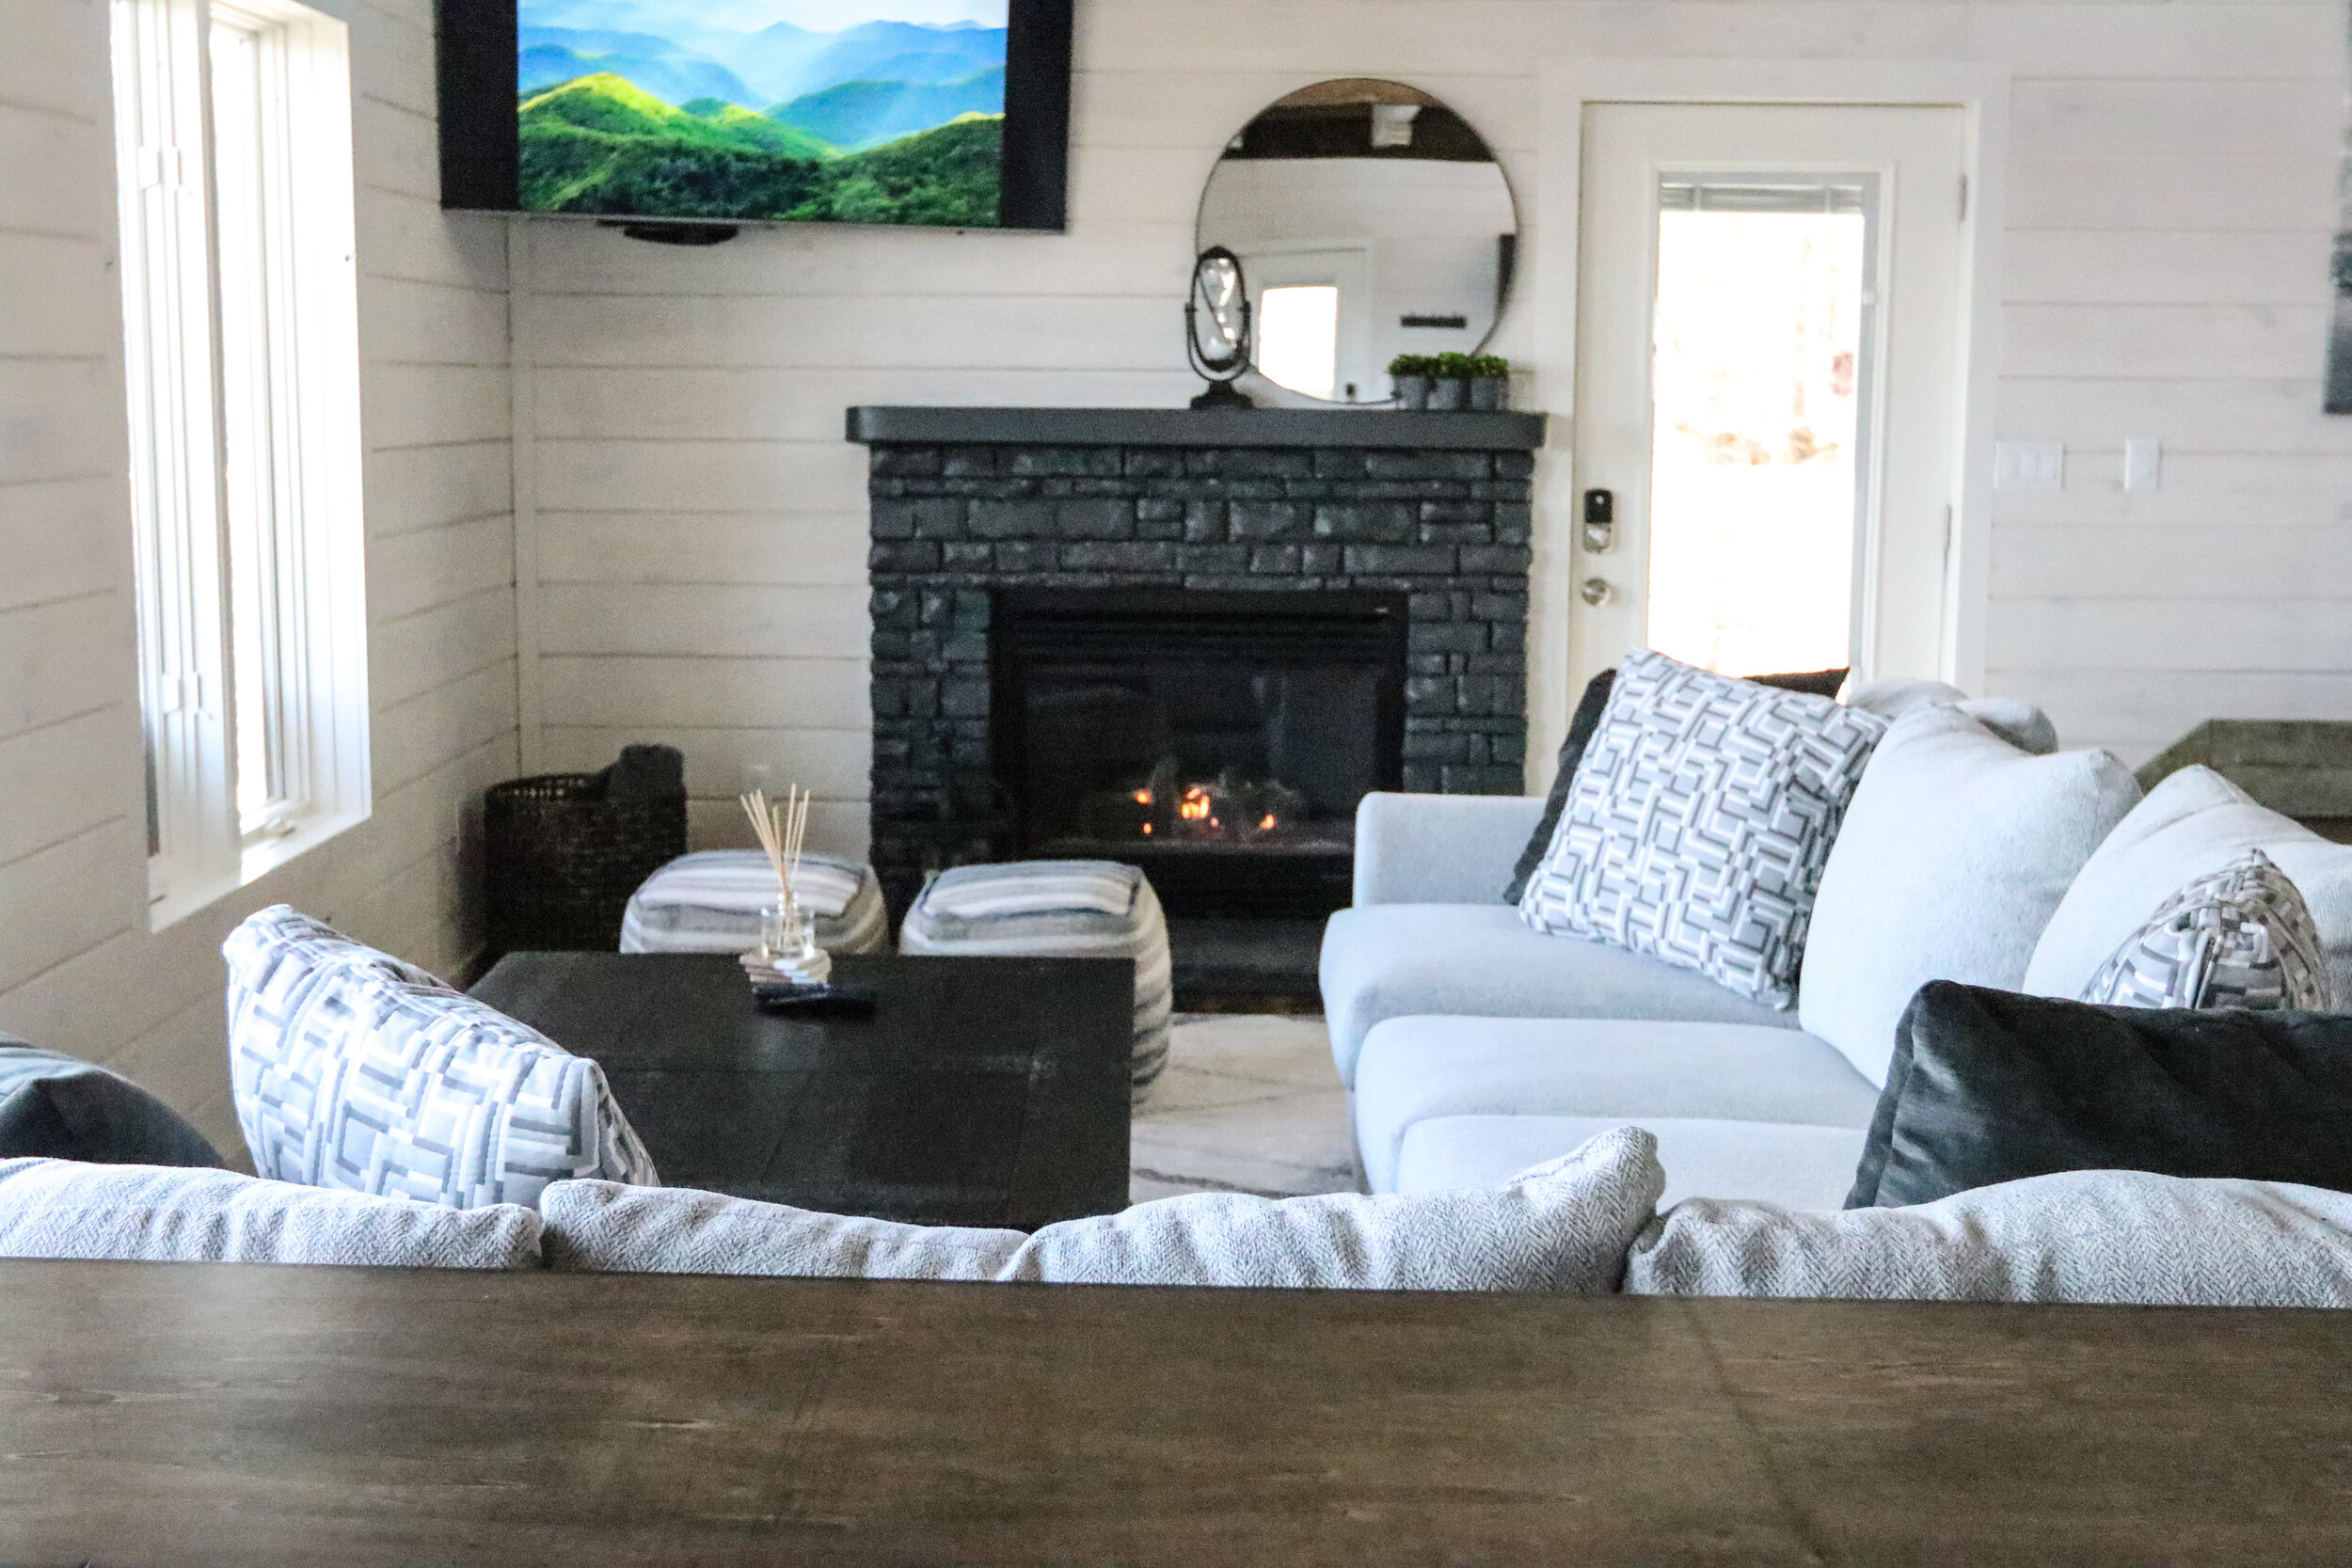
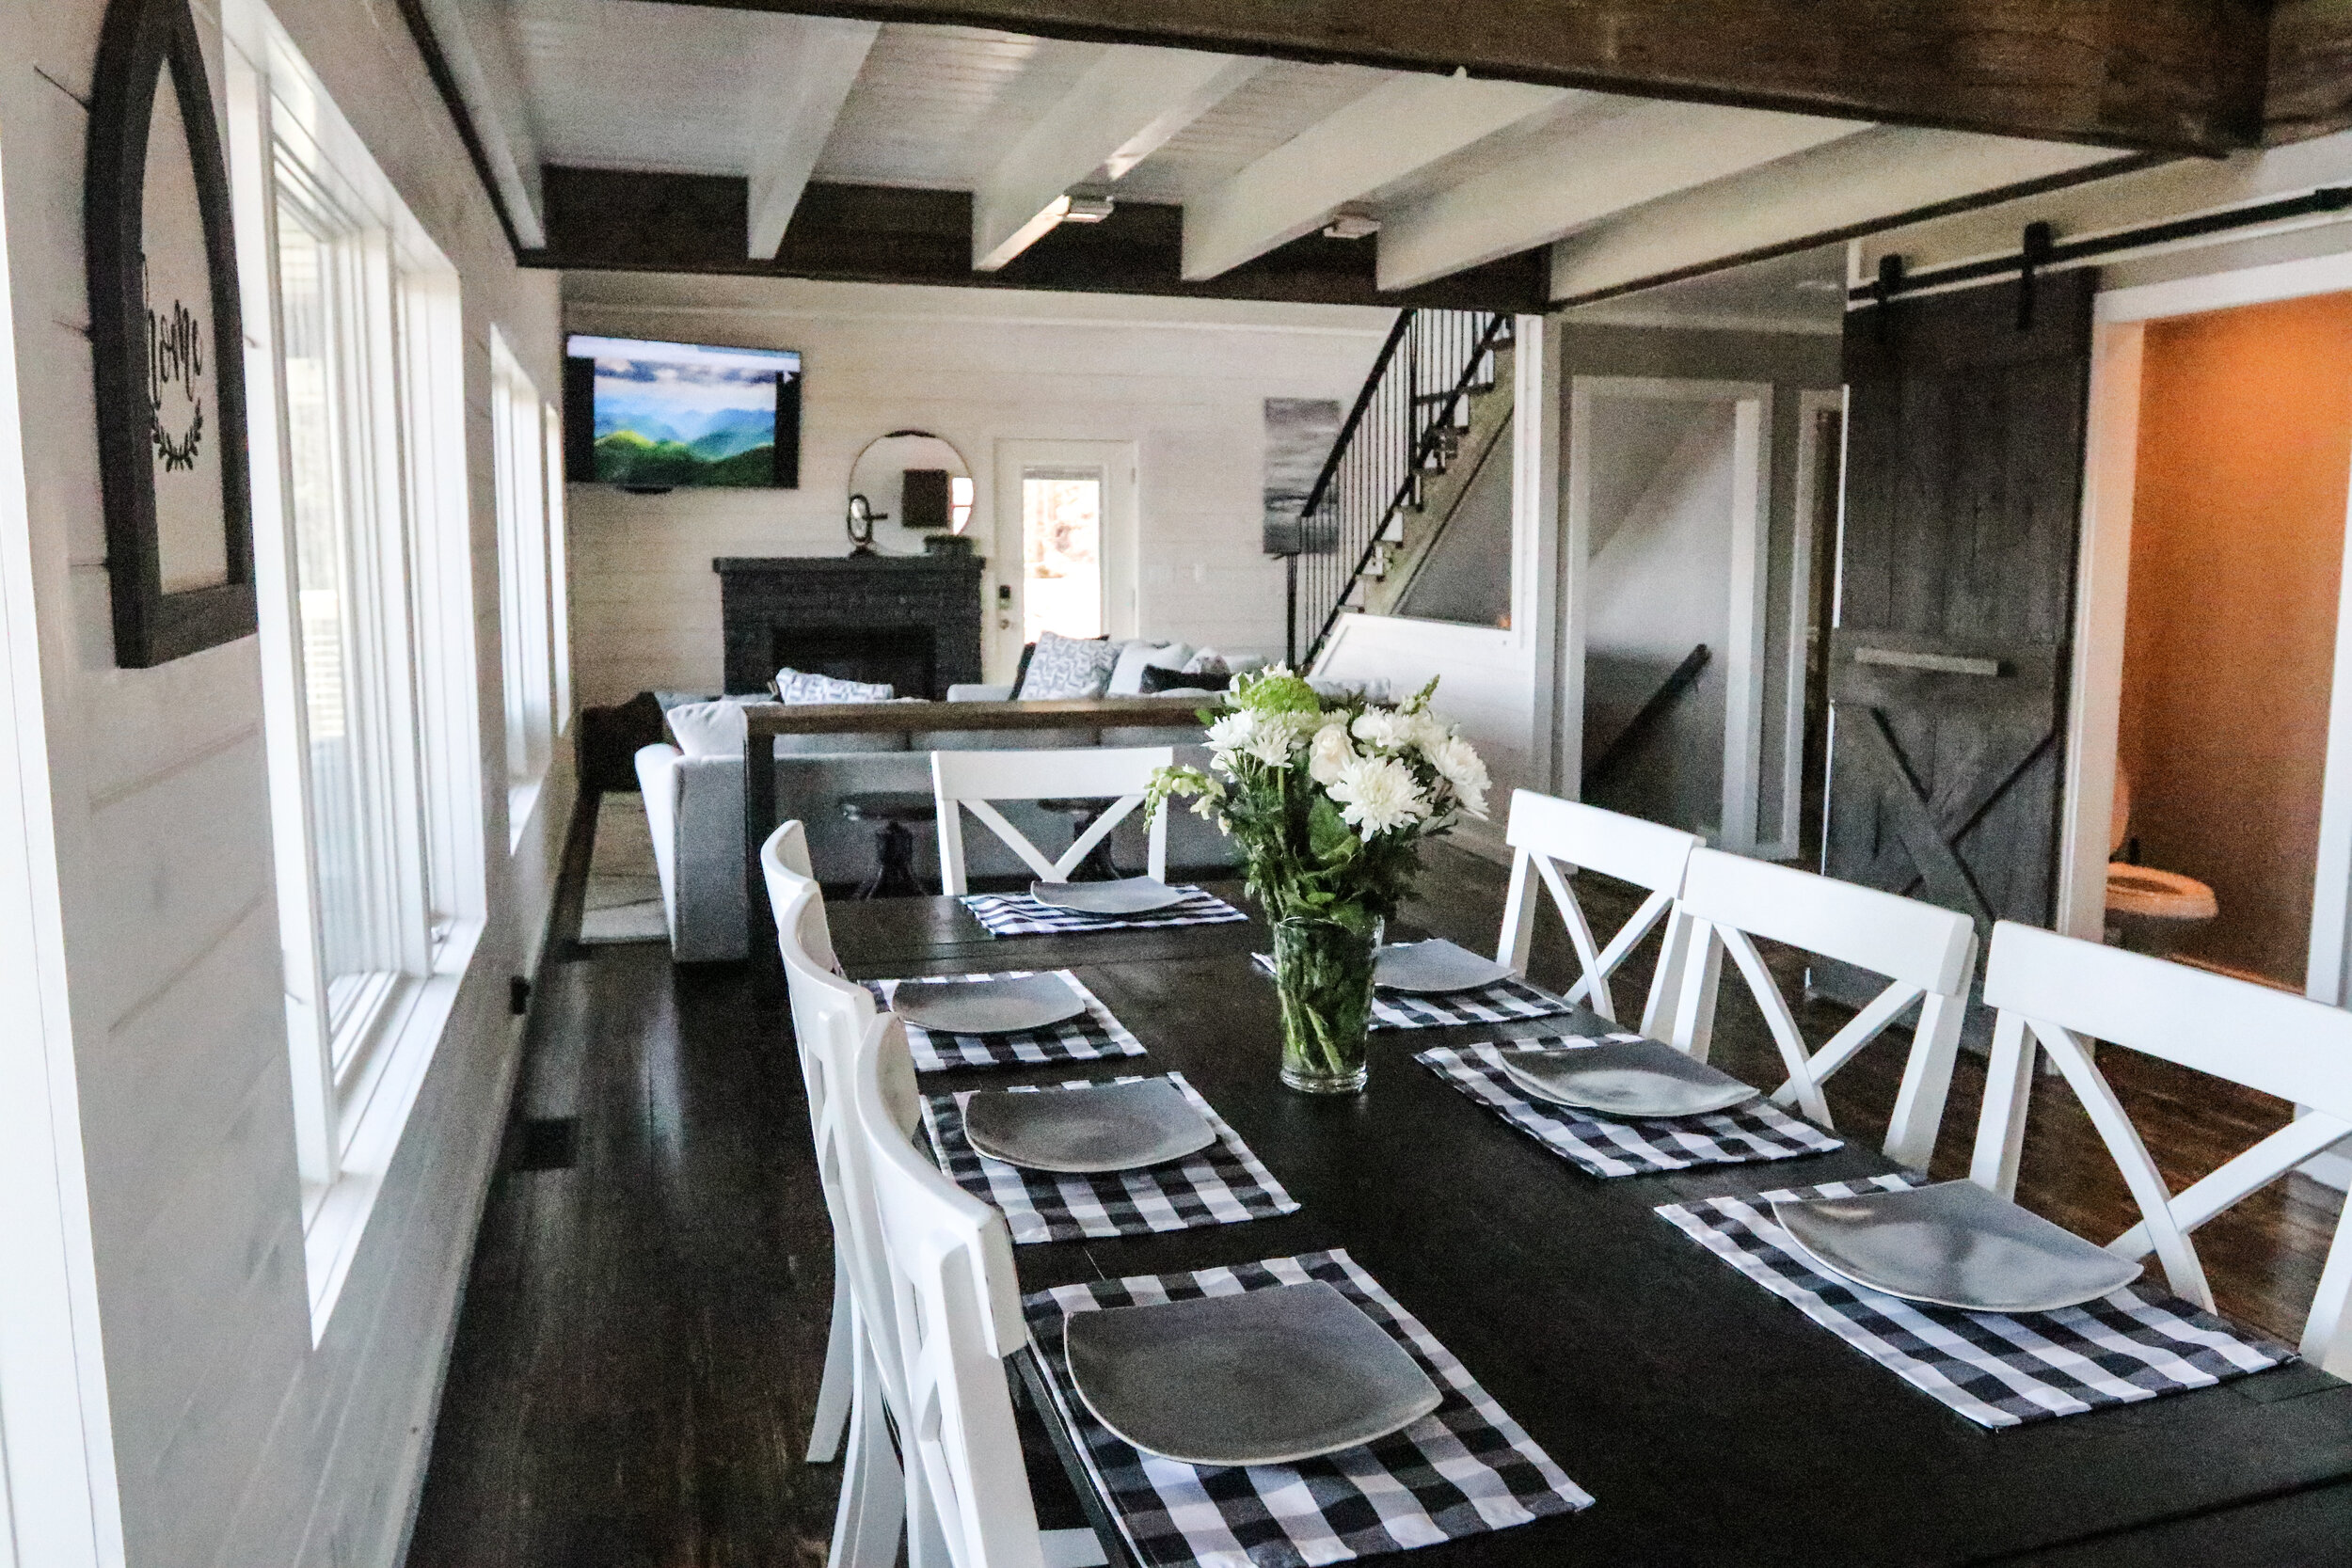
Back to the THEATER:


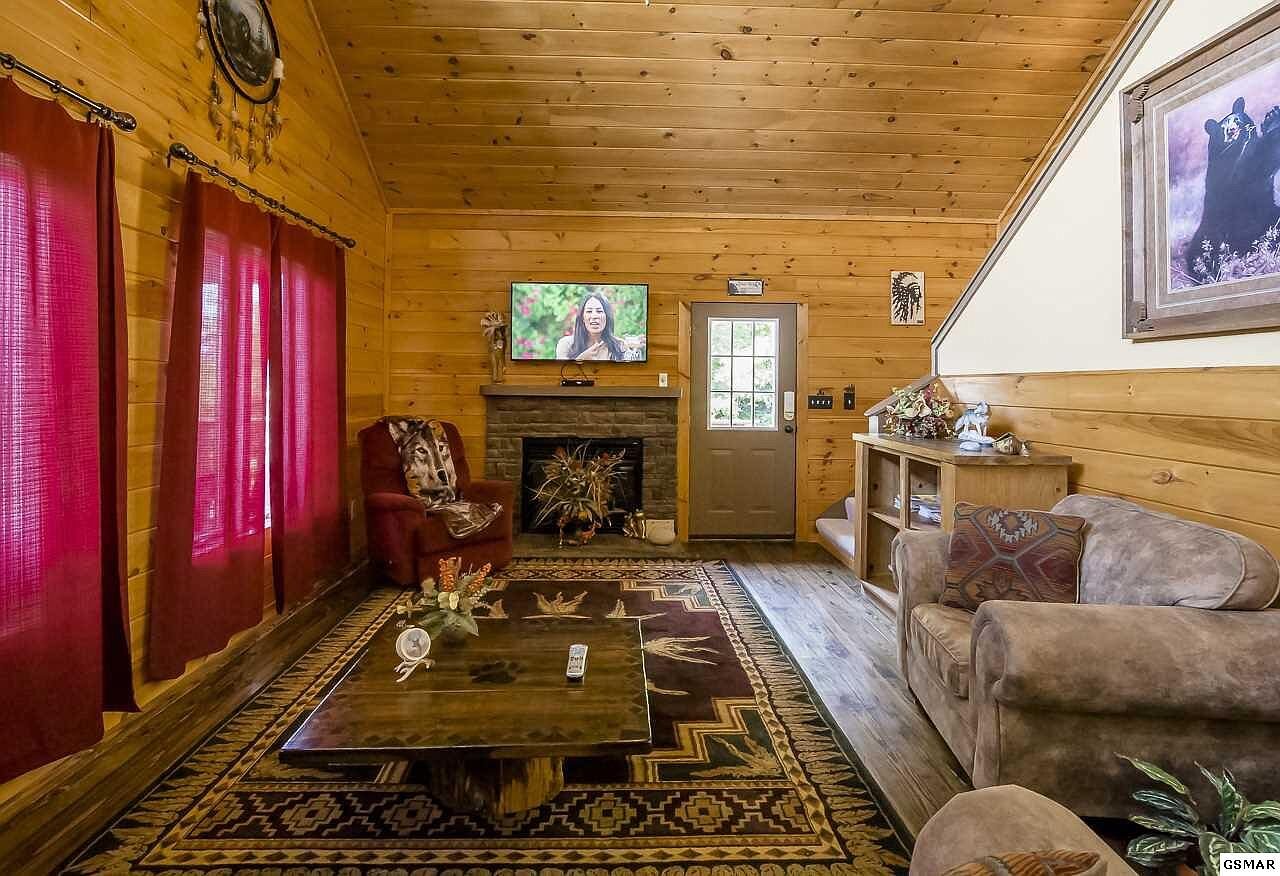
I placed the before picture here in the middle _________________________________SO you can see just how different this room became! Keep in mind that adding the theater was the 1 idea that led to most of the hefty renovations in this home…
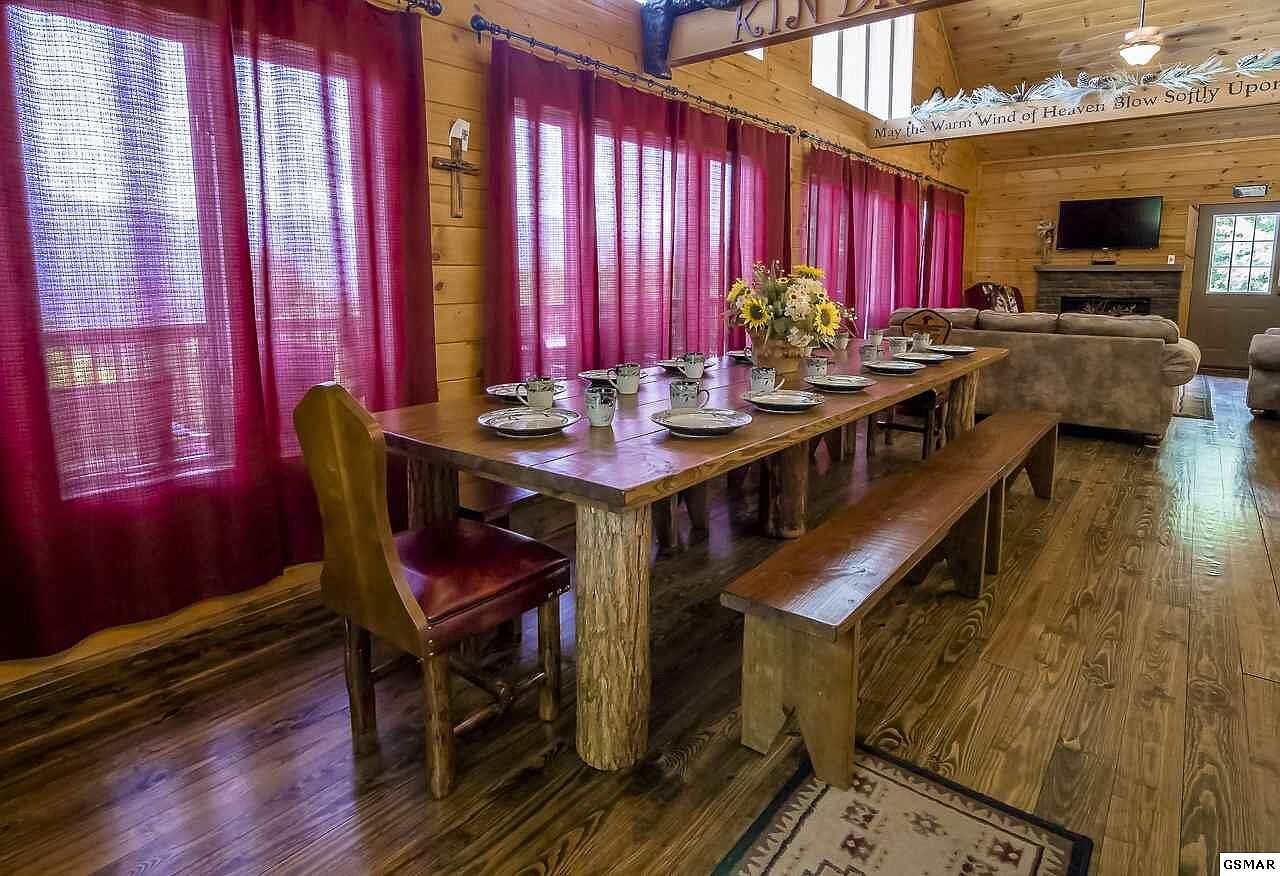
Again, we whitewashed the walls, painted the ceiling and trim and sanded the floors downstairs as well! We redesigned the “front” portion of this room by creating a theater with (9) reclining (any super super comfy) theater seats and placed a MASSIVE flat screen- SMART TV as the theater screen! We added new lighting in the ceiling and of course, new window treatments!
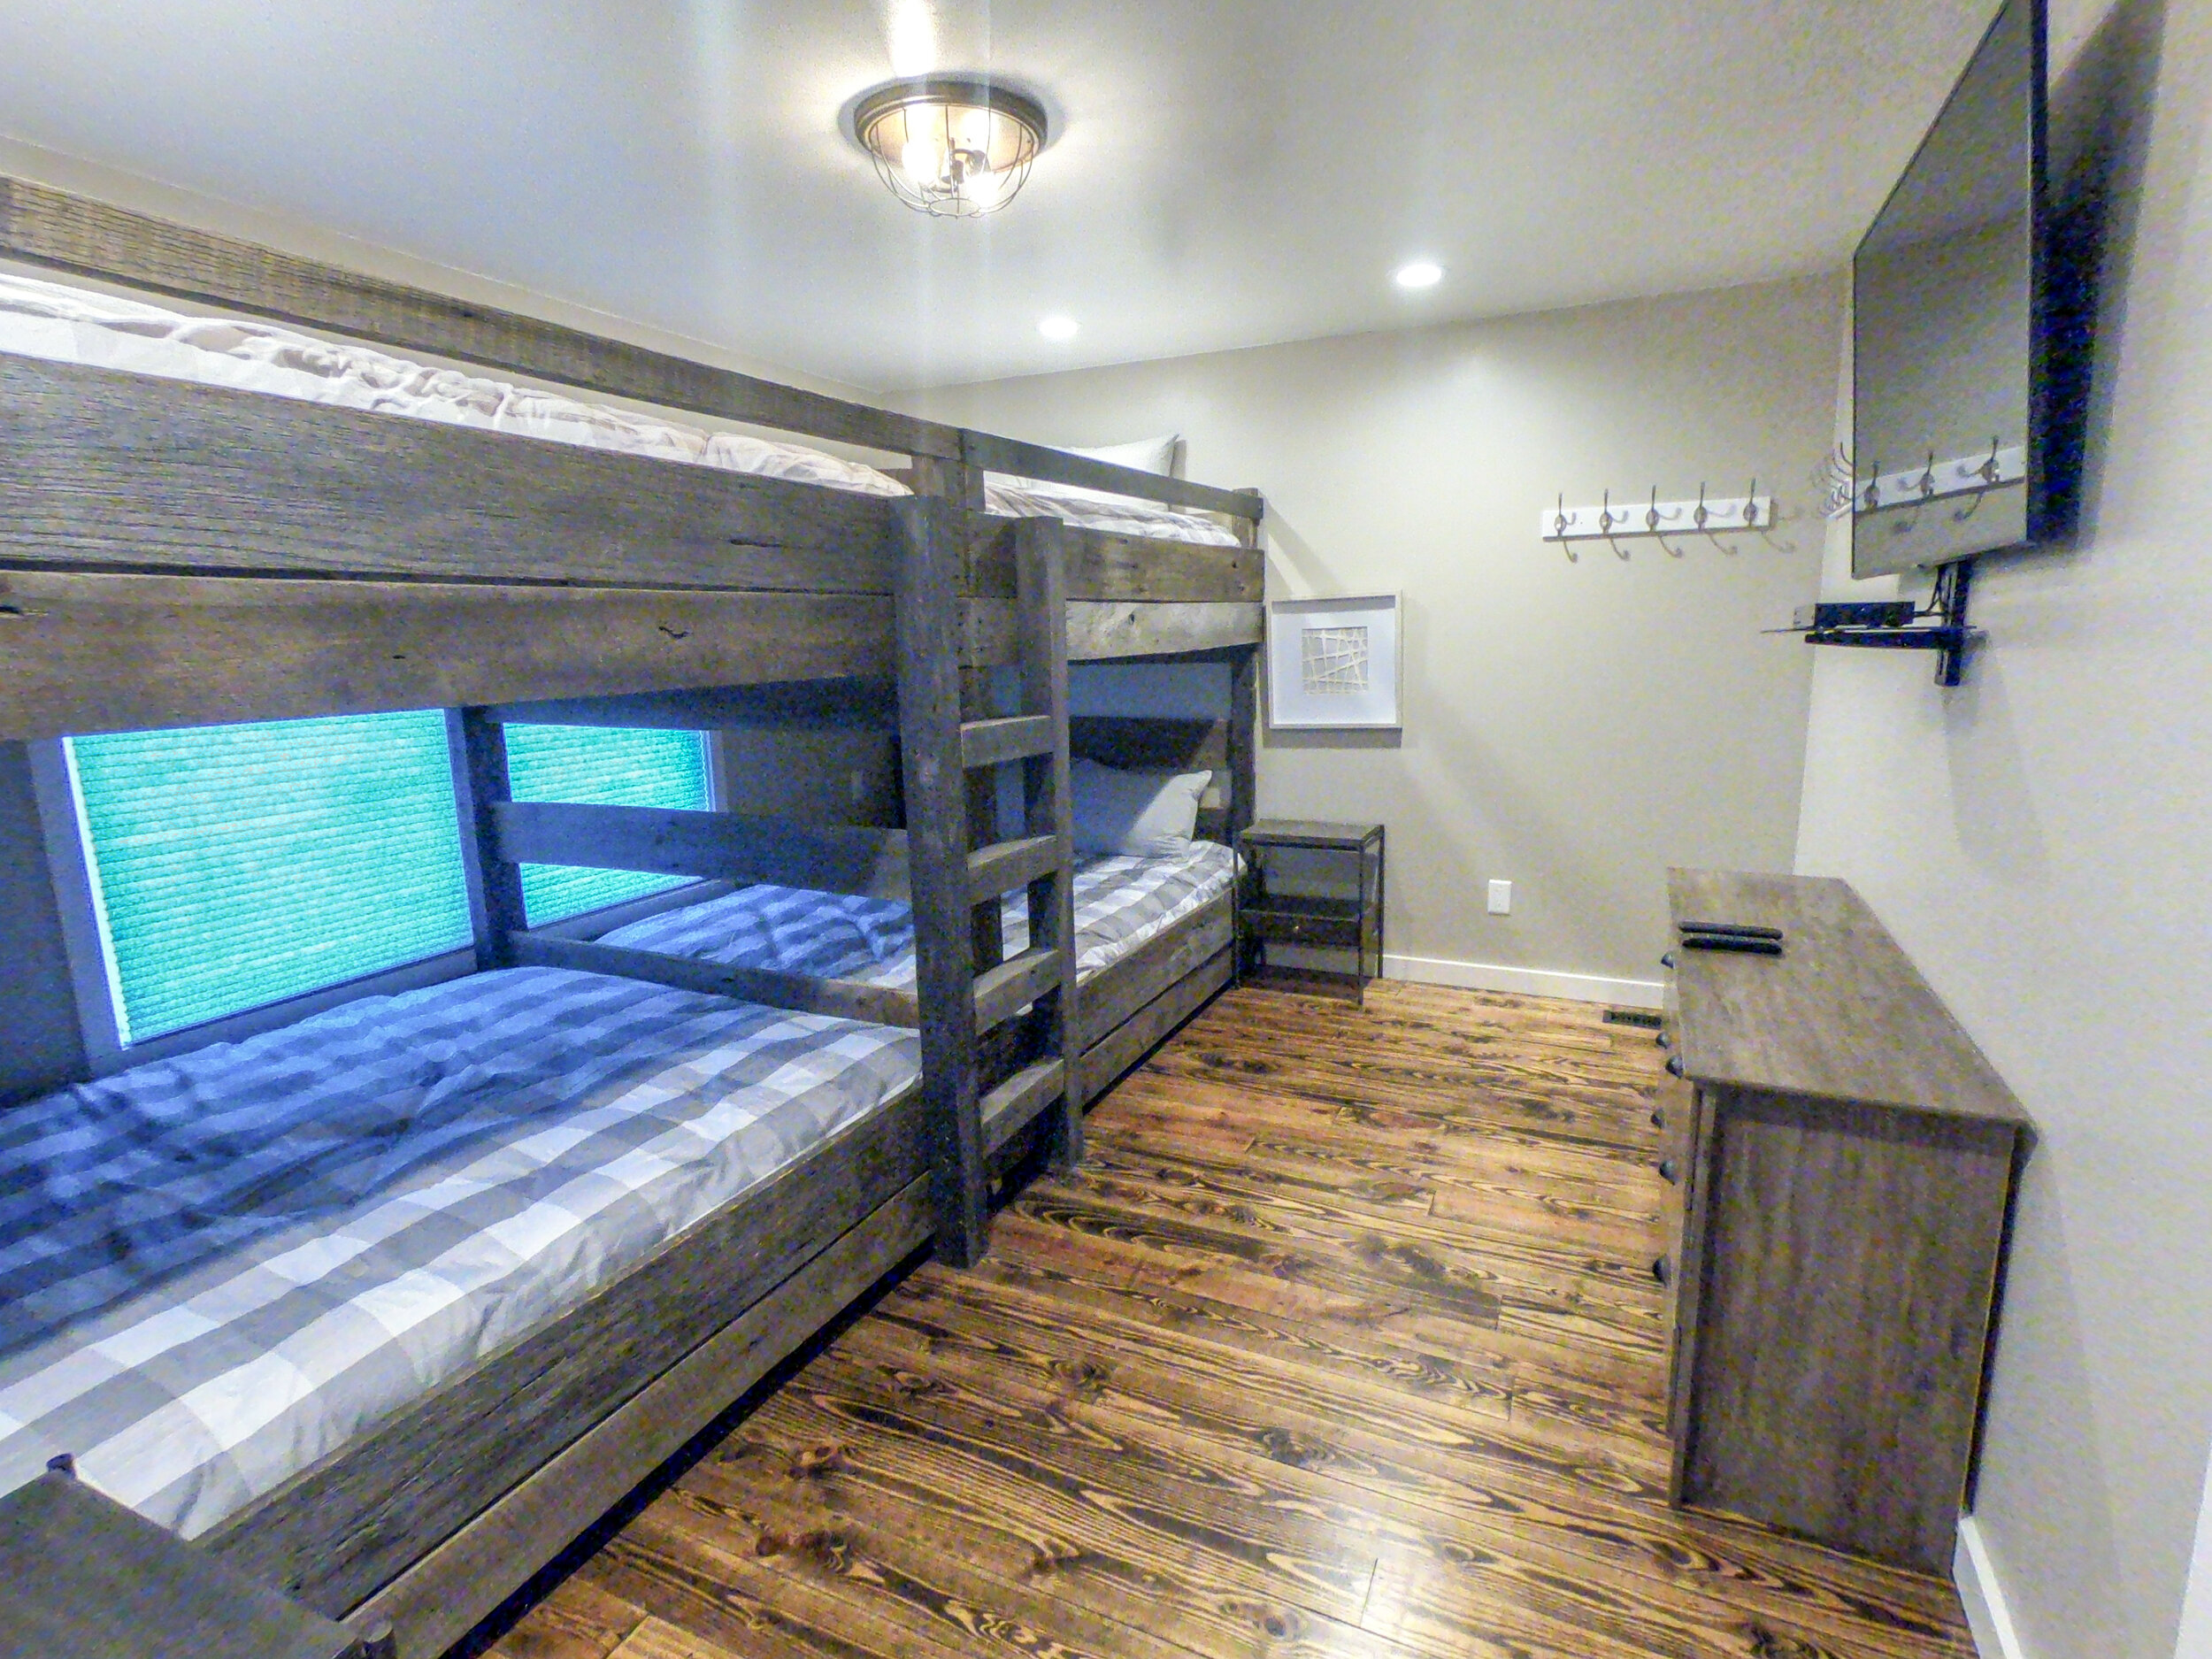
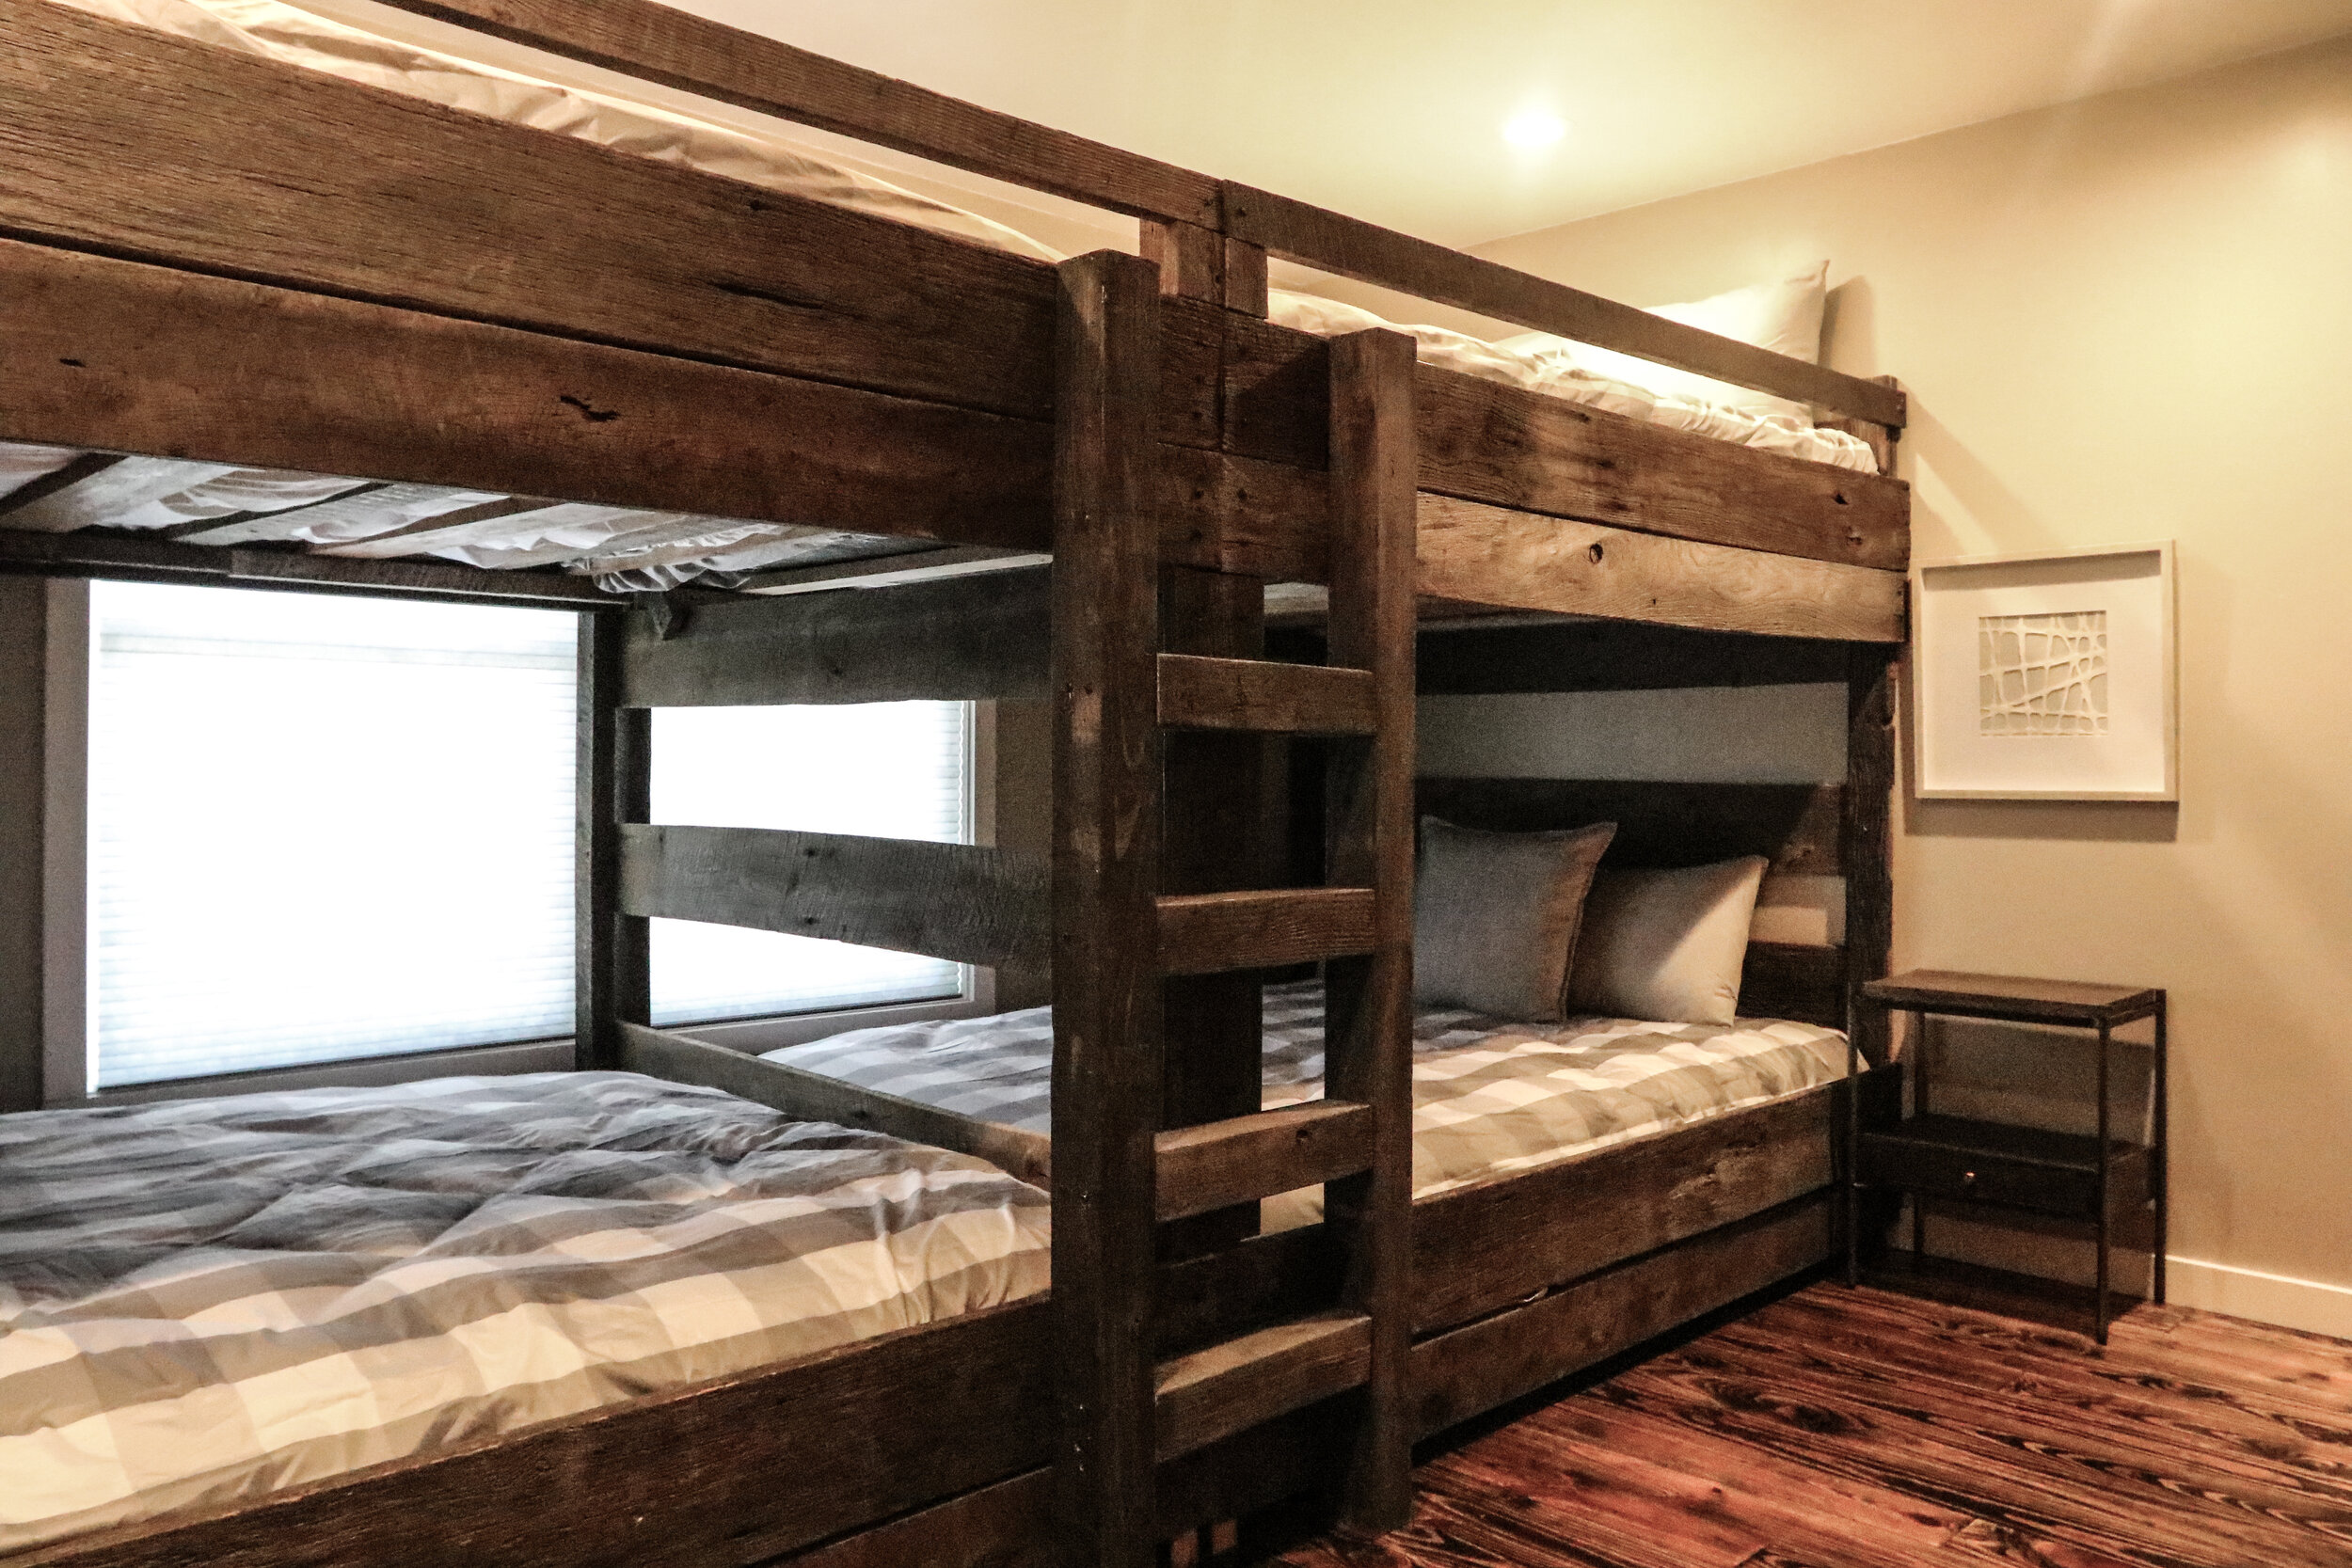
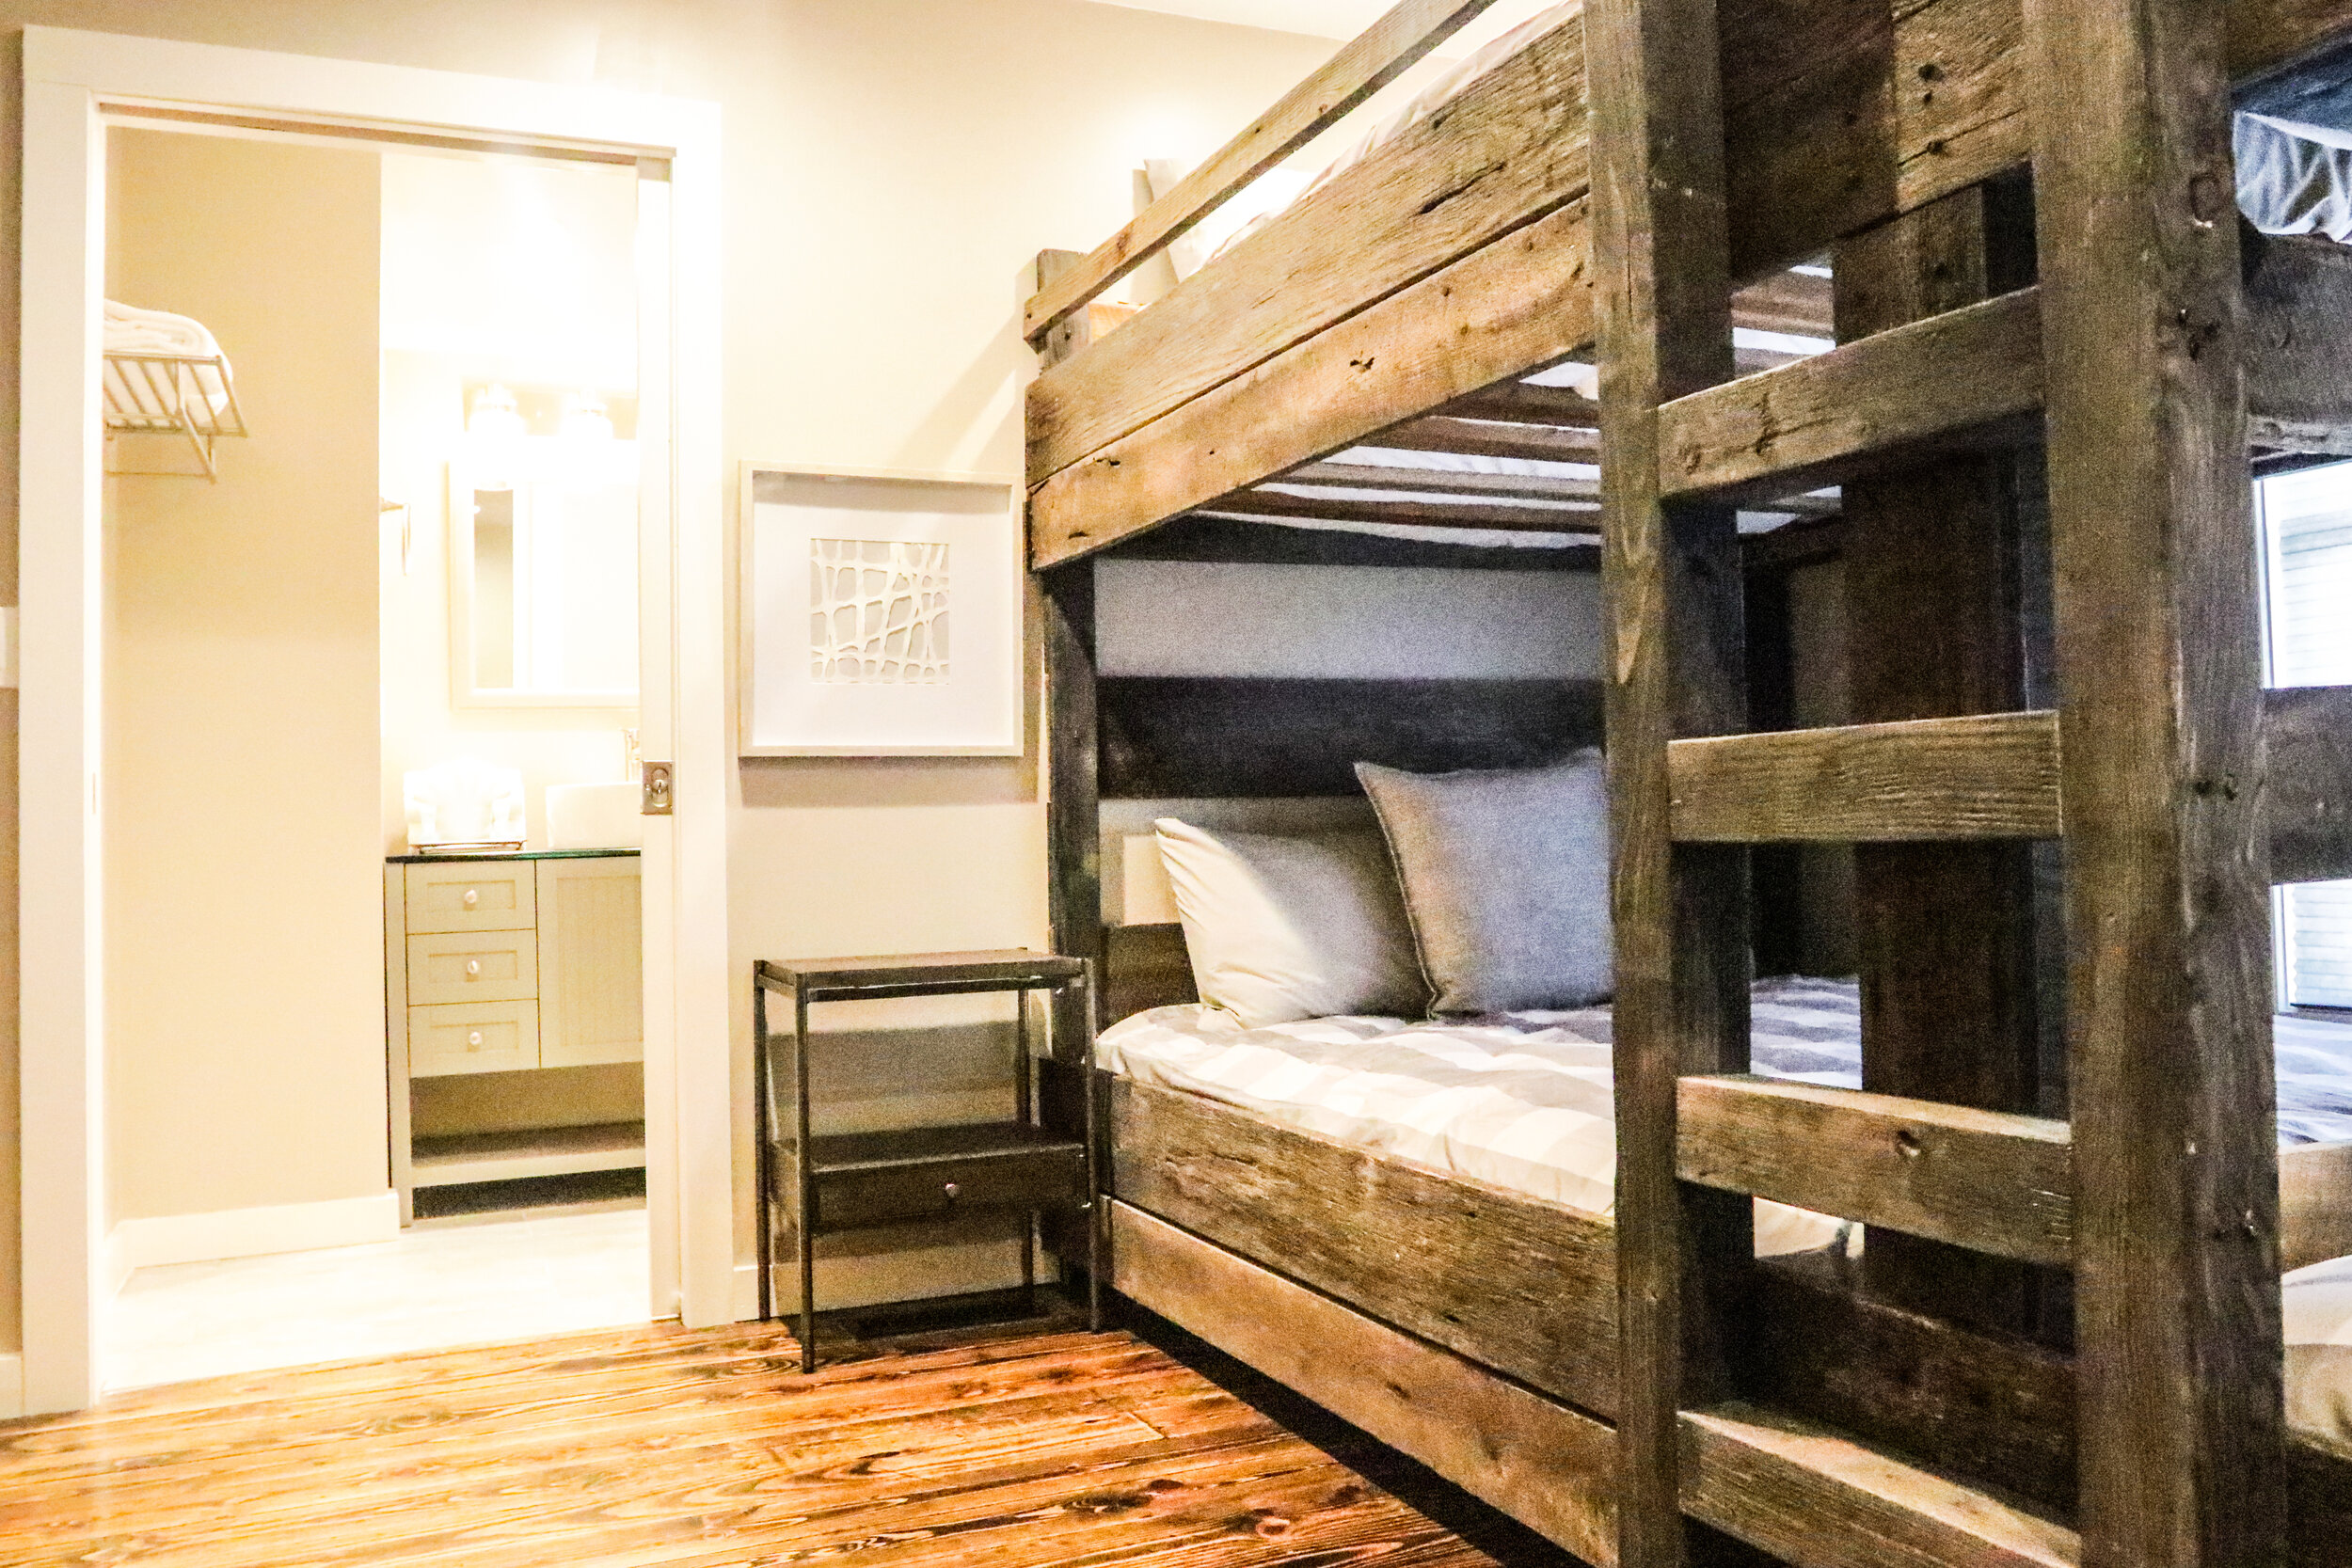
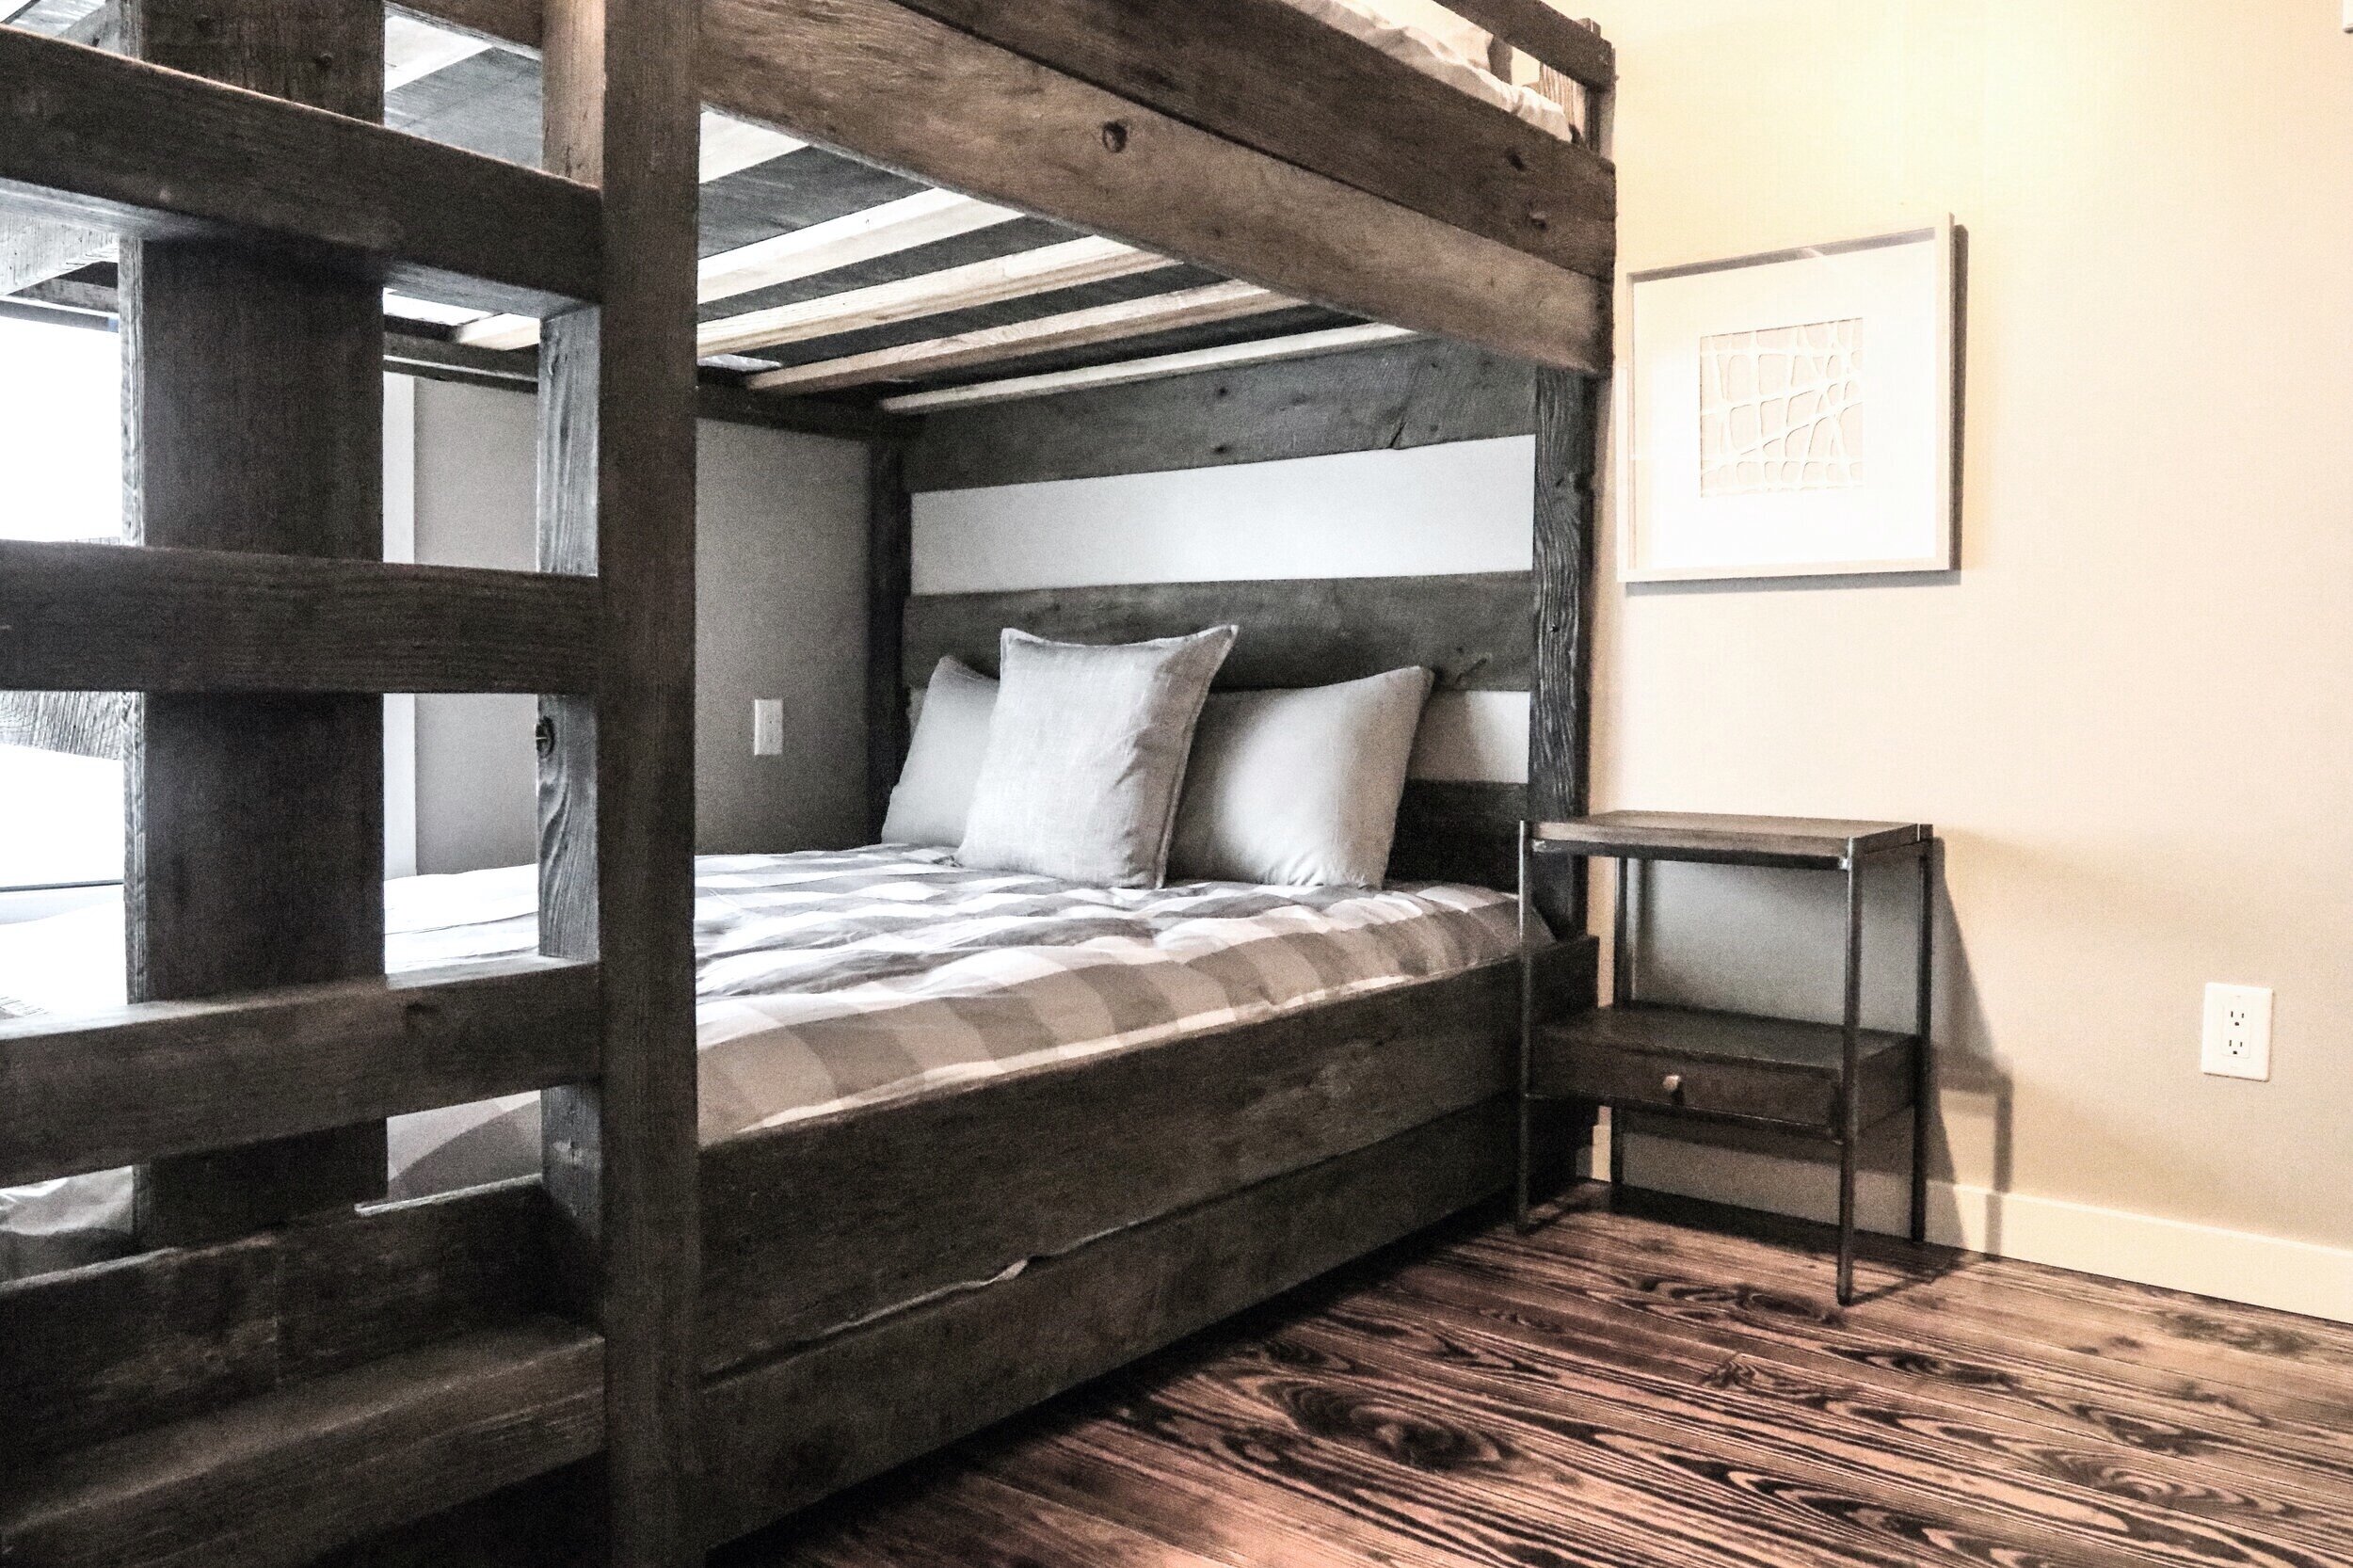
Now you might be wondering what is behind that beautiful barn door… It’s actually a bunk room we created! We added an entire bedroom that turned this home into a 5 bedroom home and now, instead of sleeping 8 people, this house sleeps 16! Each bunk is a queen mattress because we didn’t want this home to be JUST for kids! One of the neat things about the beds and the barn door you see, is that the wood actually came from an old barn! We have a friend who created these for us and we LOVE them.

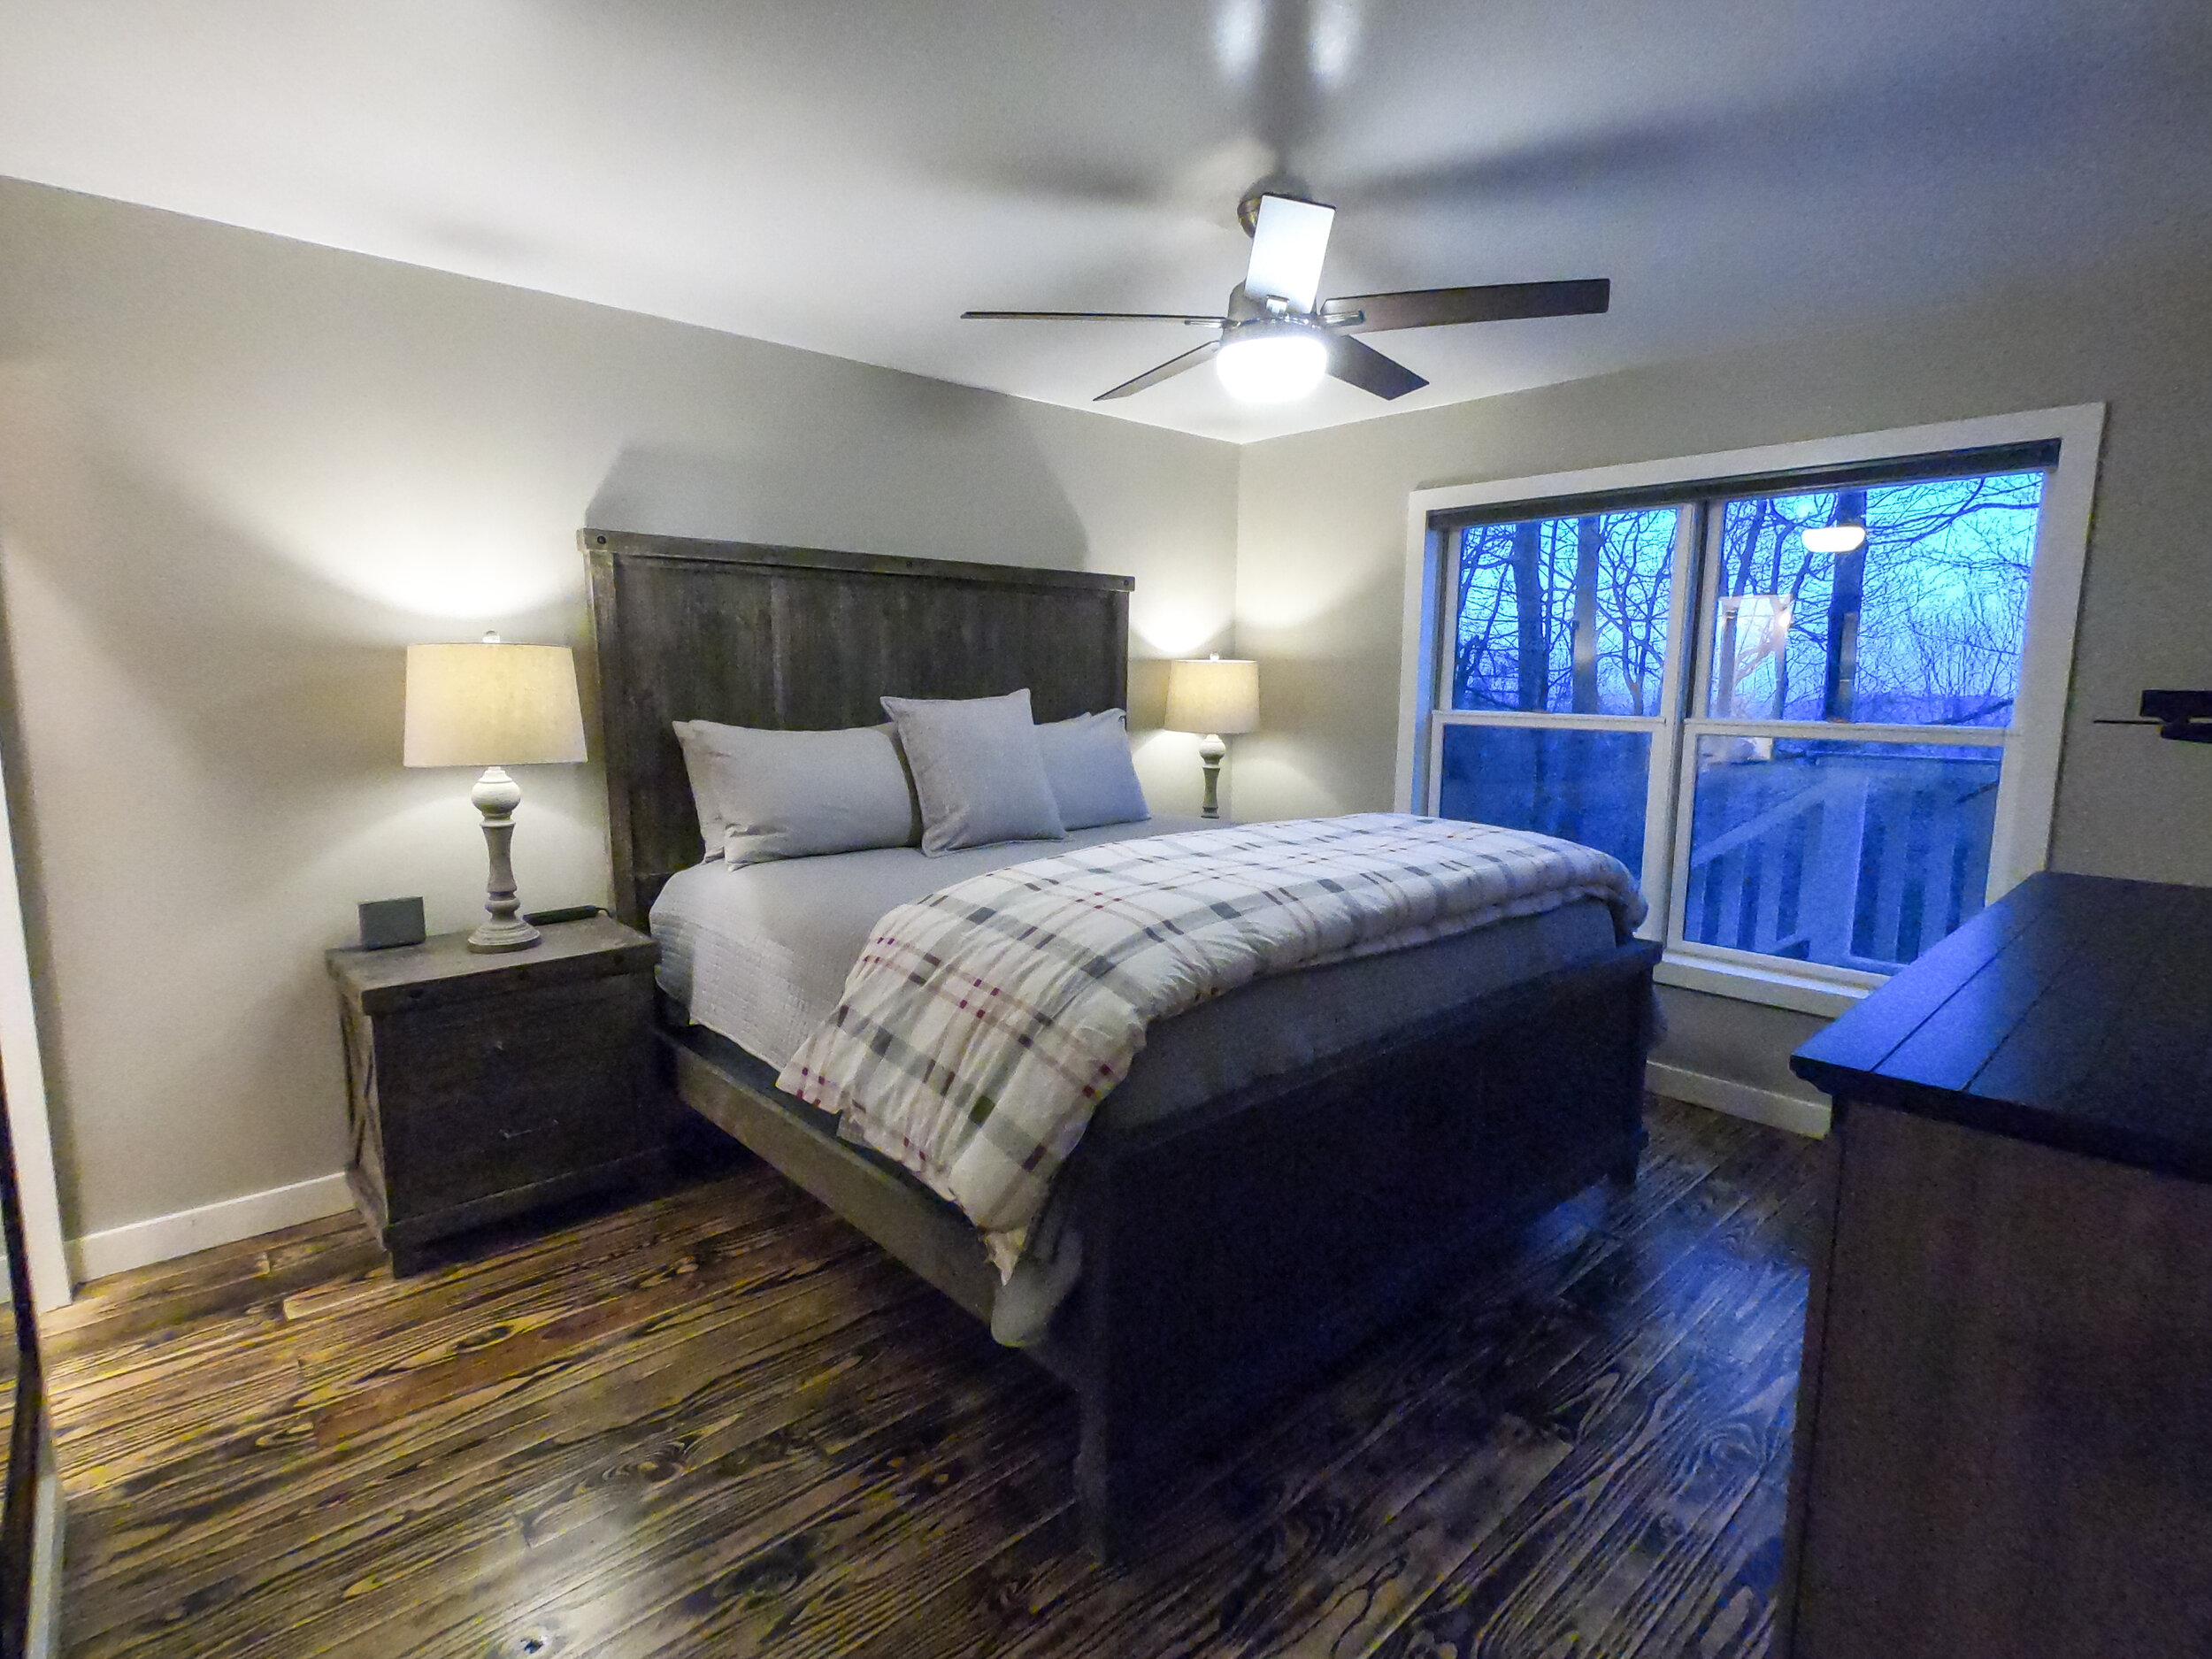
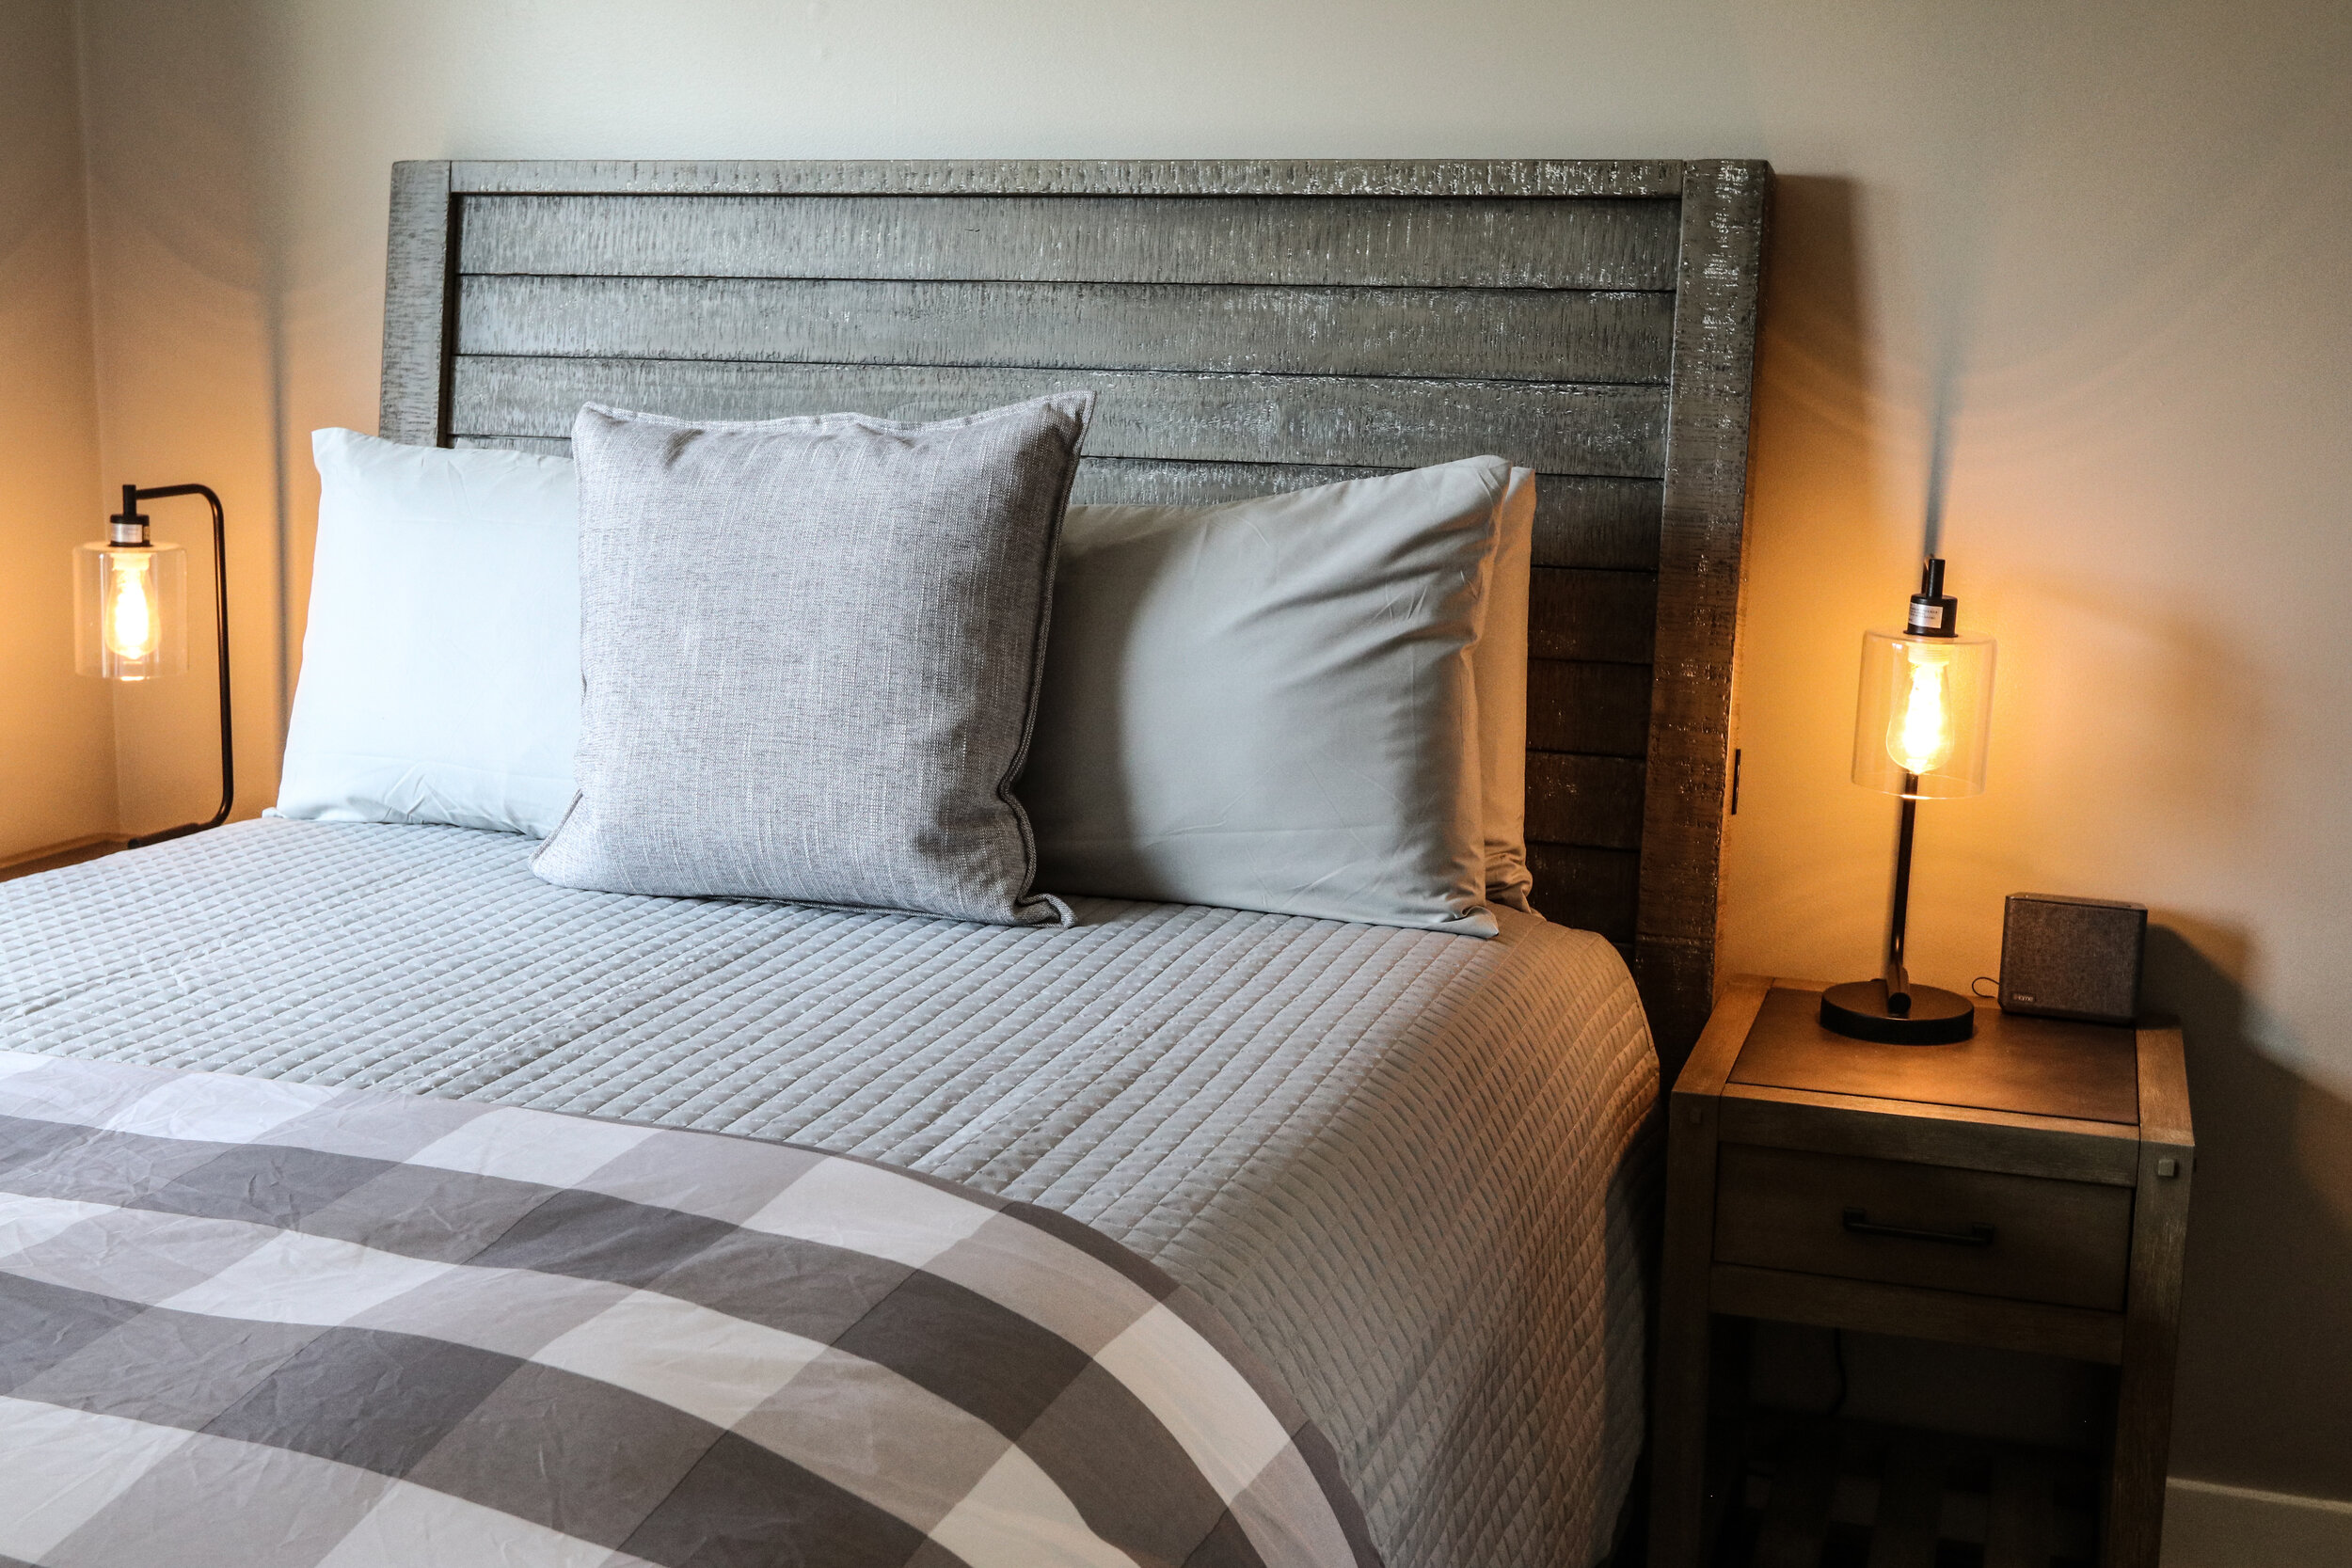
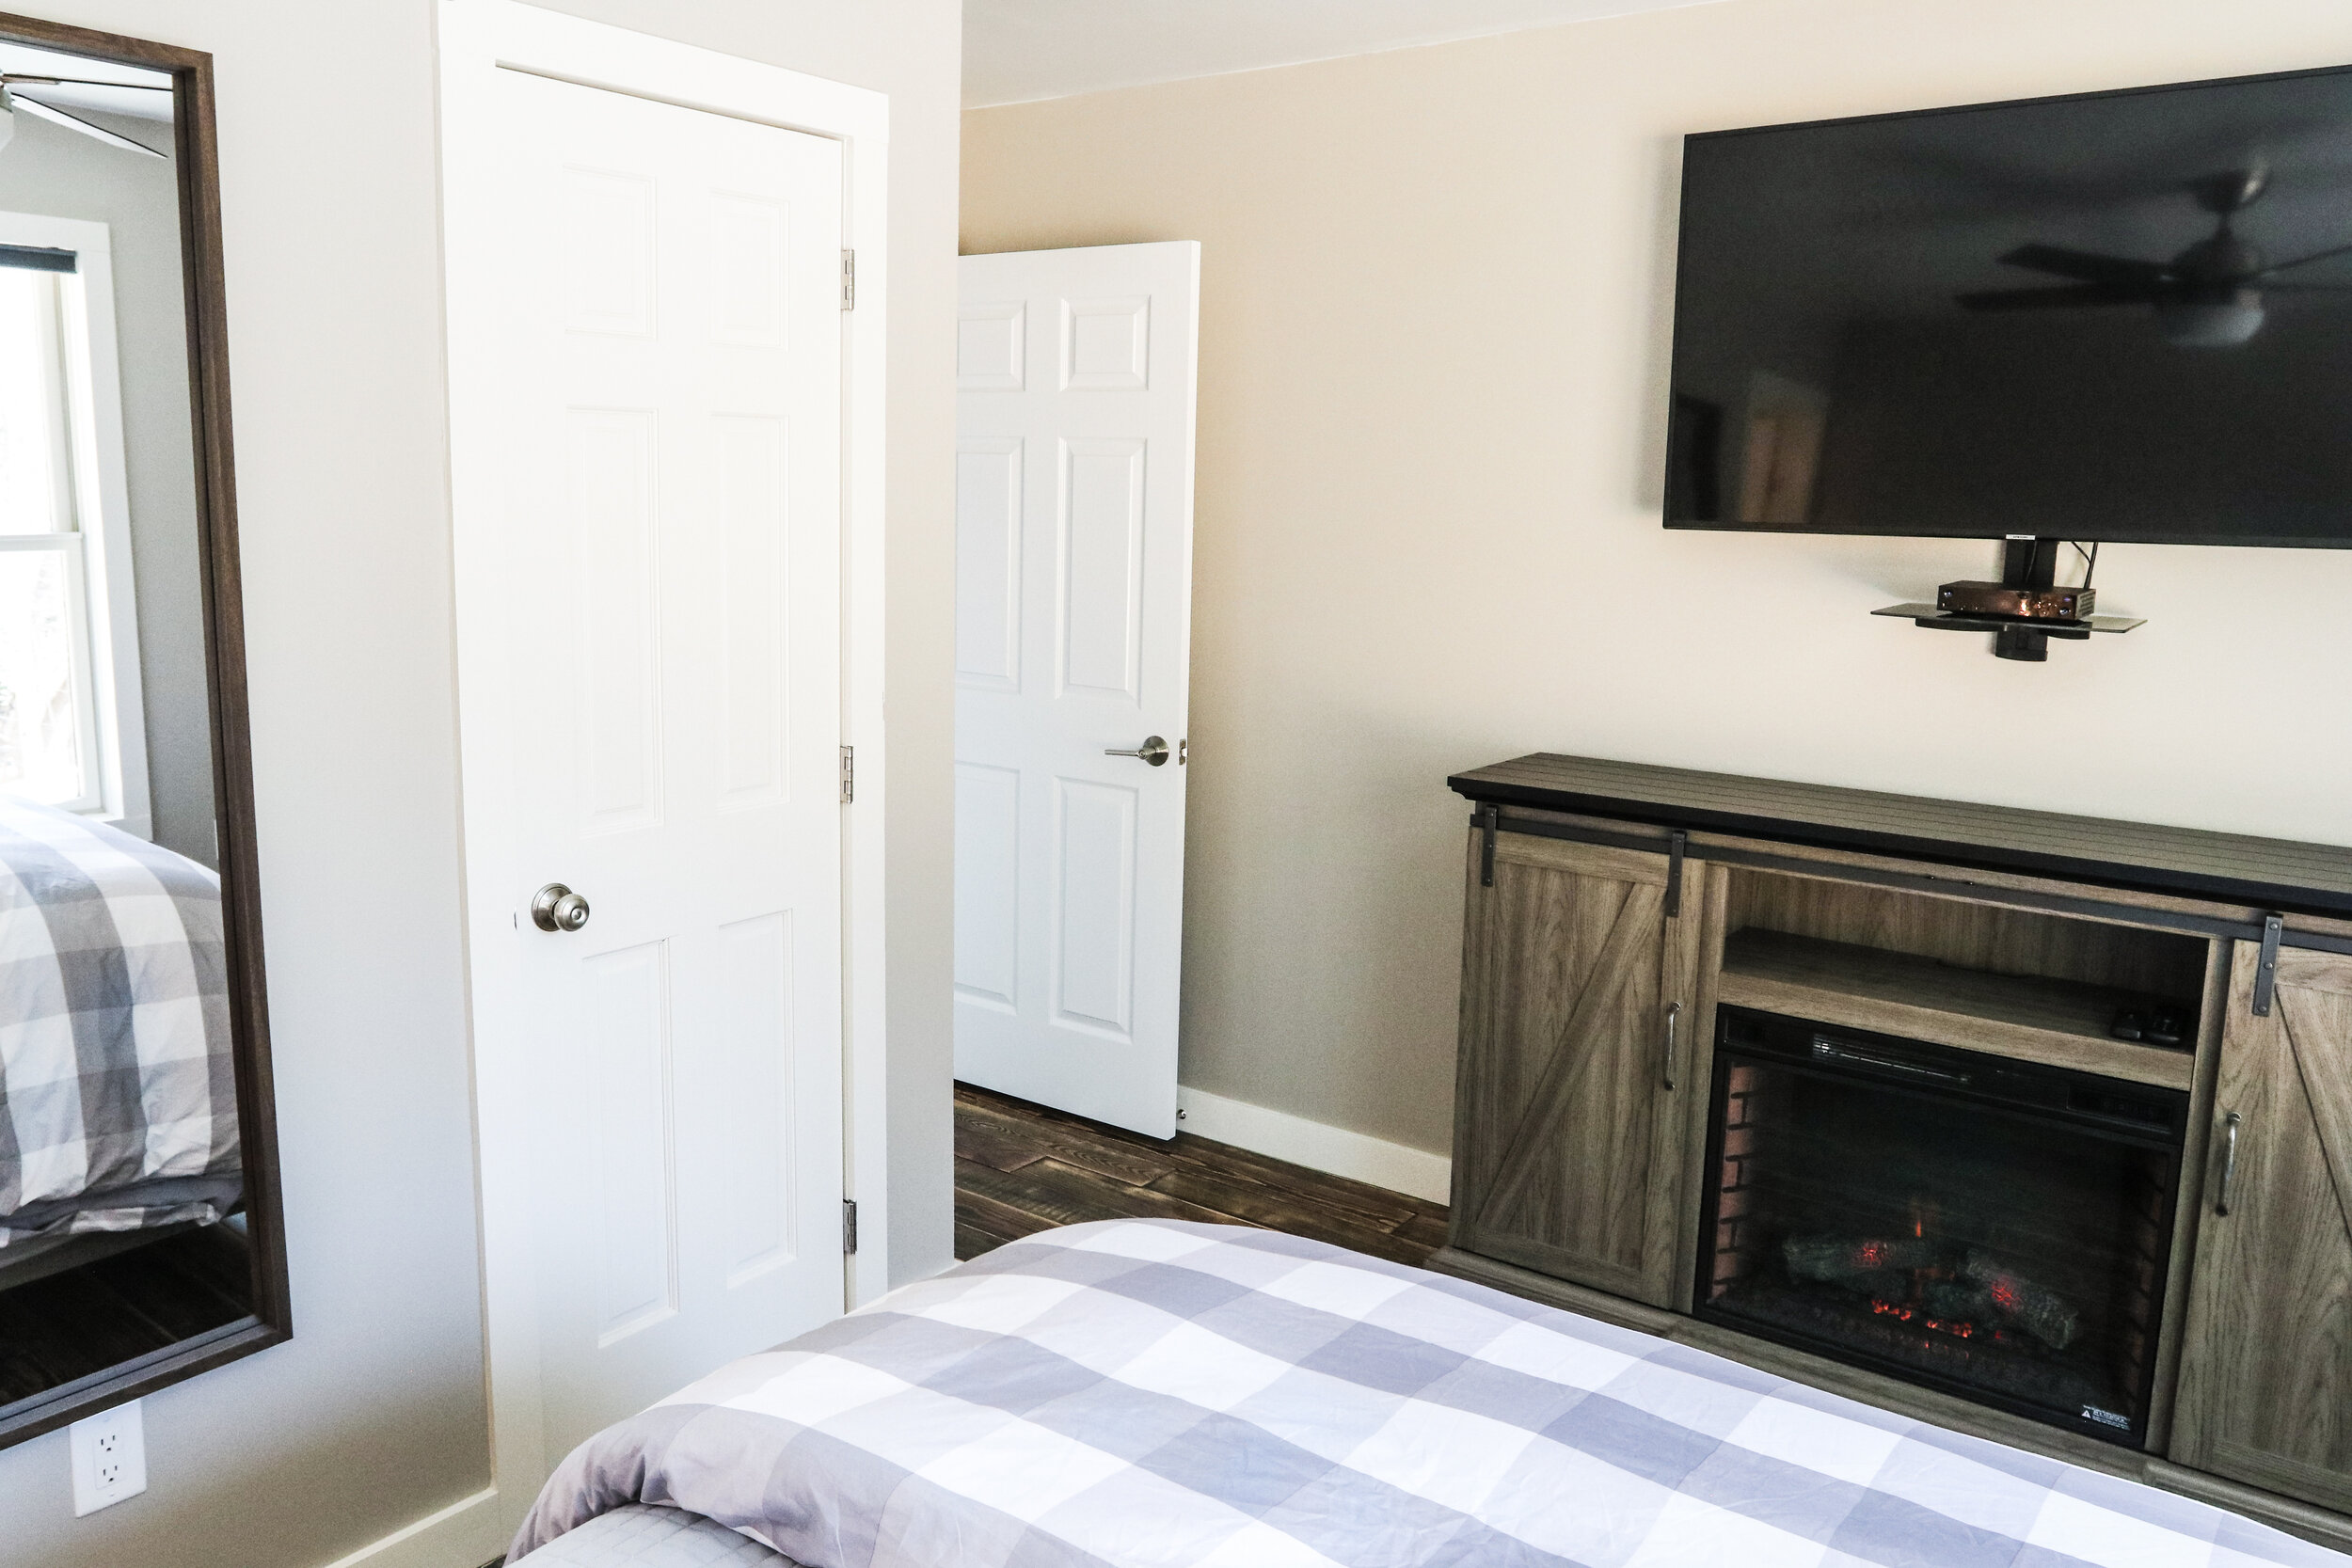
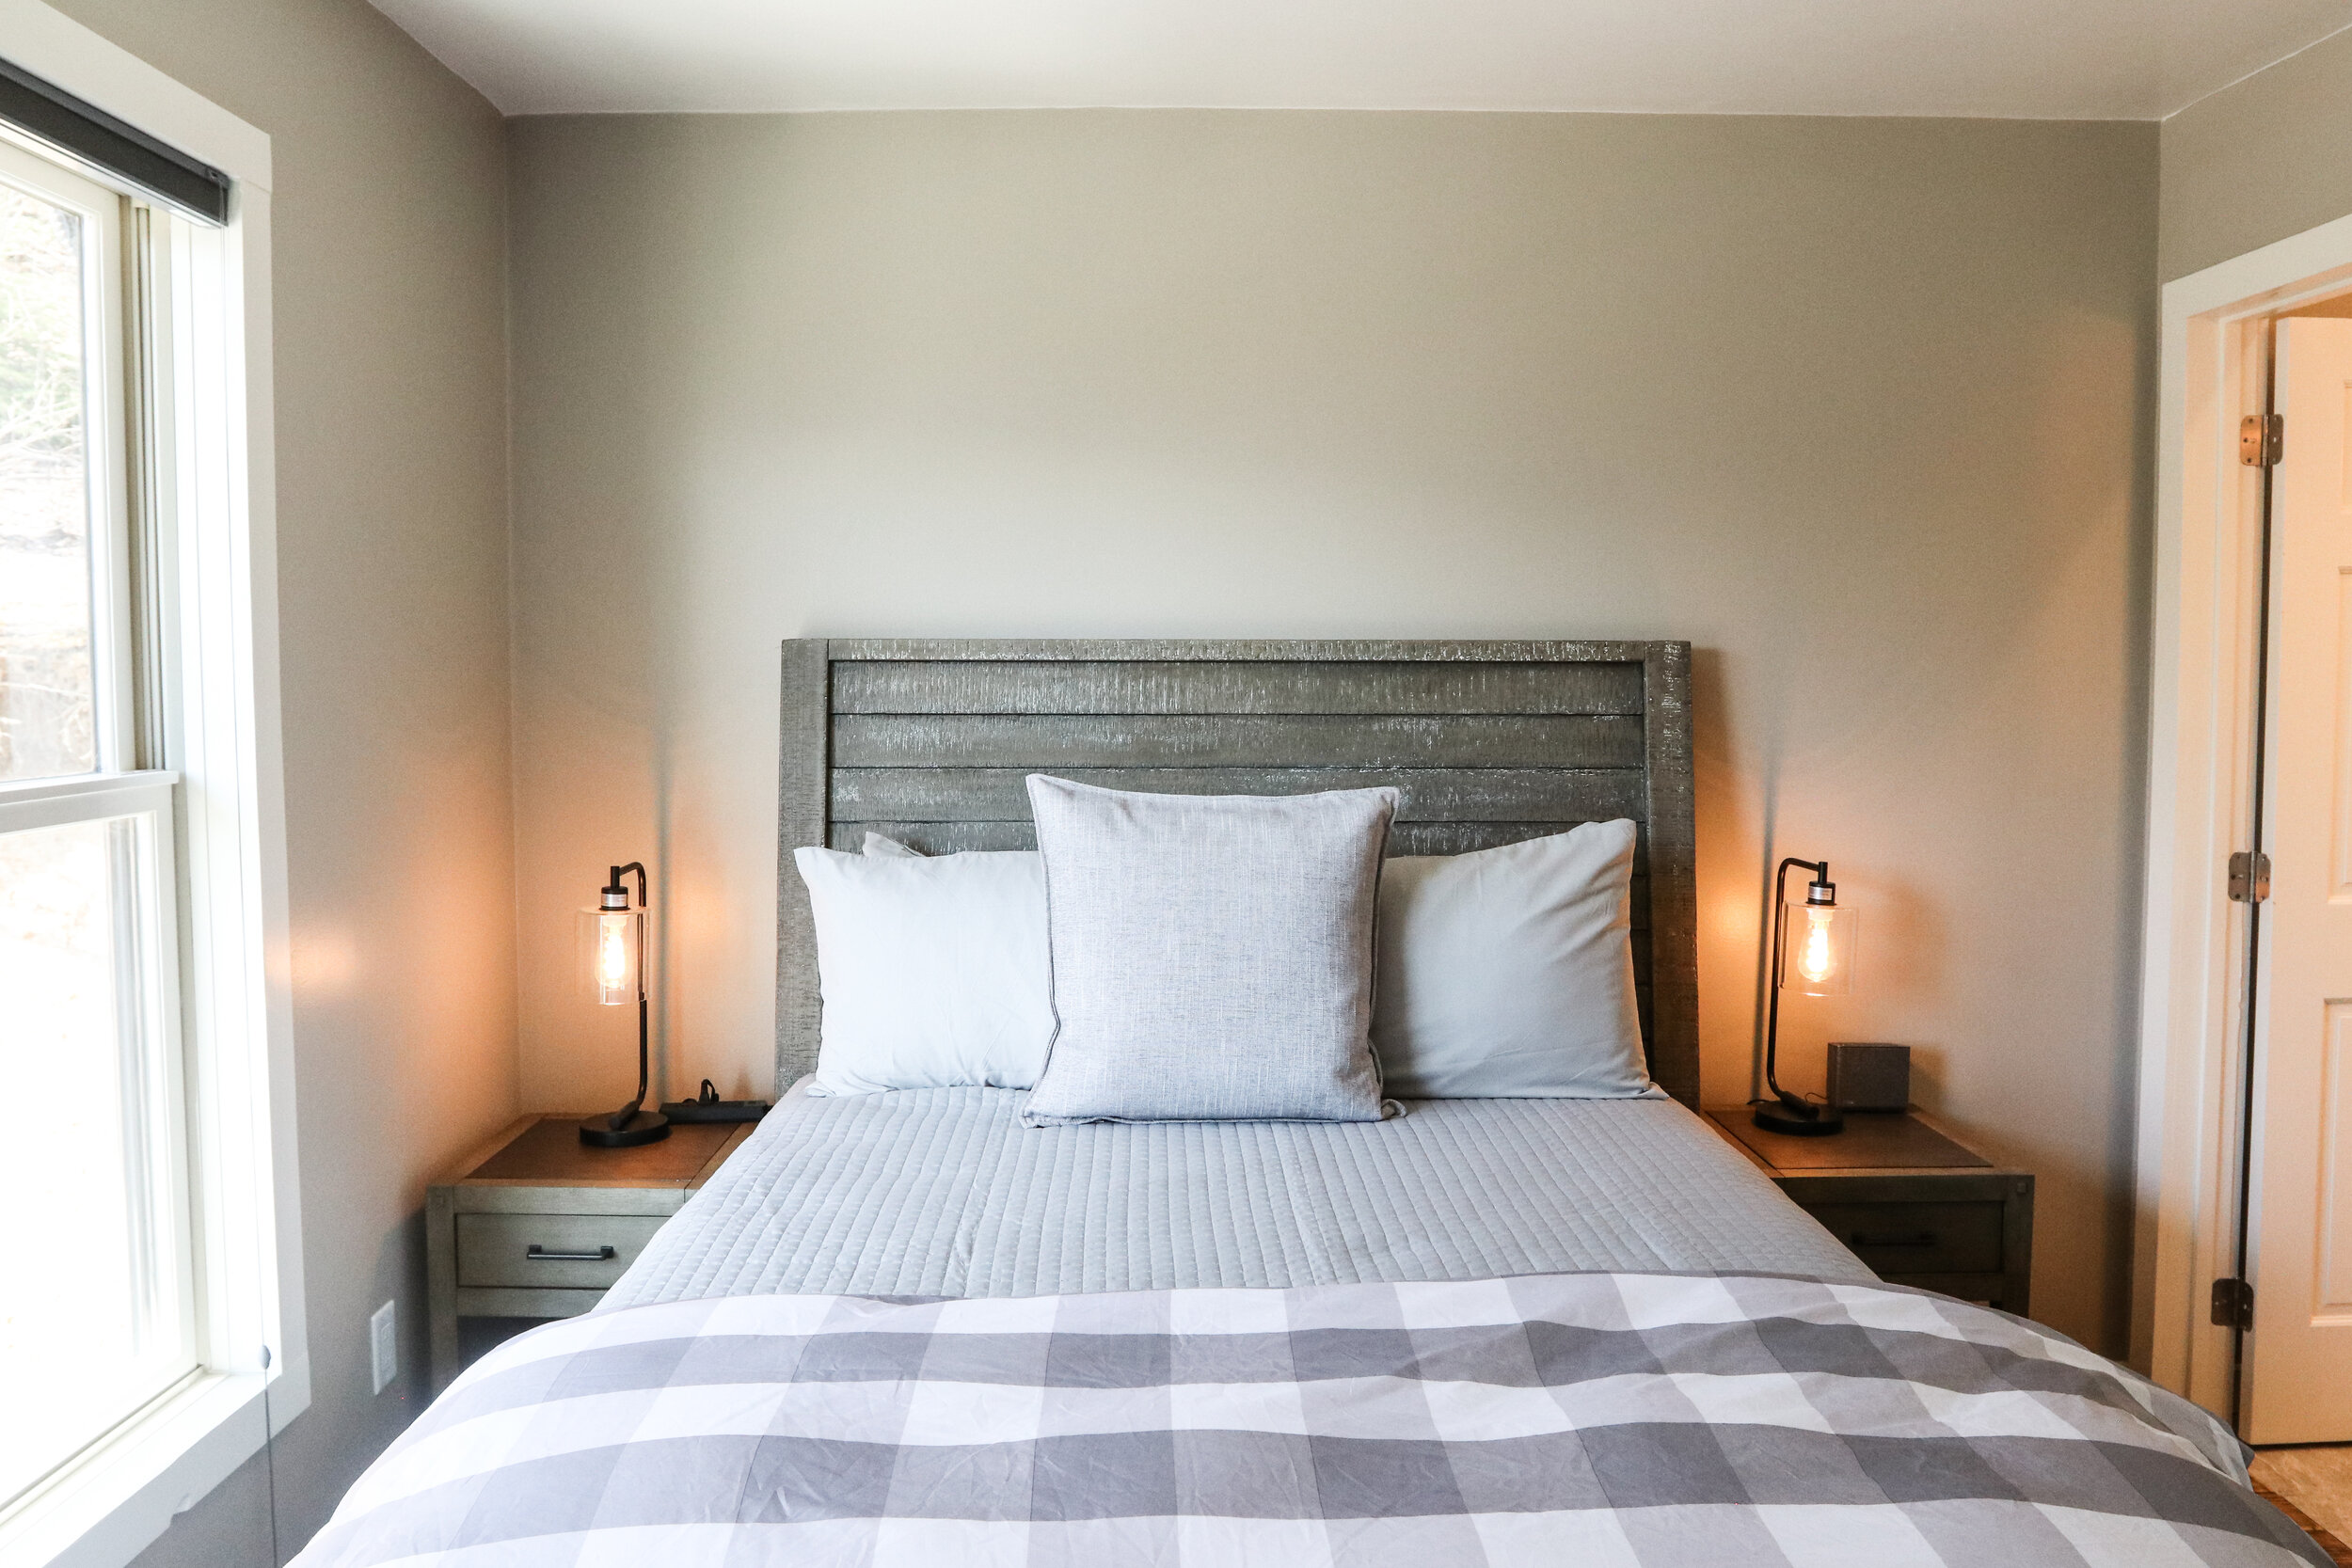
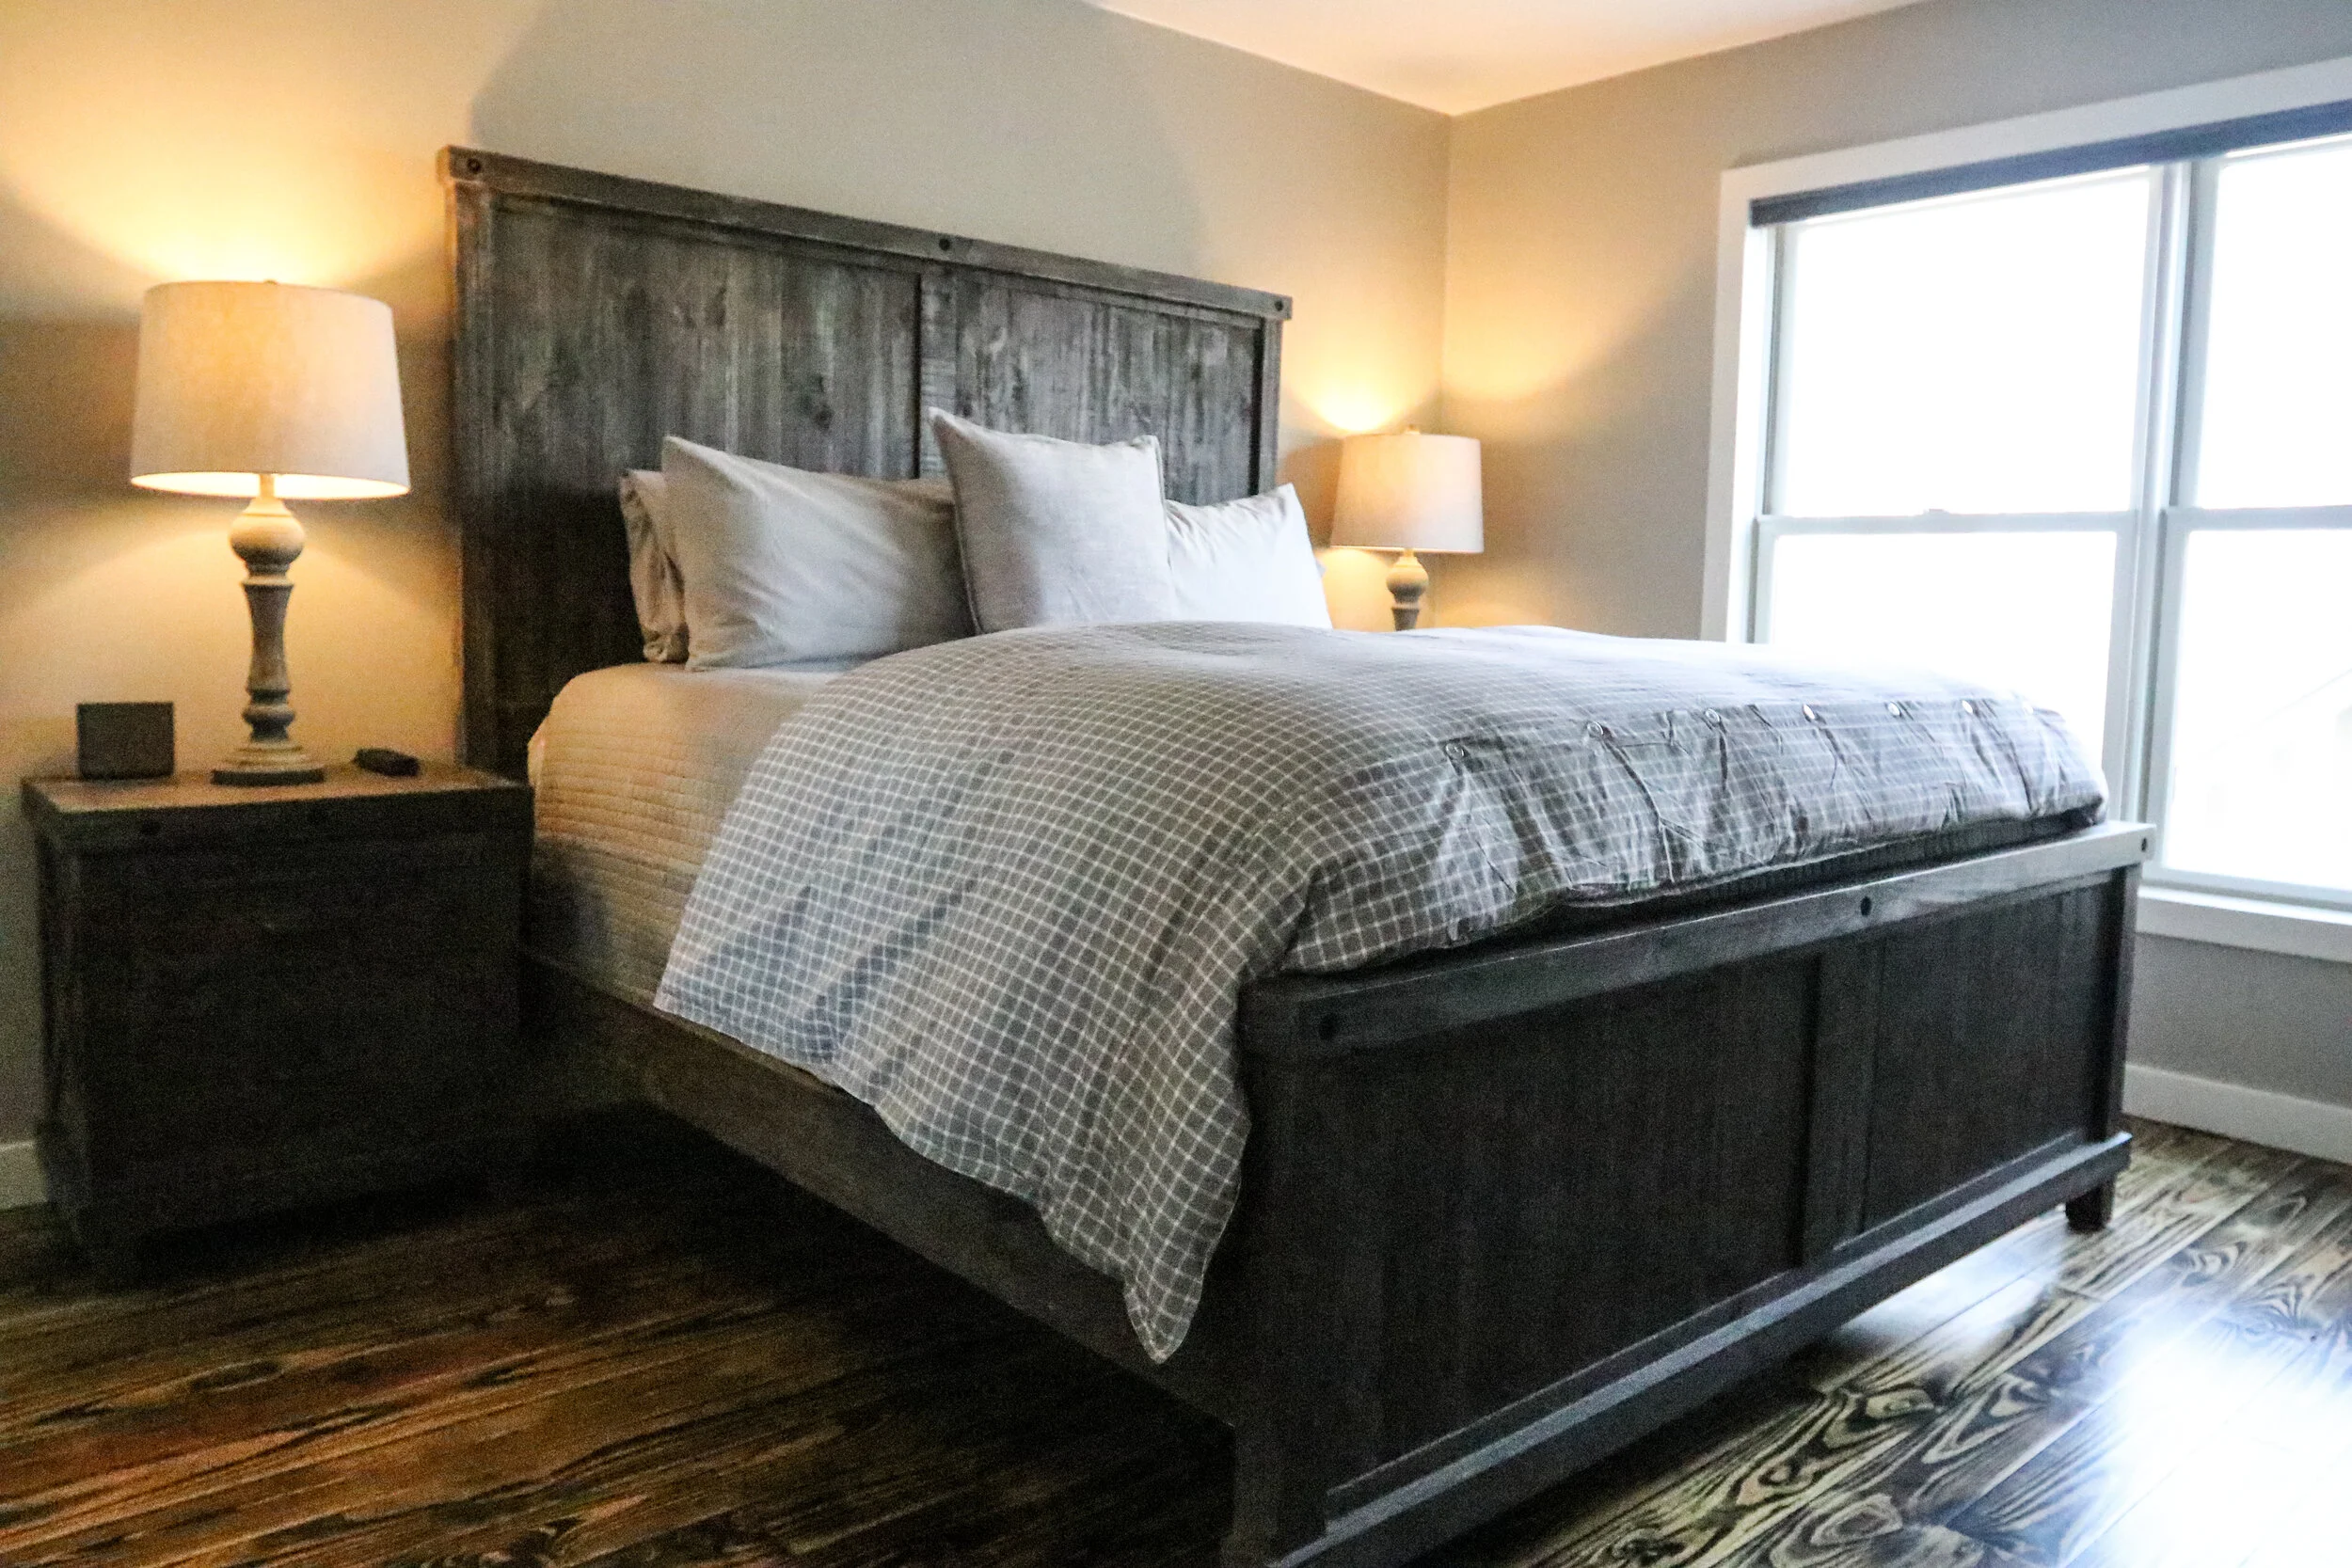
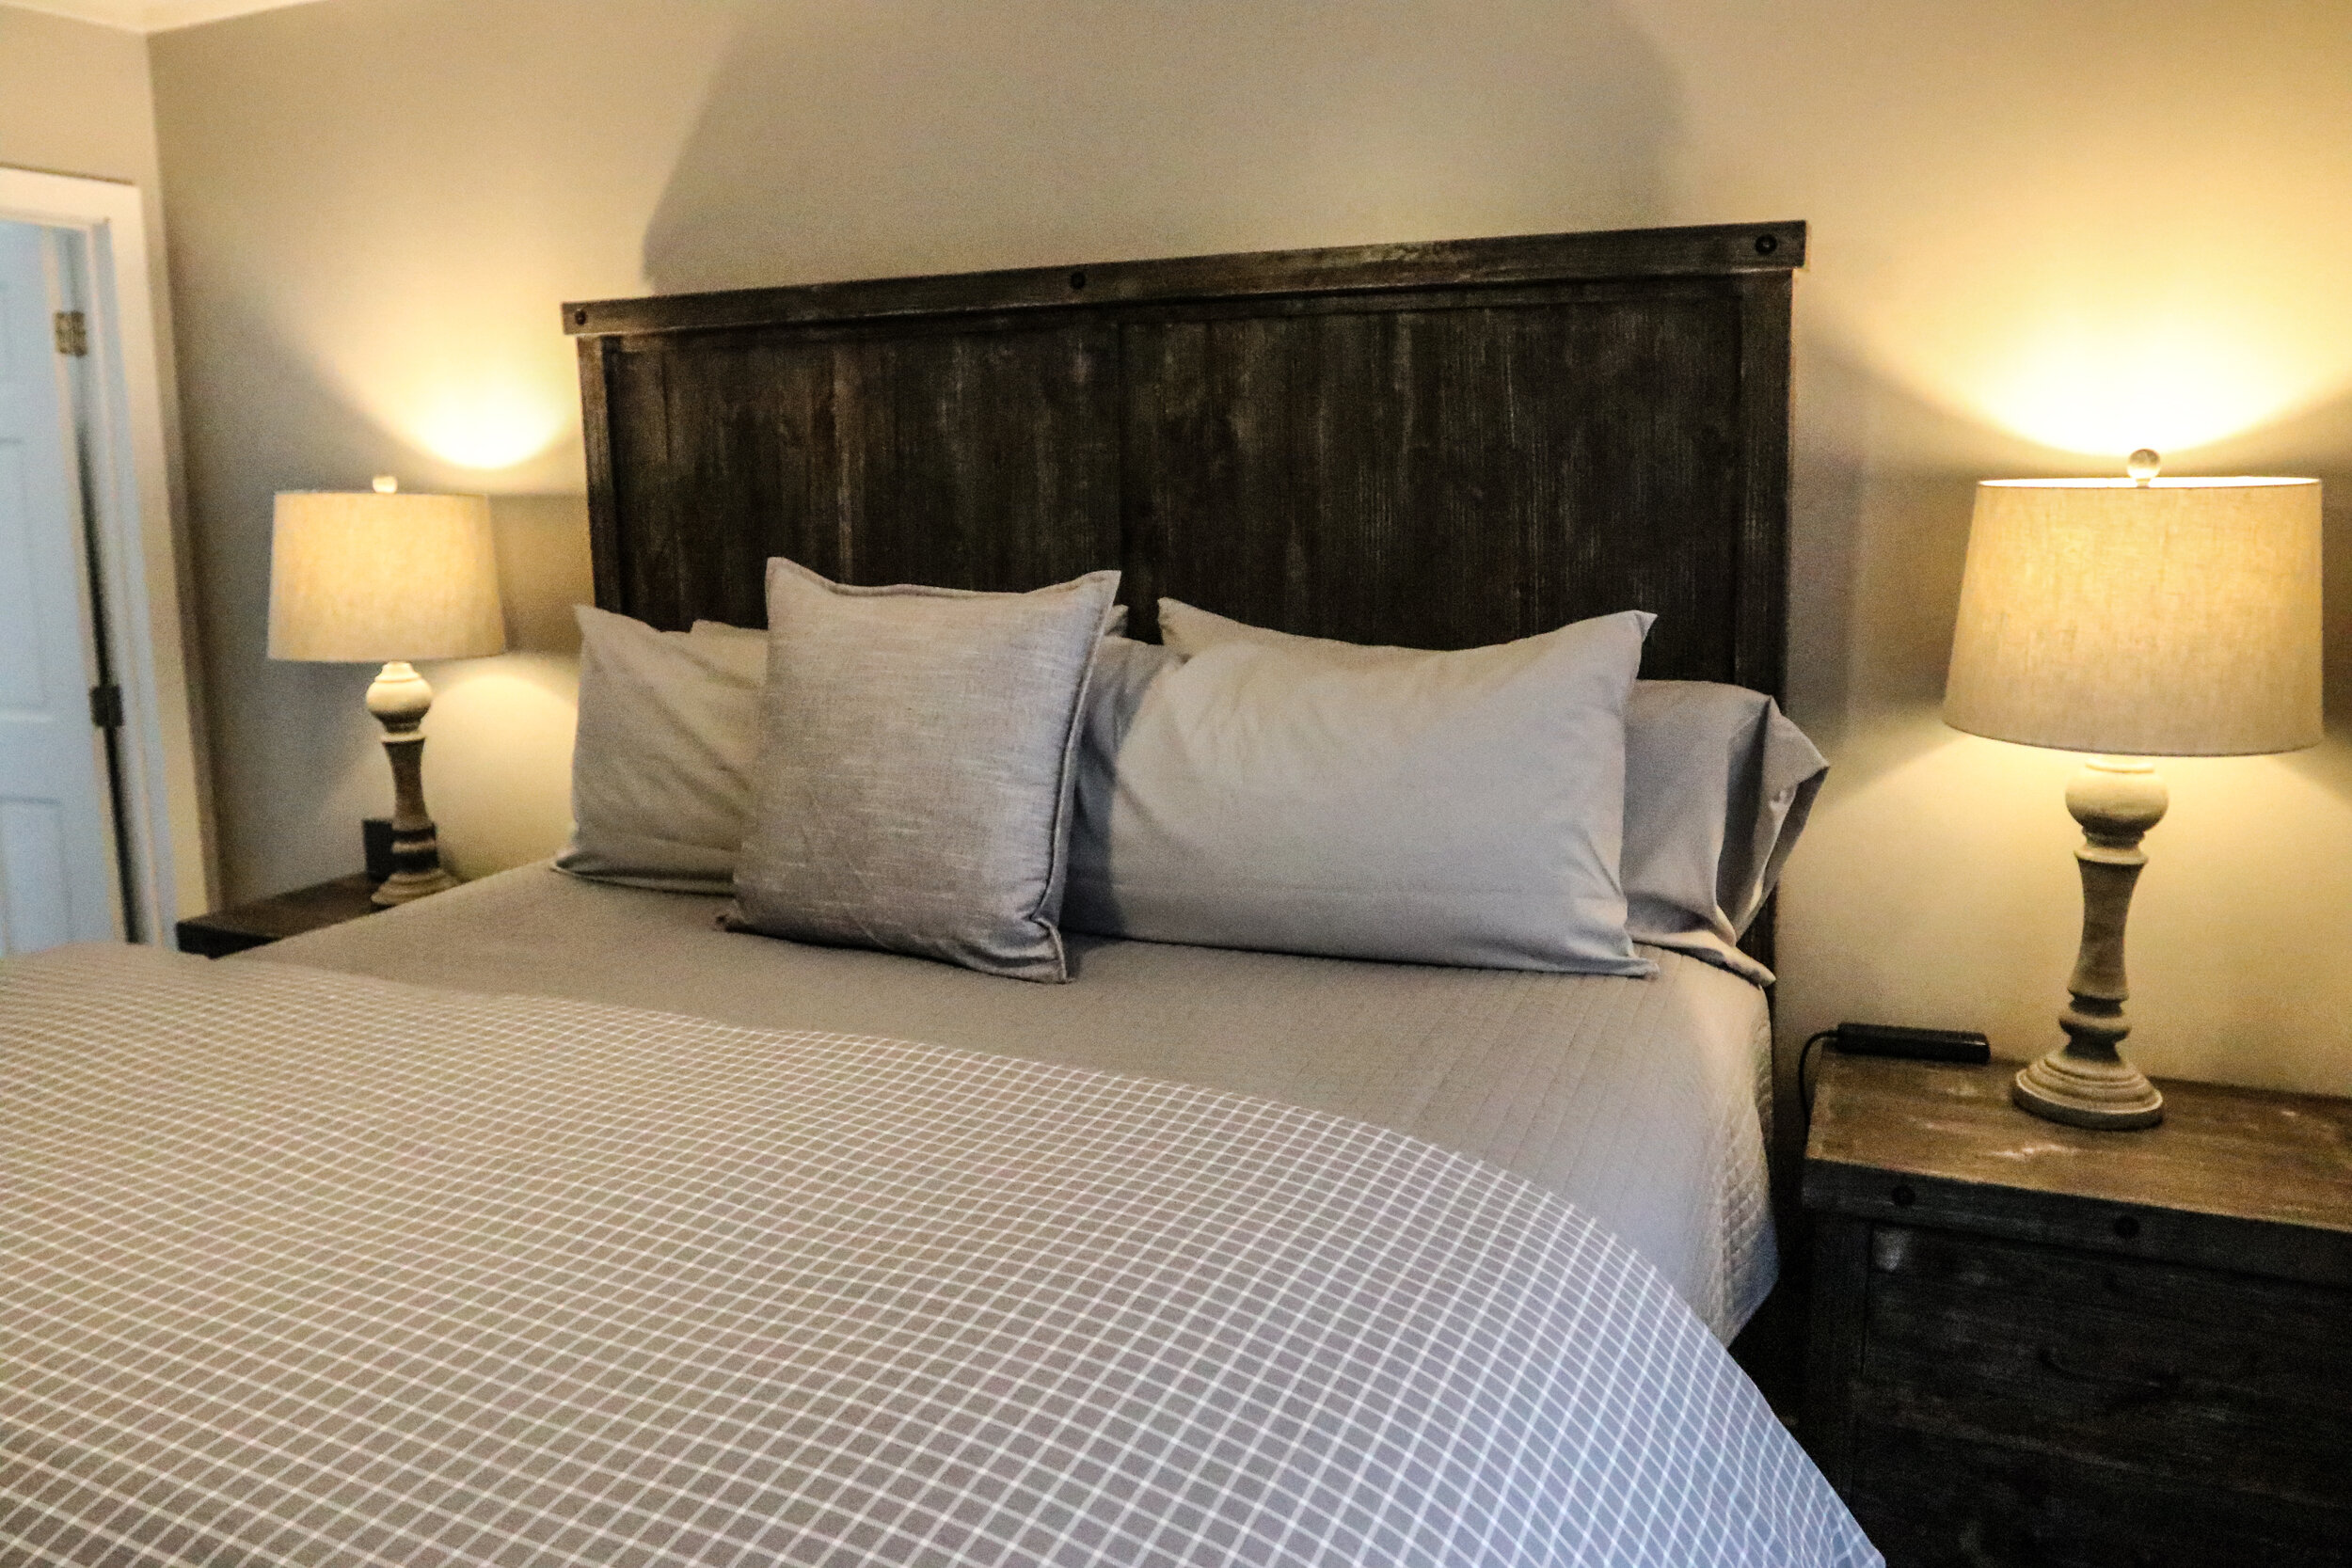
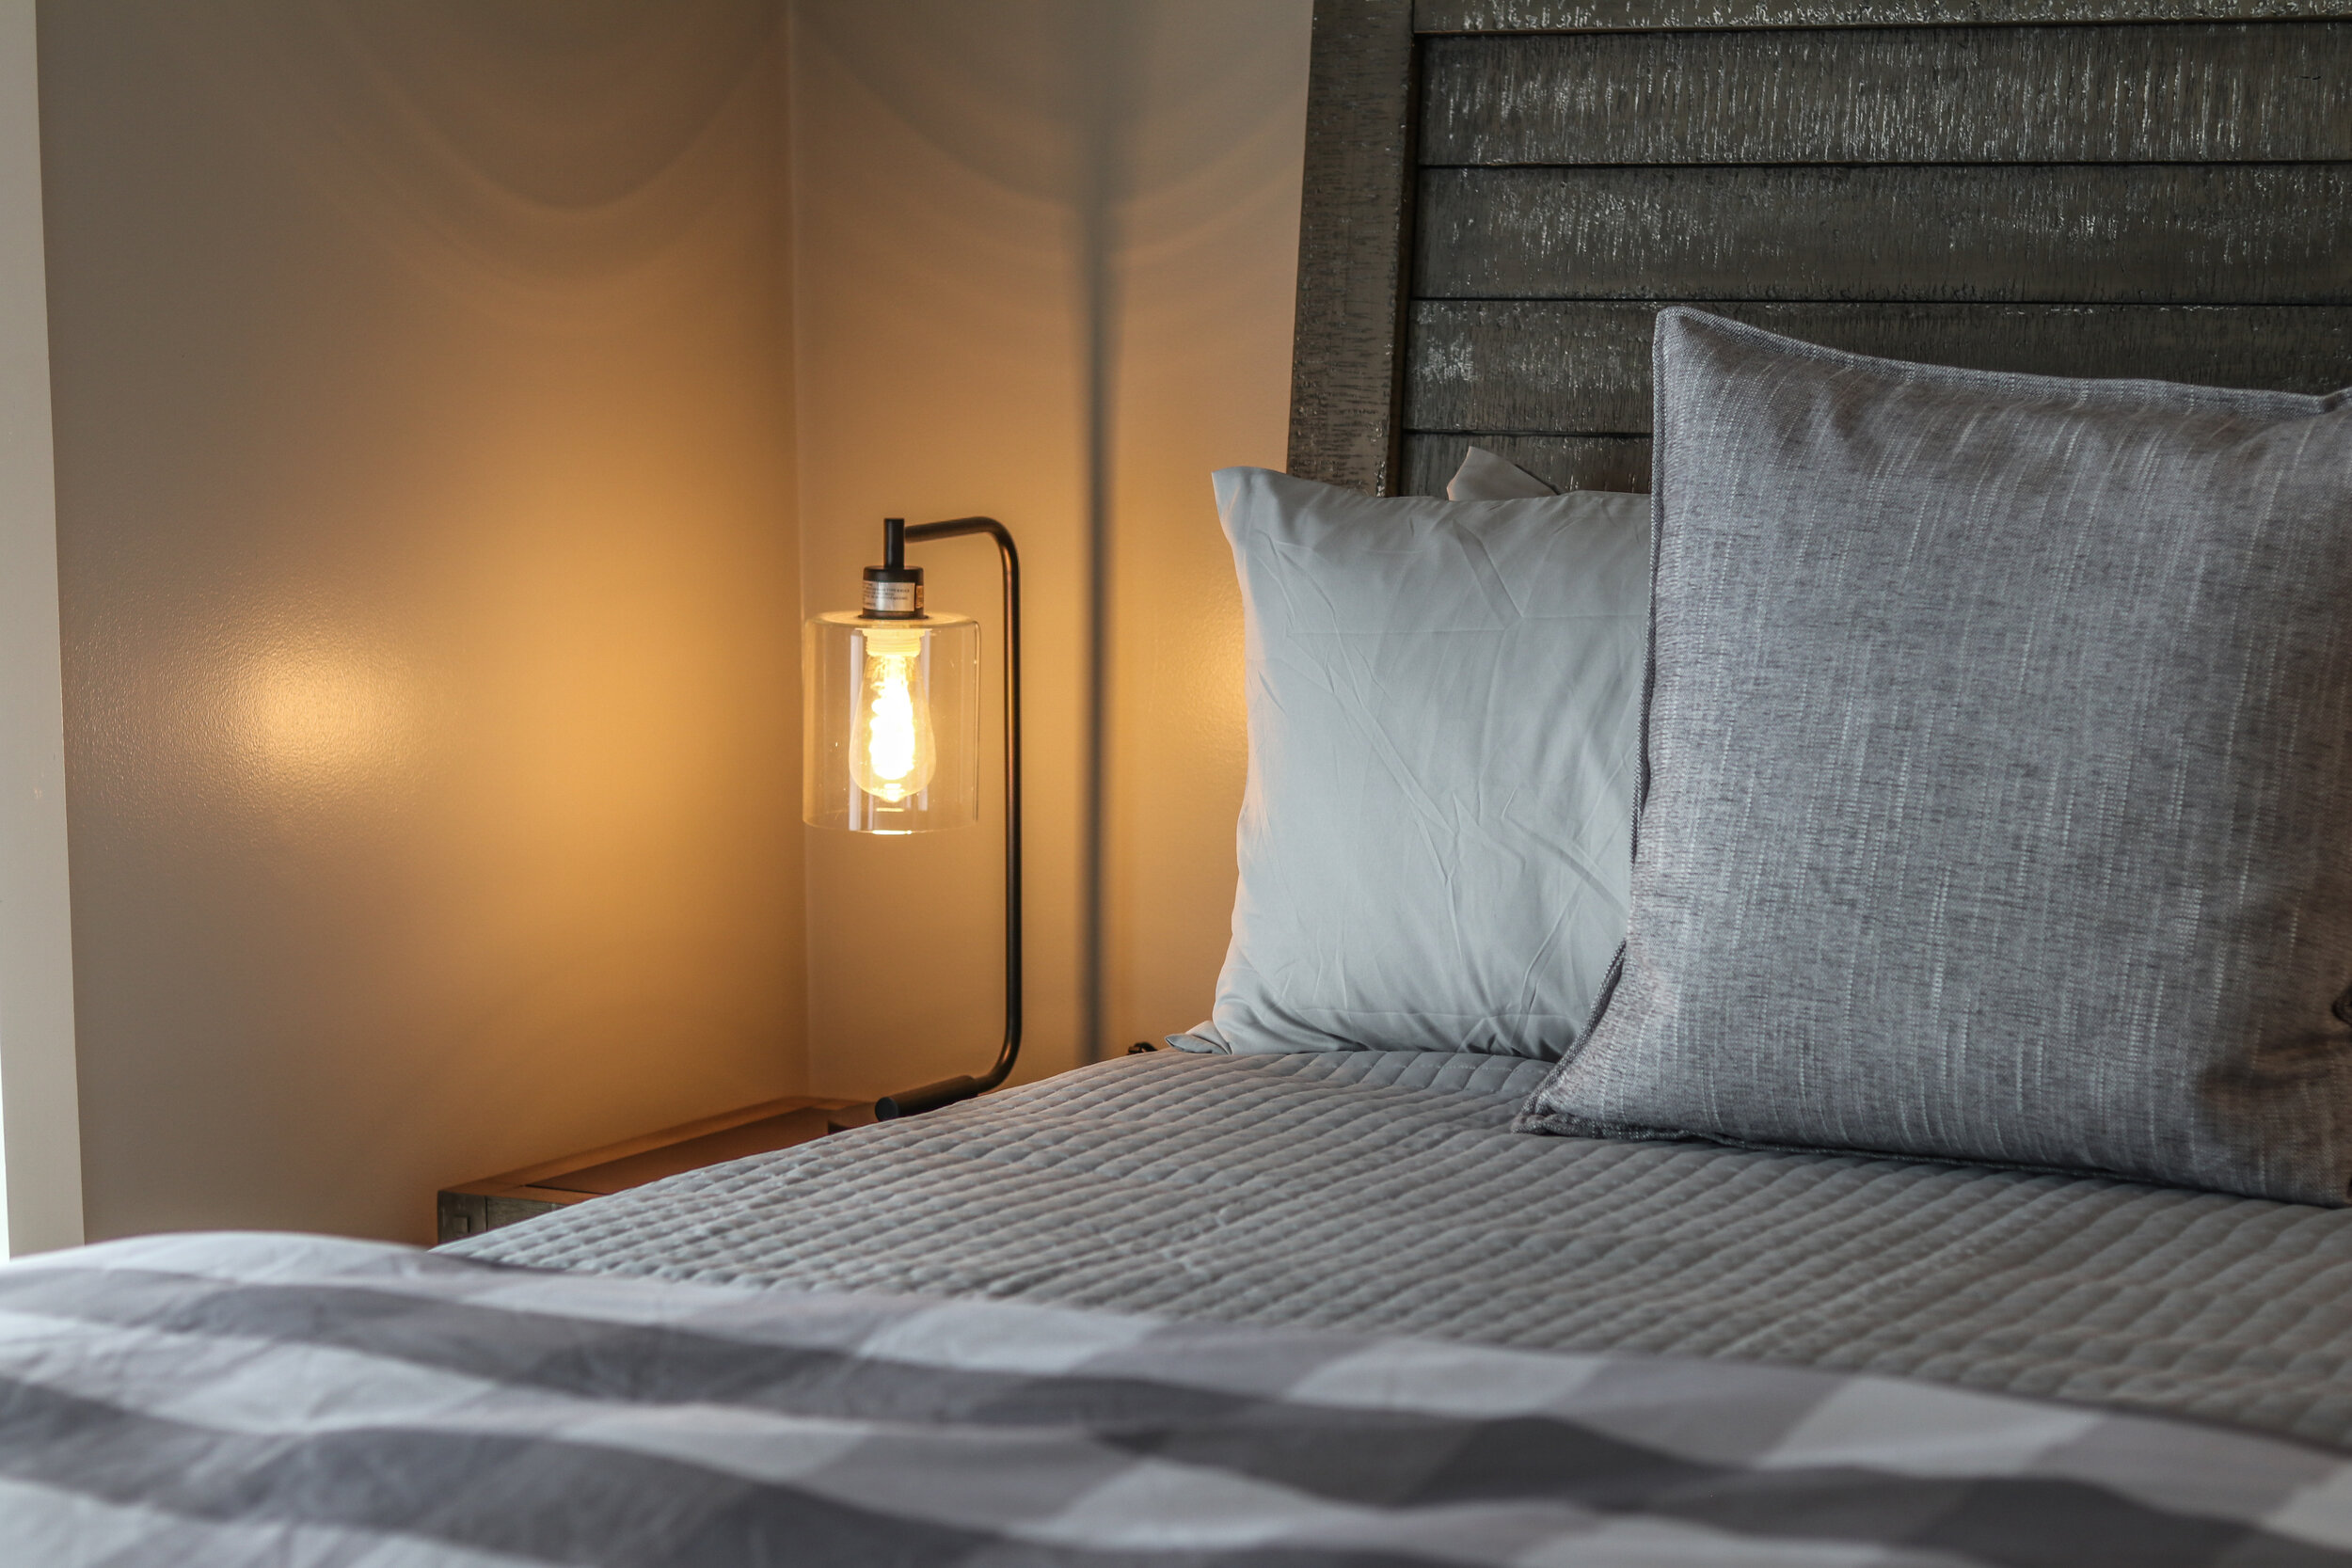
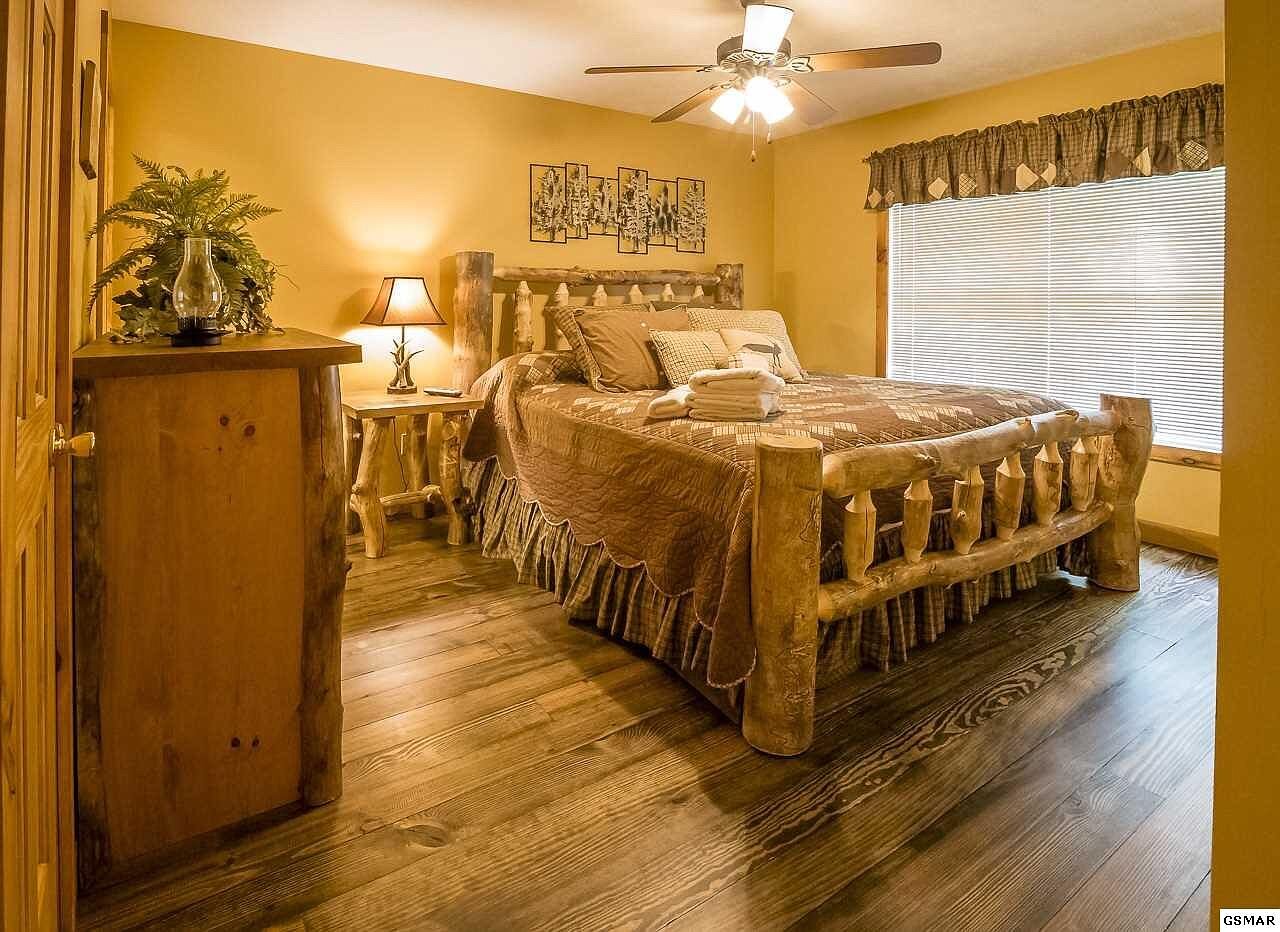
BEDROOMS
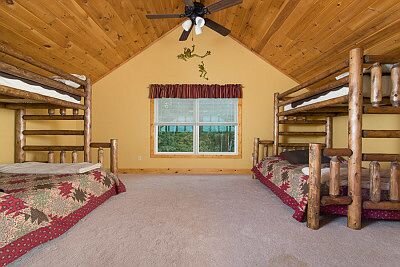
When we were designing the existing 4 bedrooms, we kept thinking back to previous vacations our families had been on and reflecting on the good ole debate, “who is going to sleep where?”. Because the main level bedroom layout was identical to the downstairs bedroom layout, we decided to make the bedrooms look very similar! Each floor had 1 King bedroom and 1 Queen bedroom, each with their own bathroom. We used the same furniture and bedding to match their respected room. Other than maybe getting confused, we hope we left little room for the debate on who sleeps where!
Before


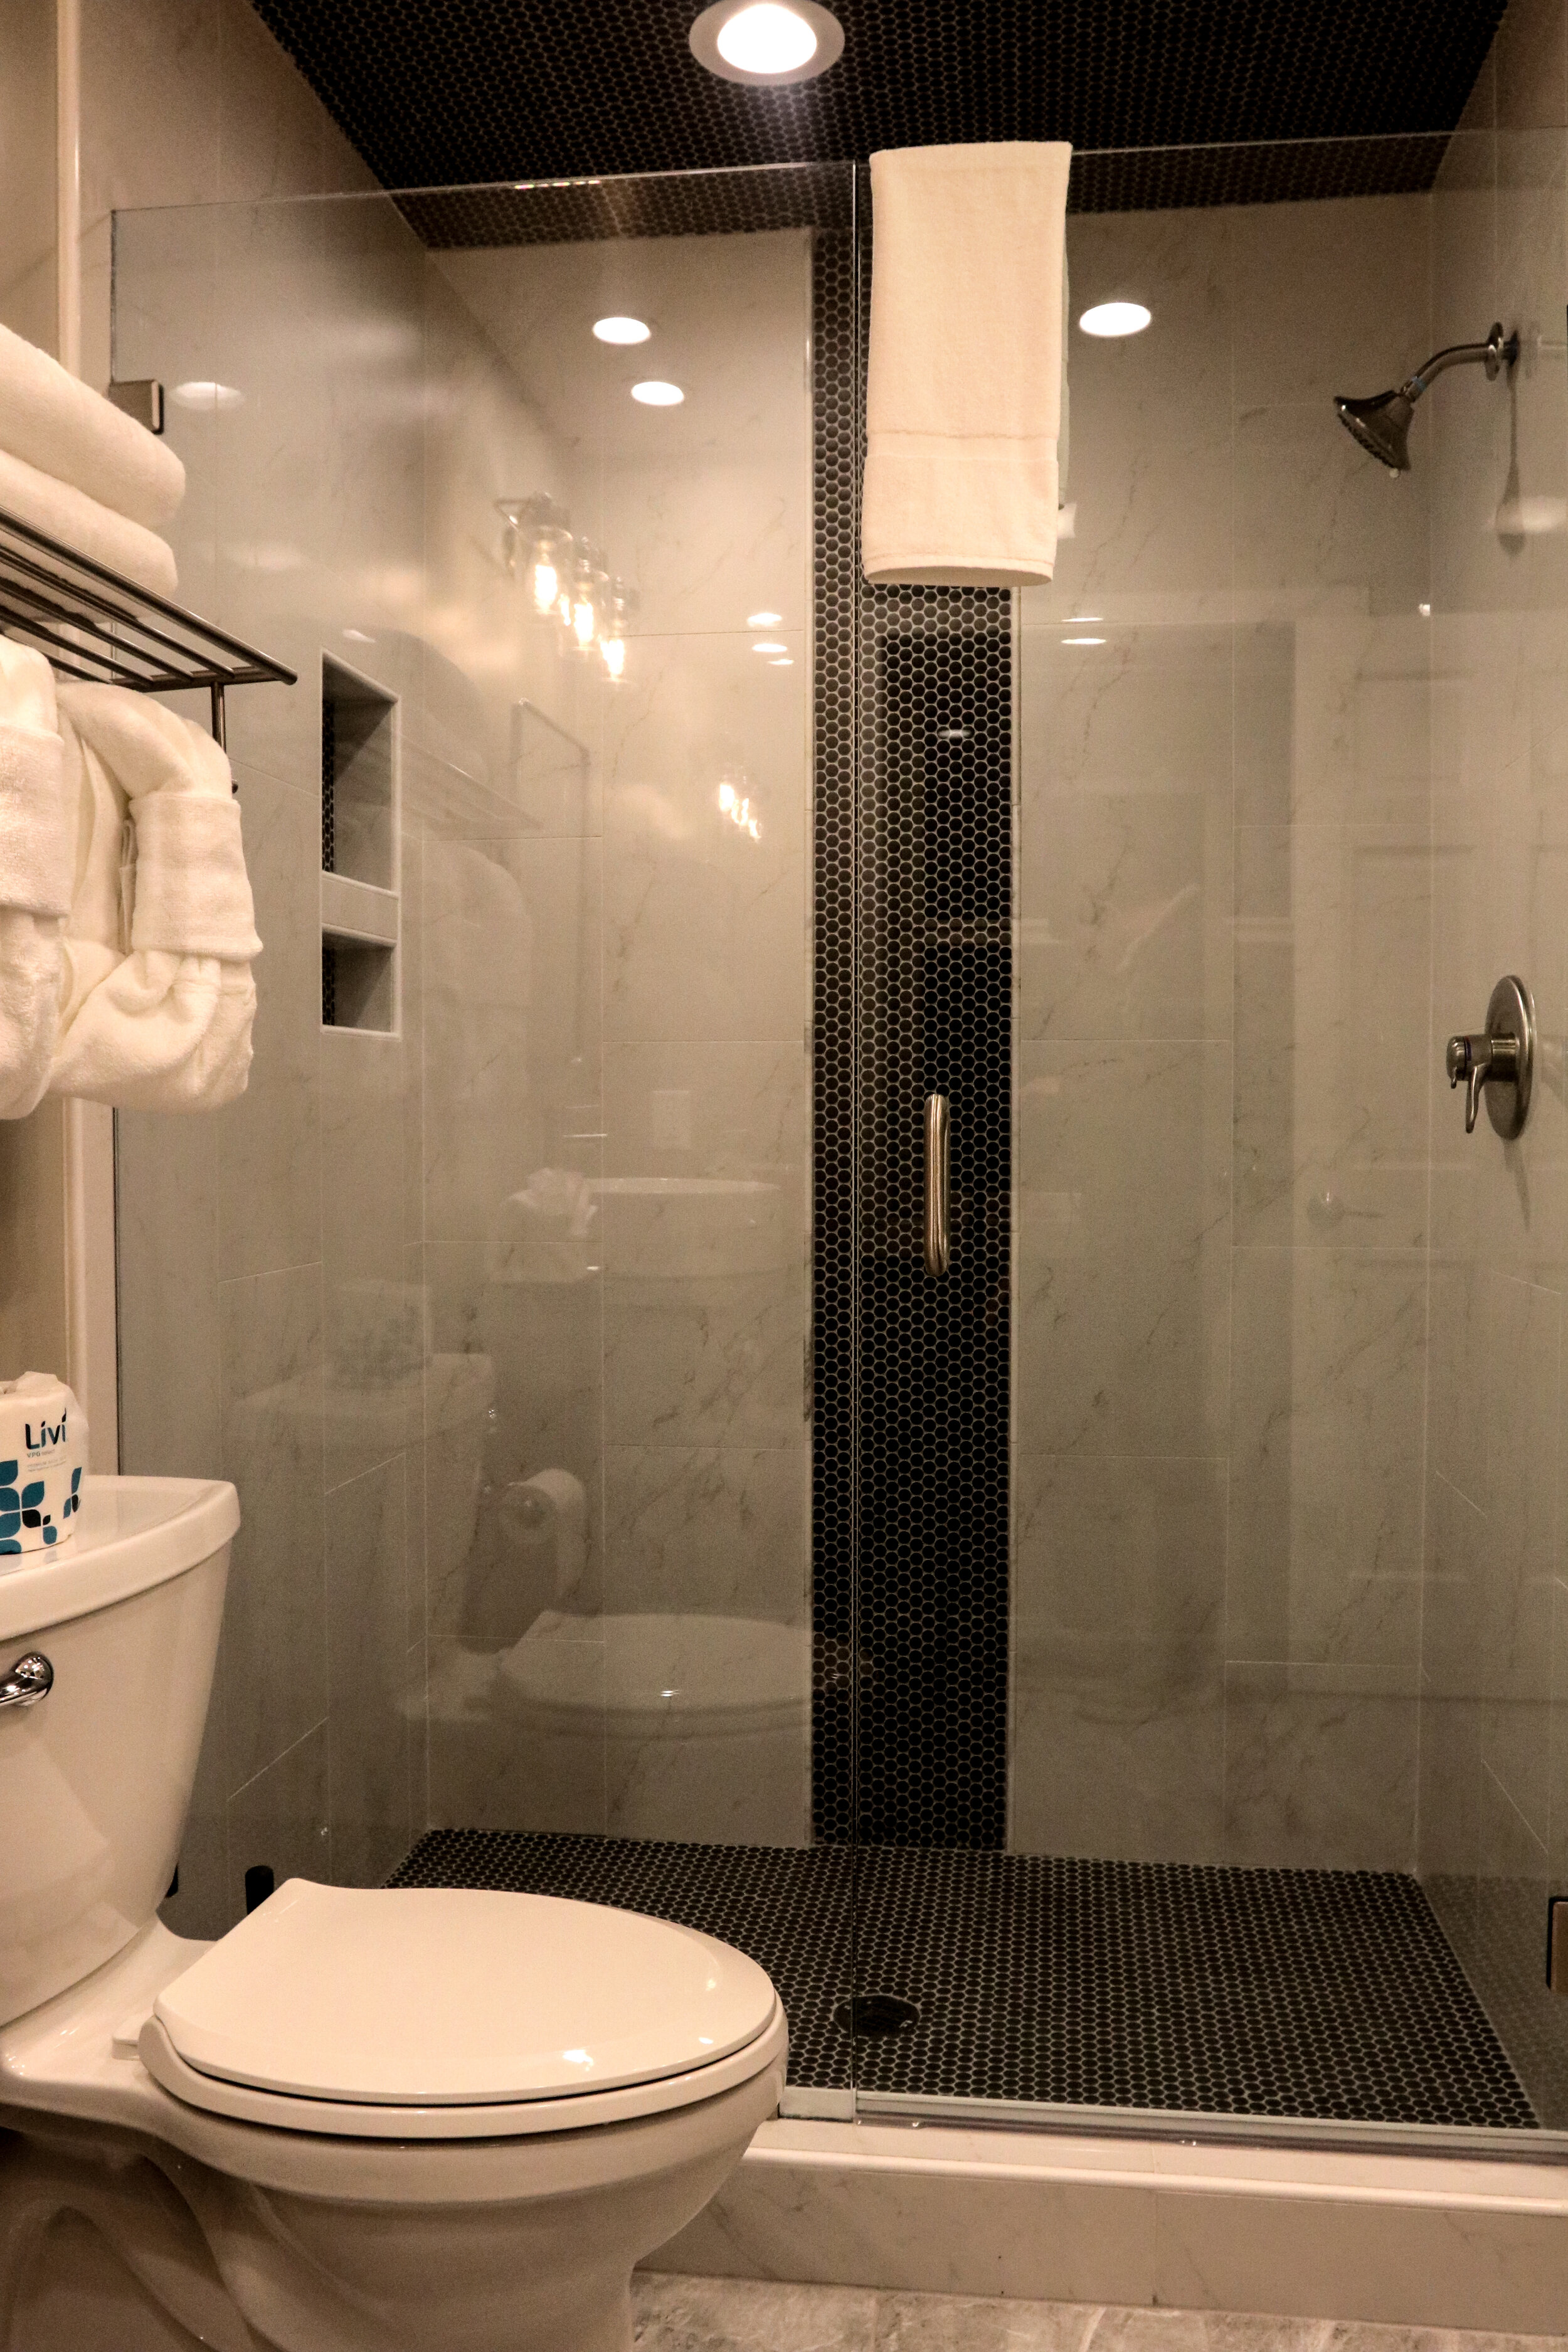
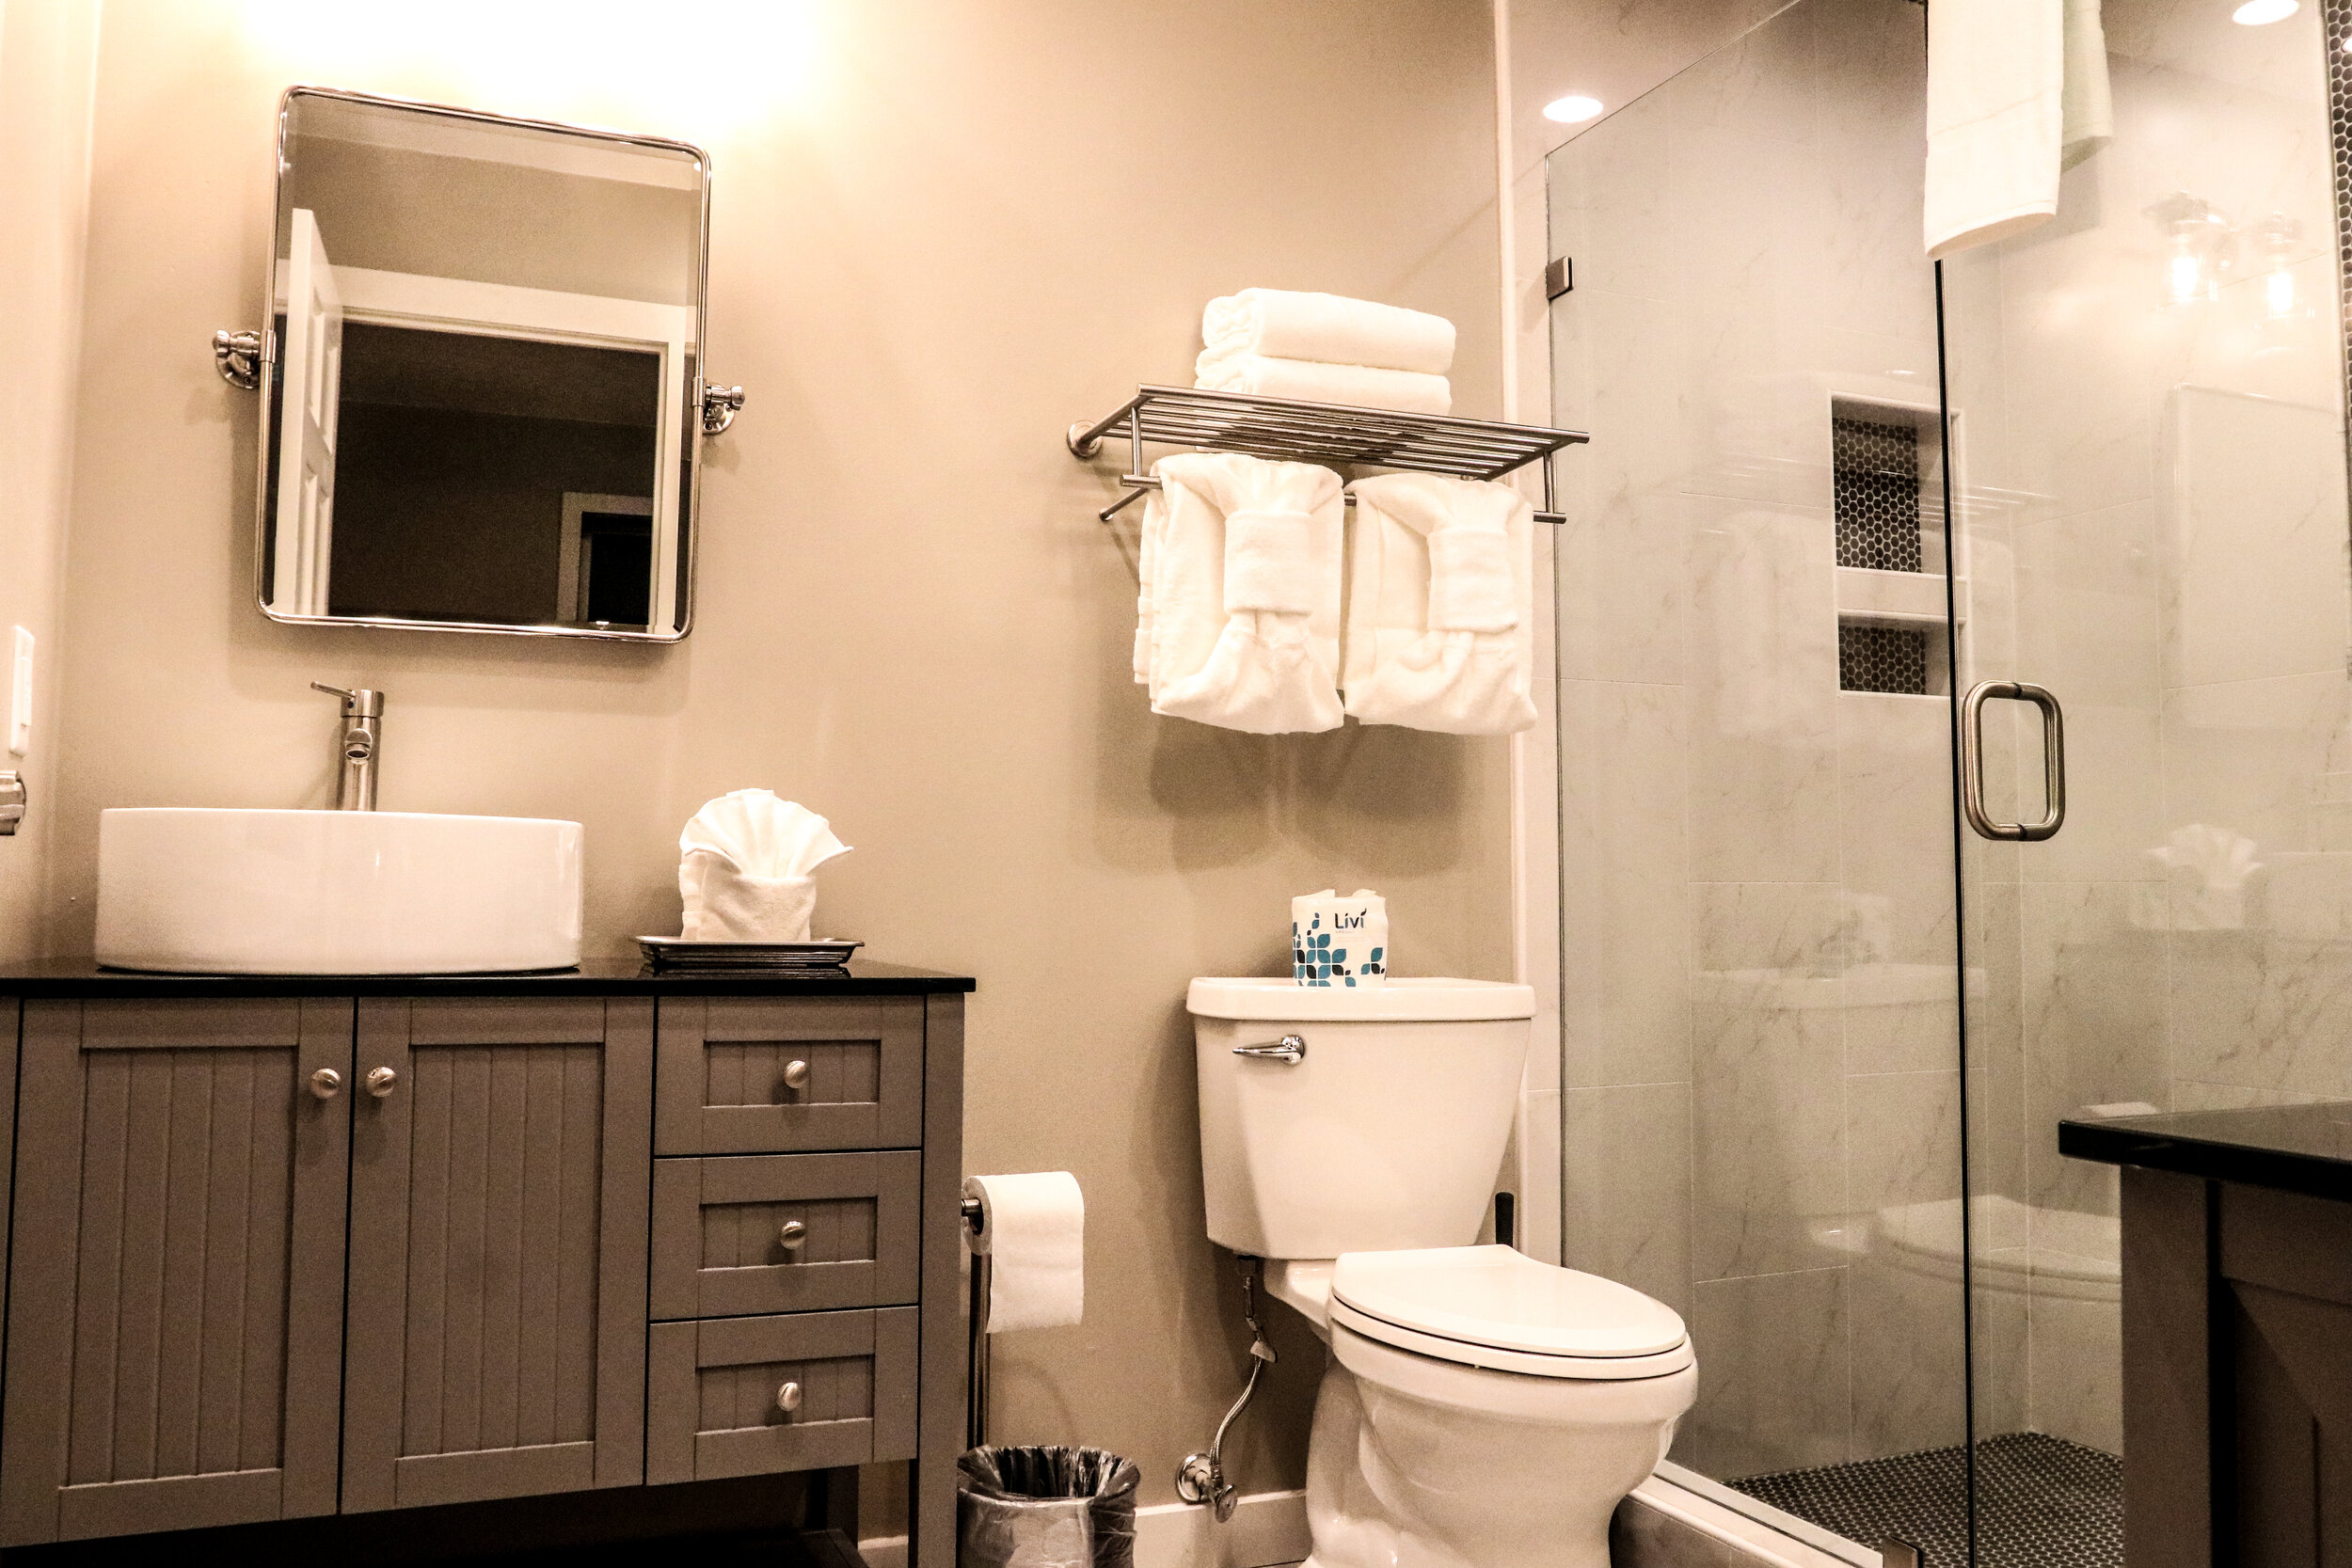
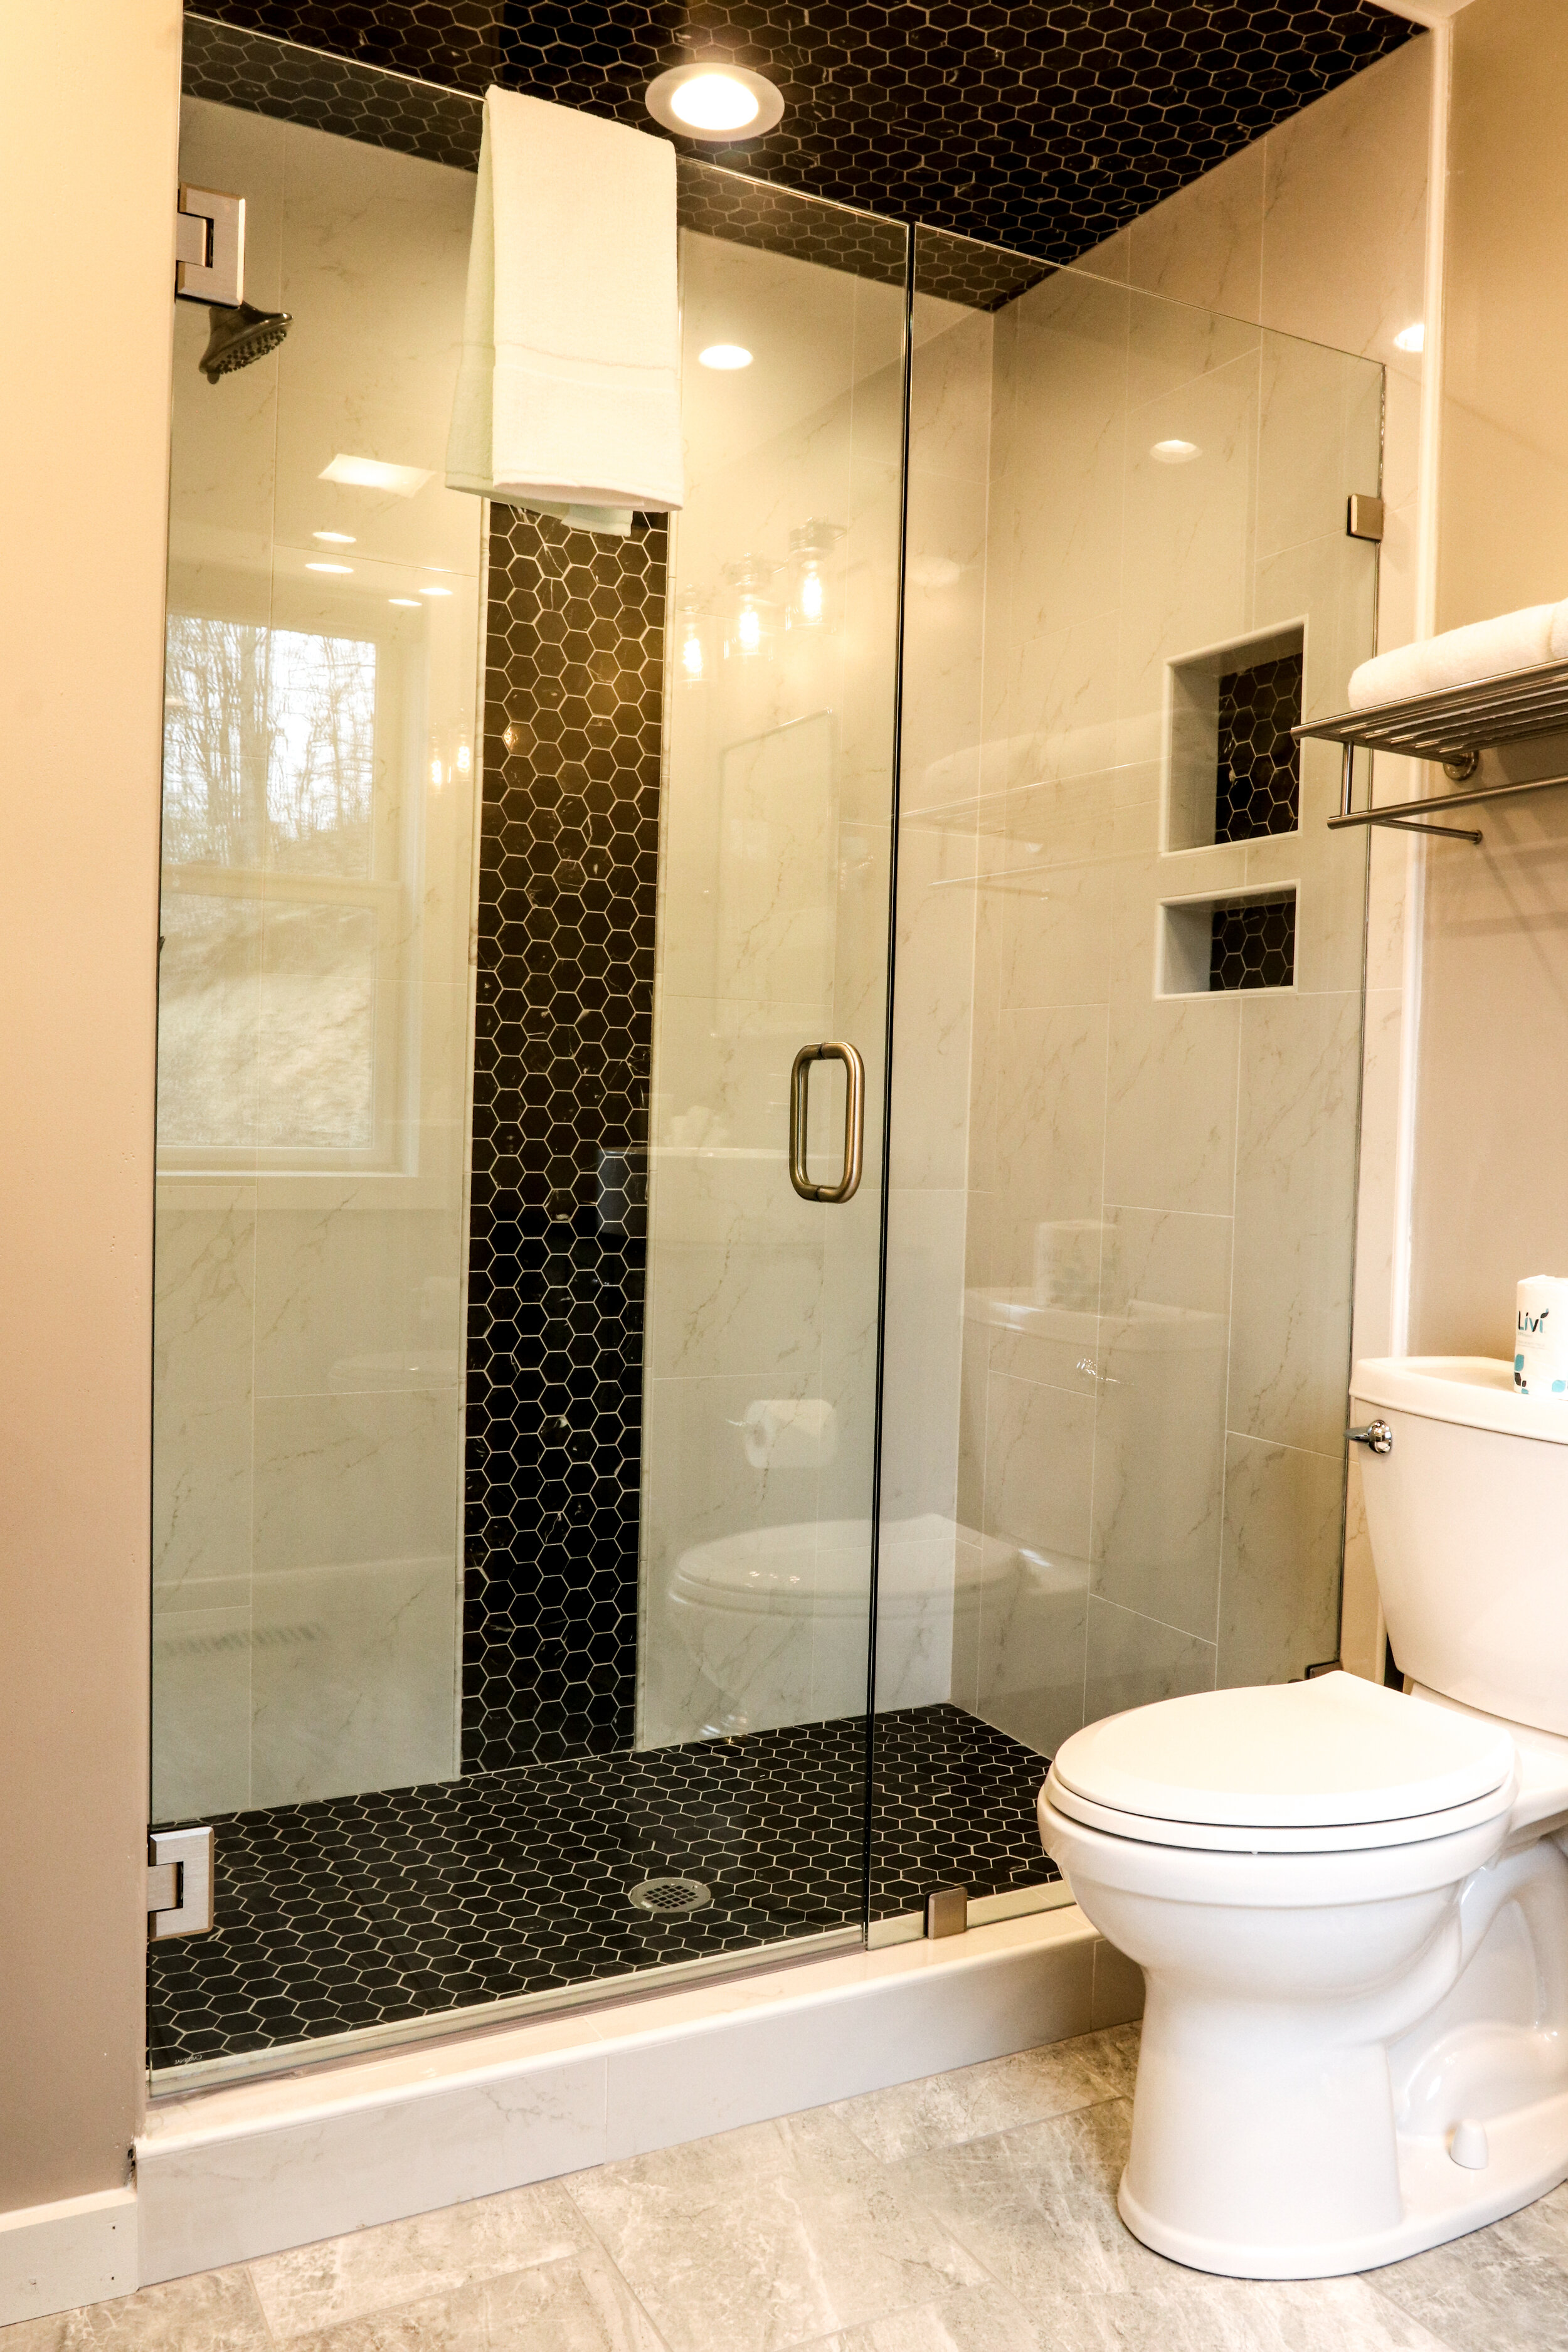
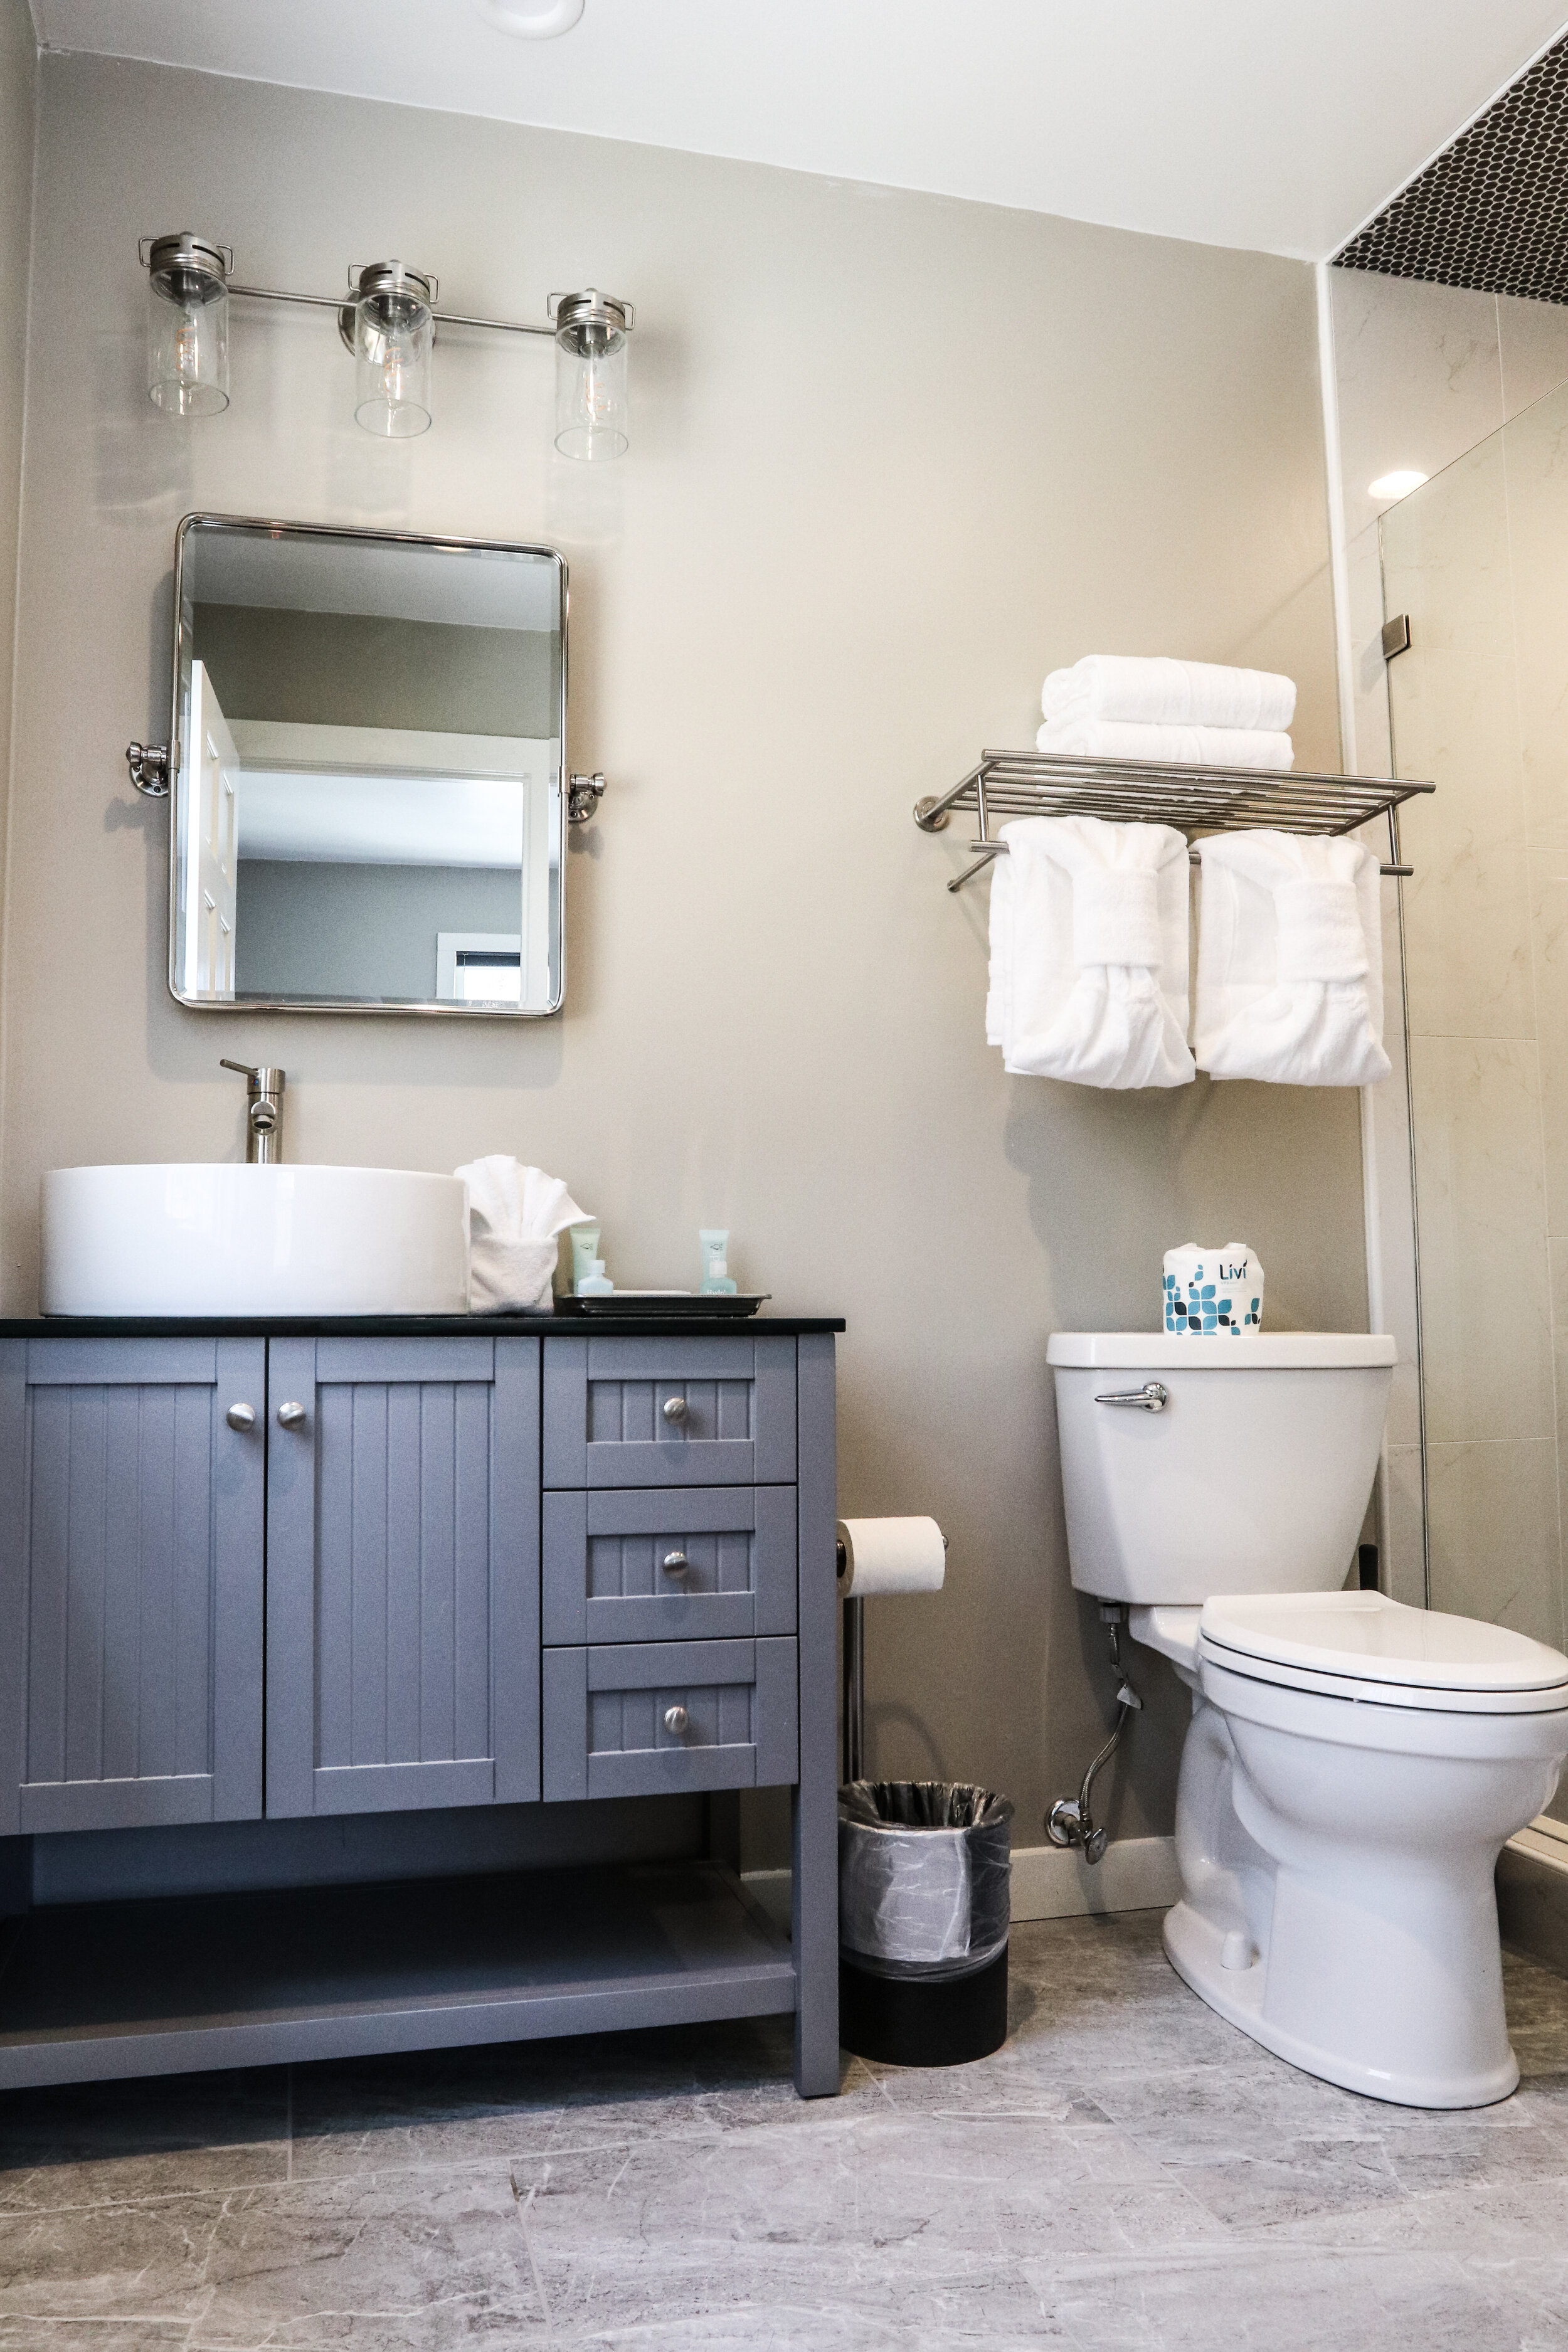
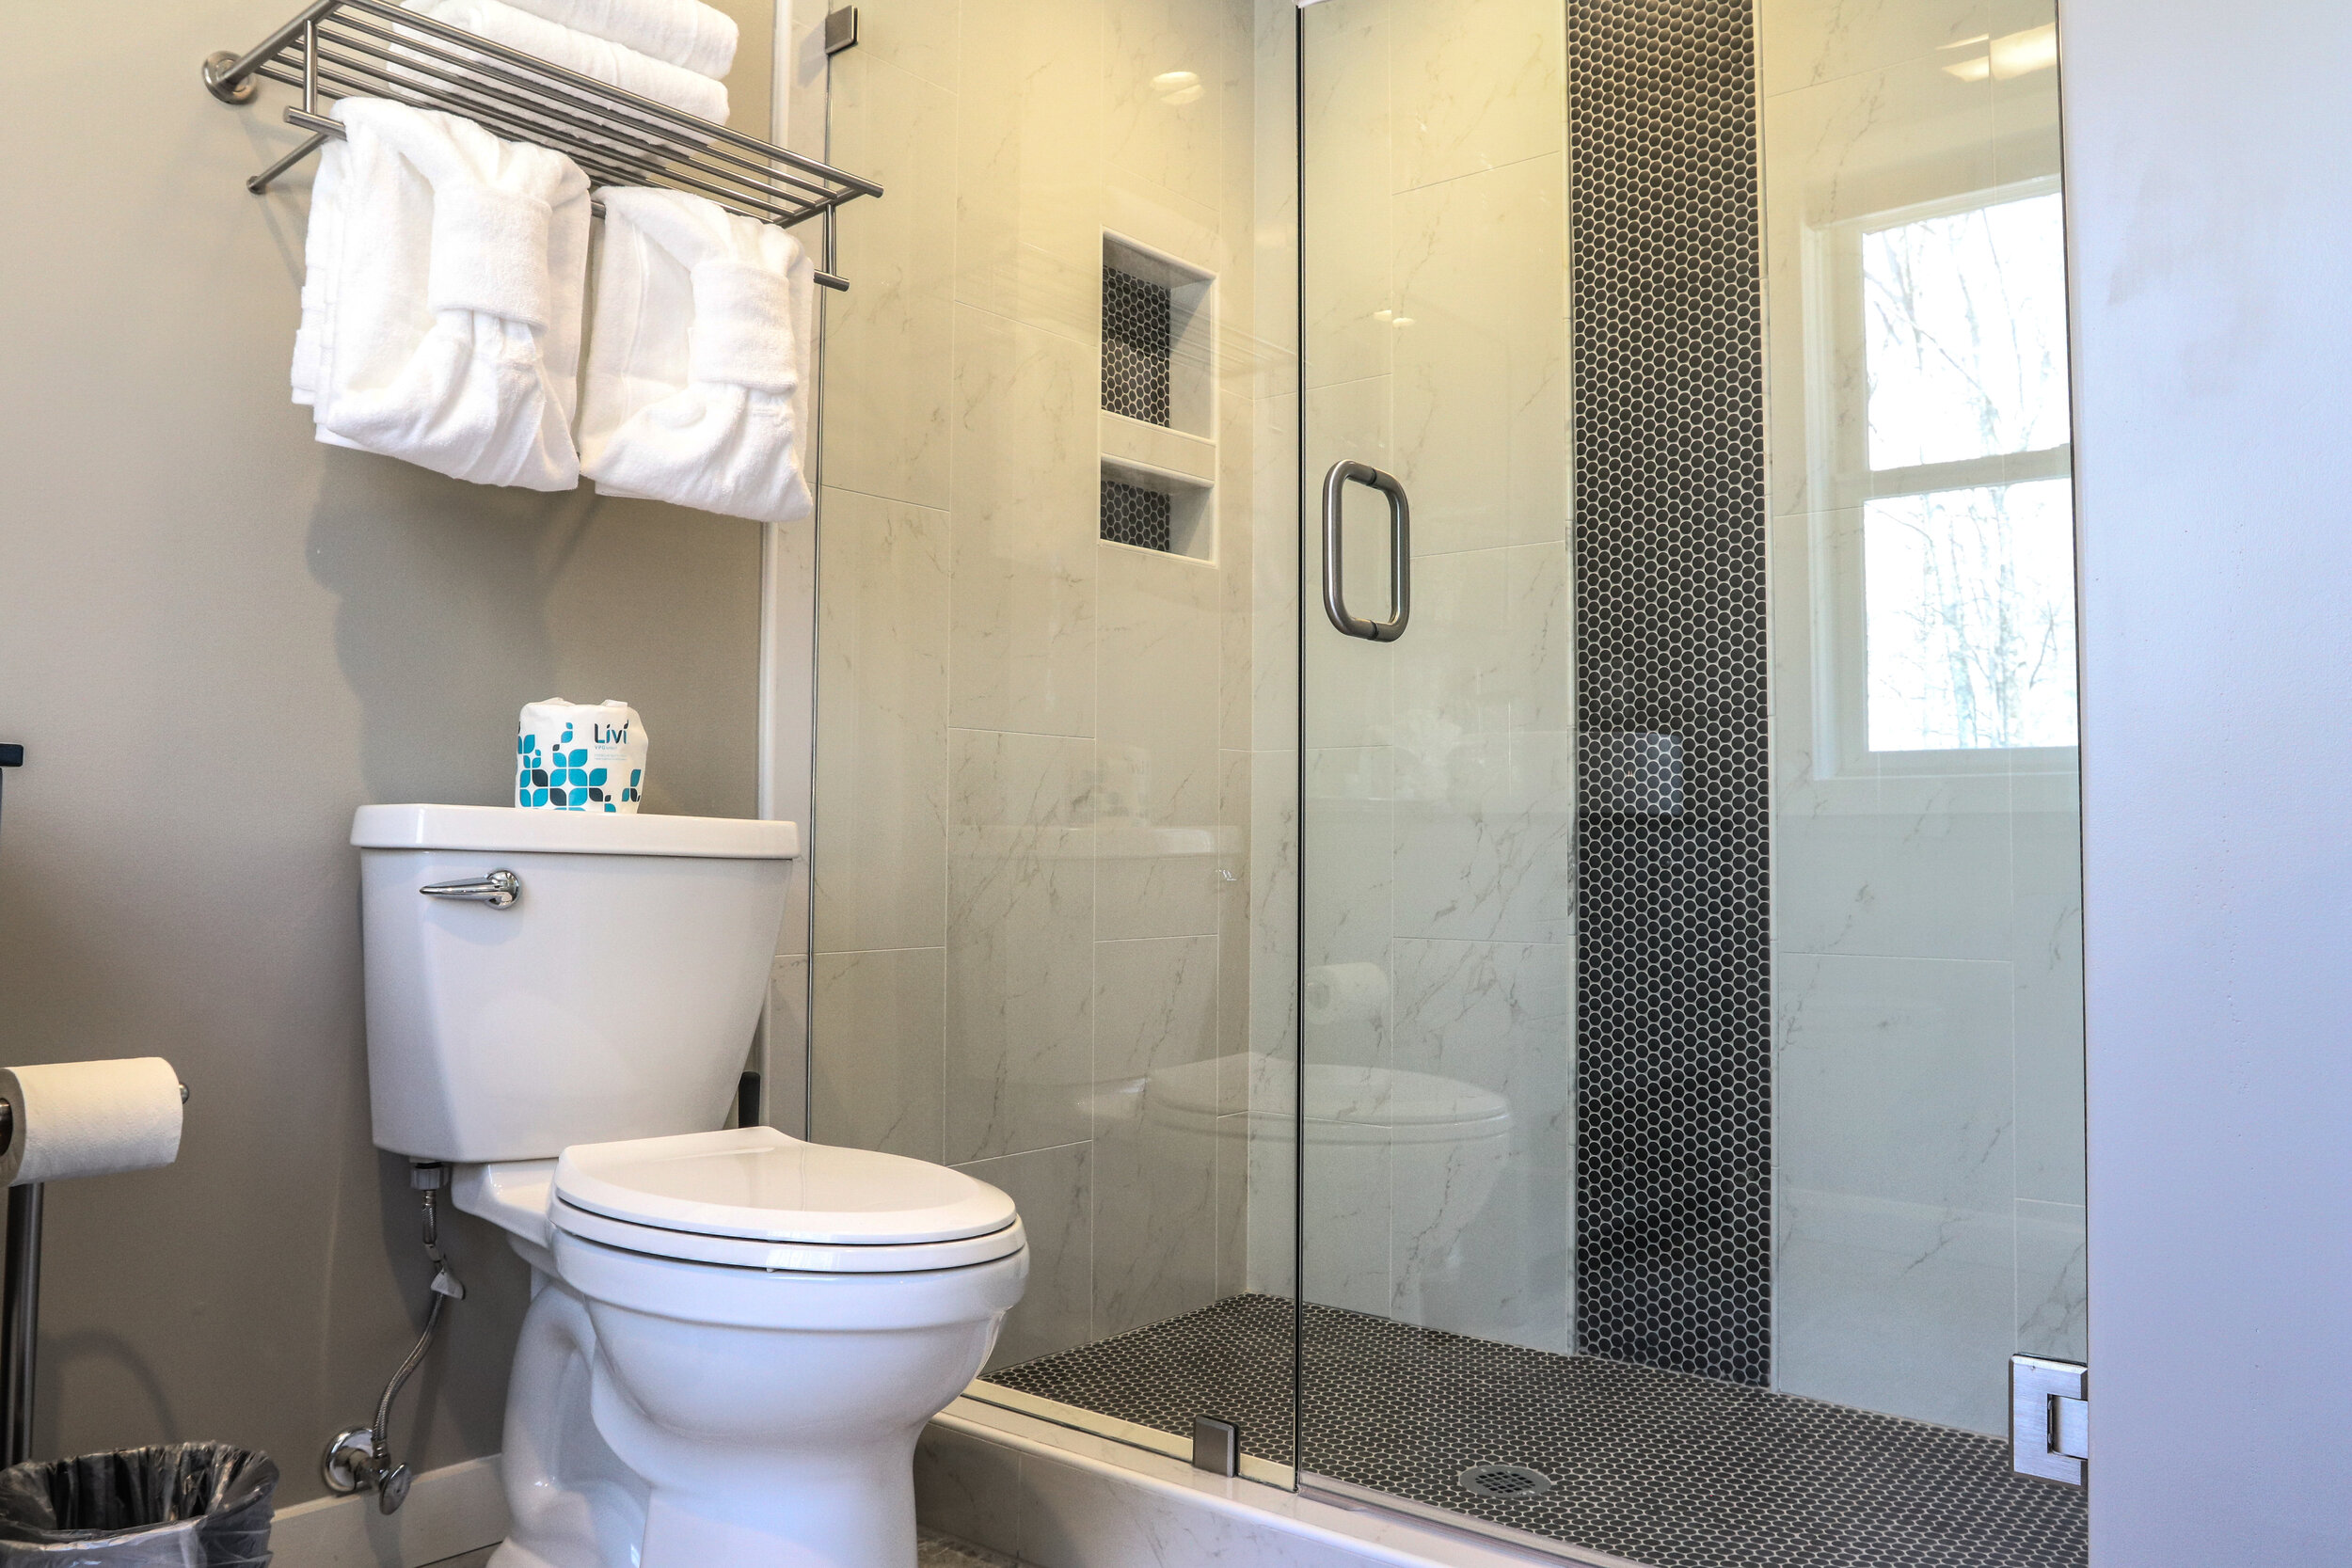
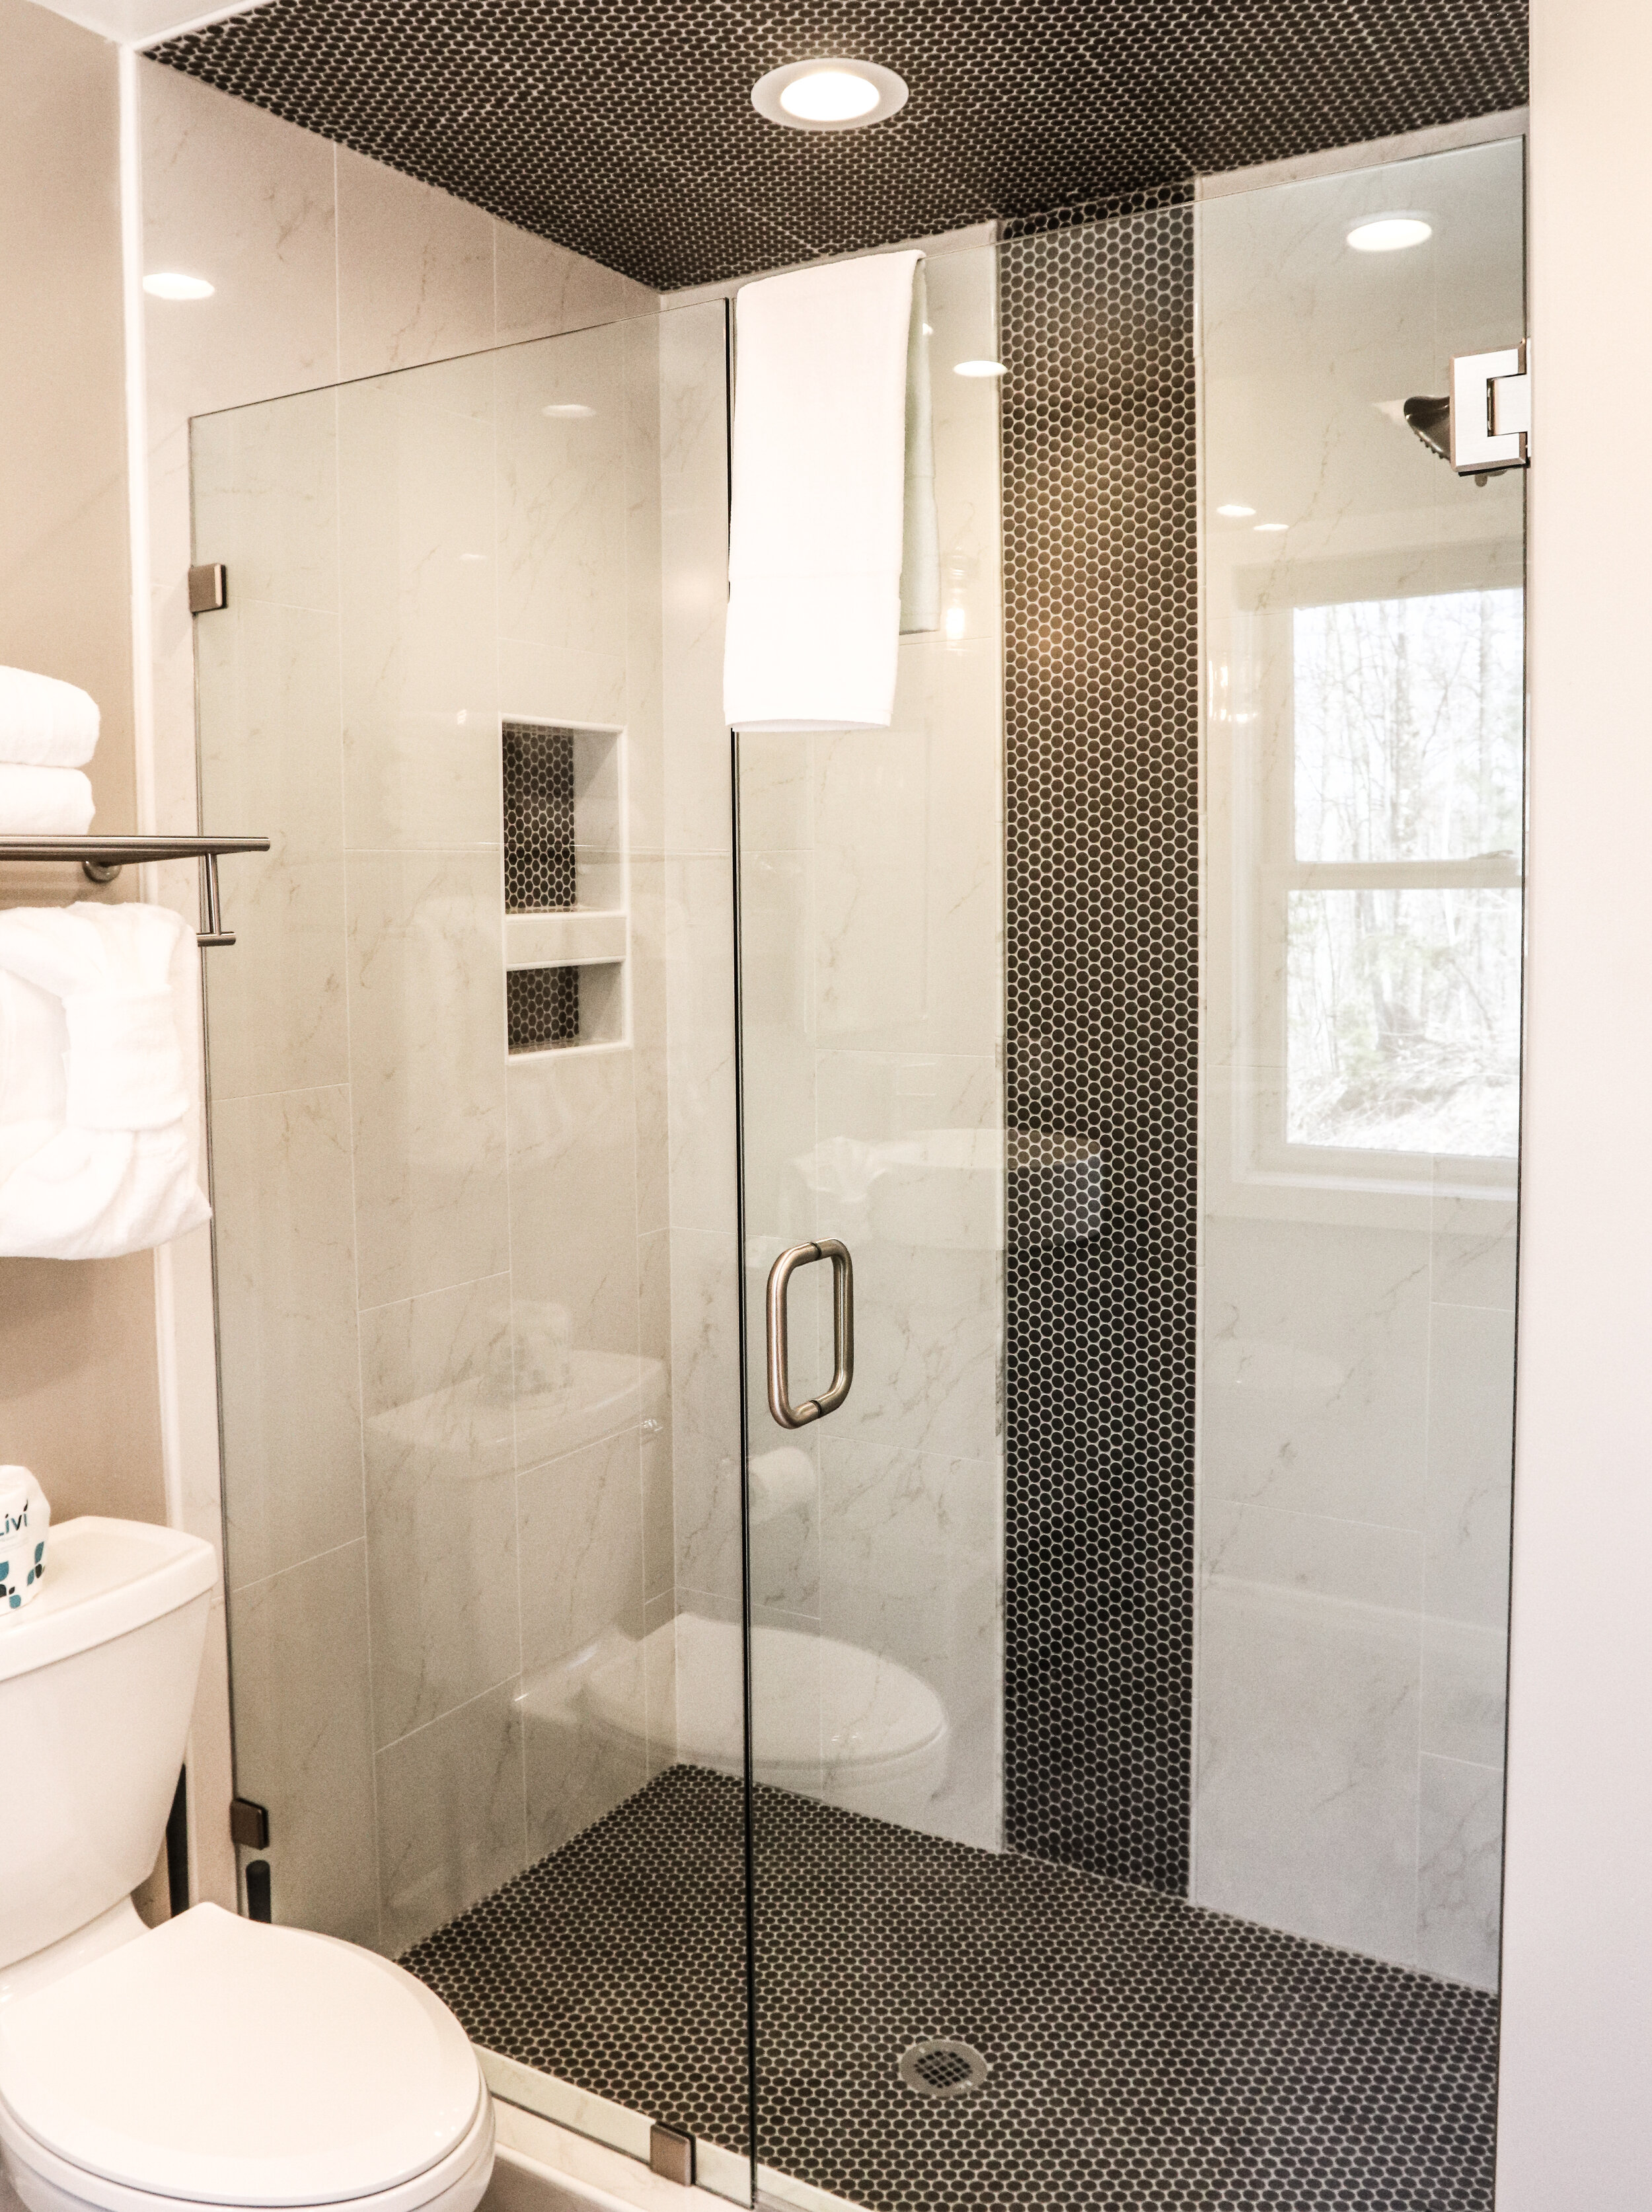
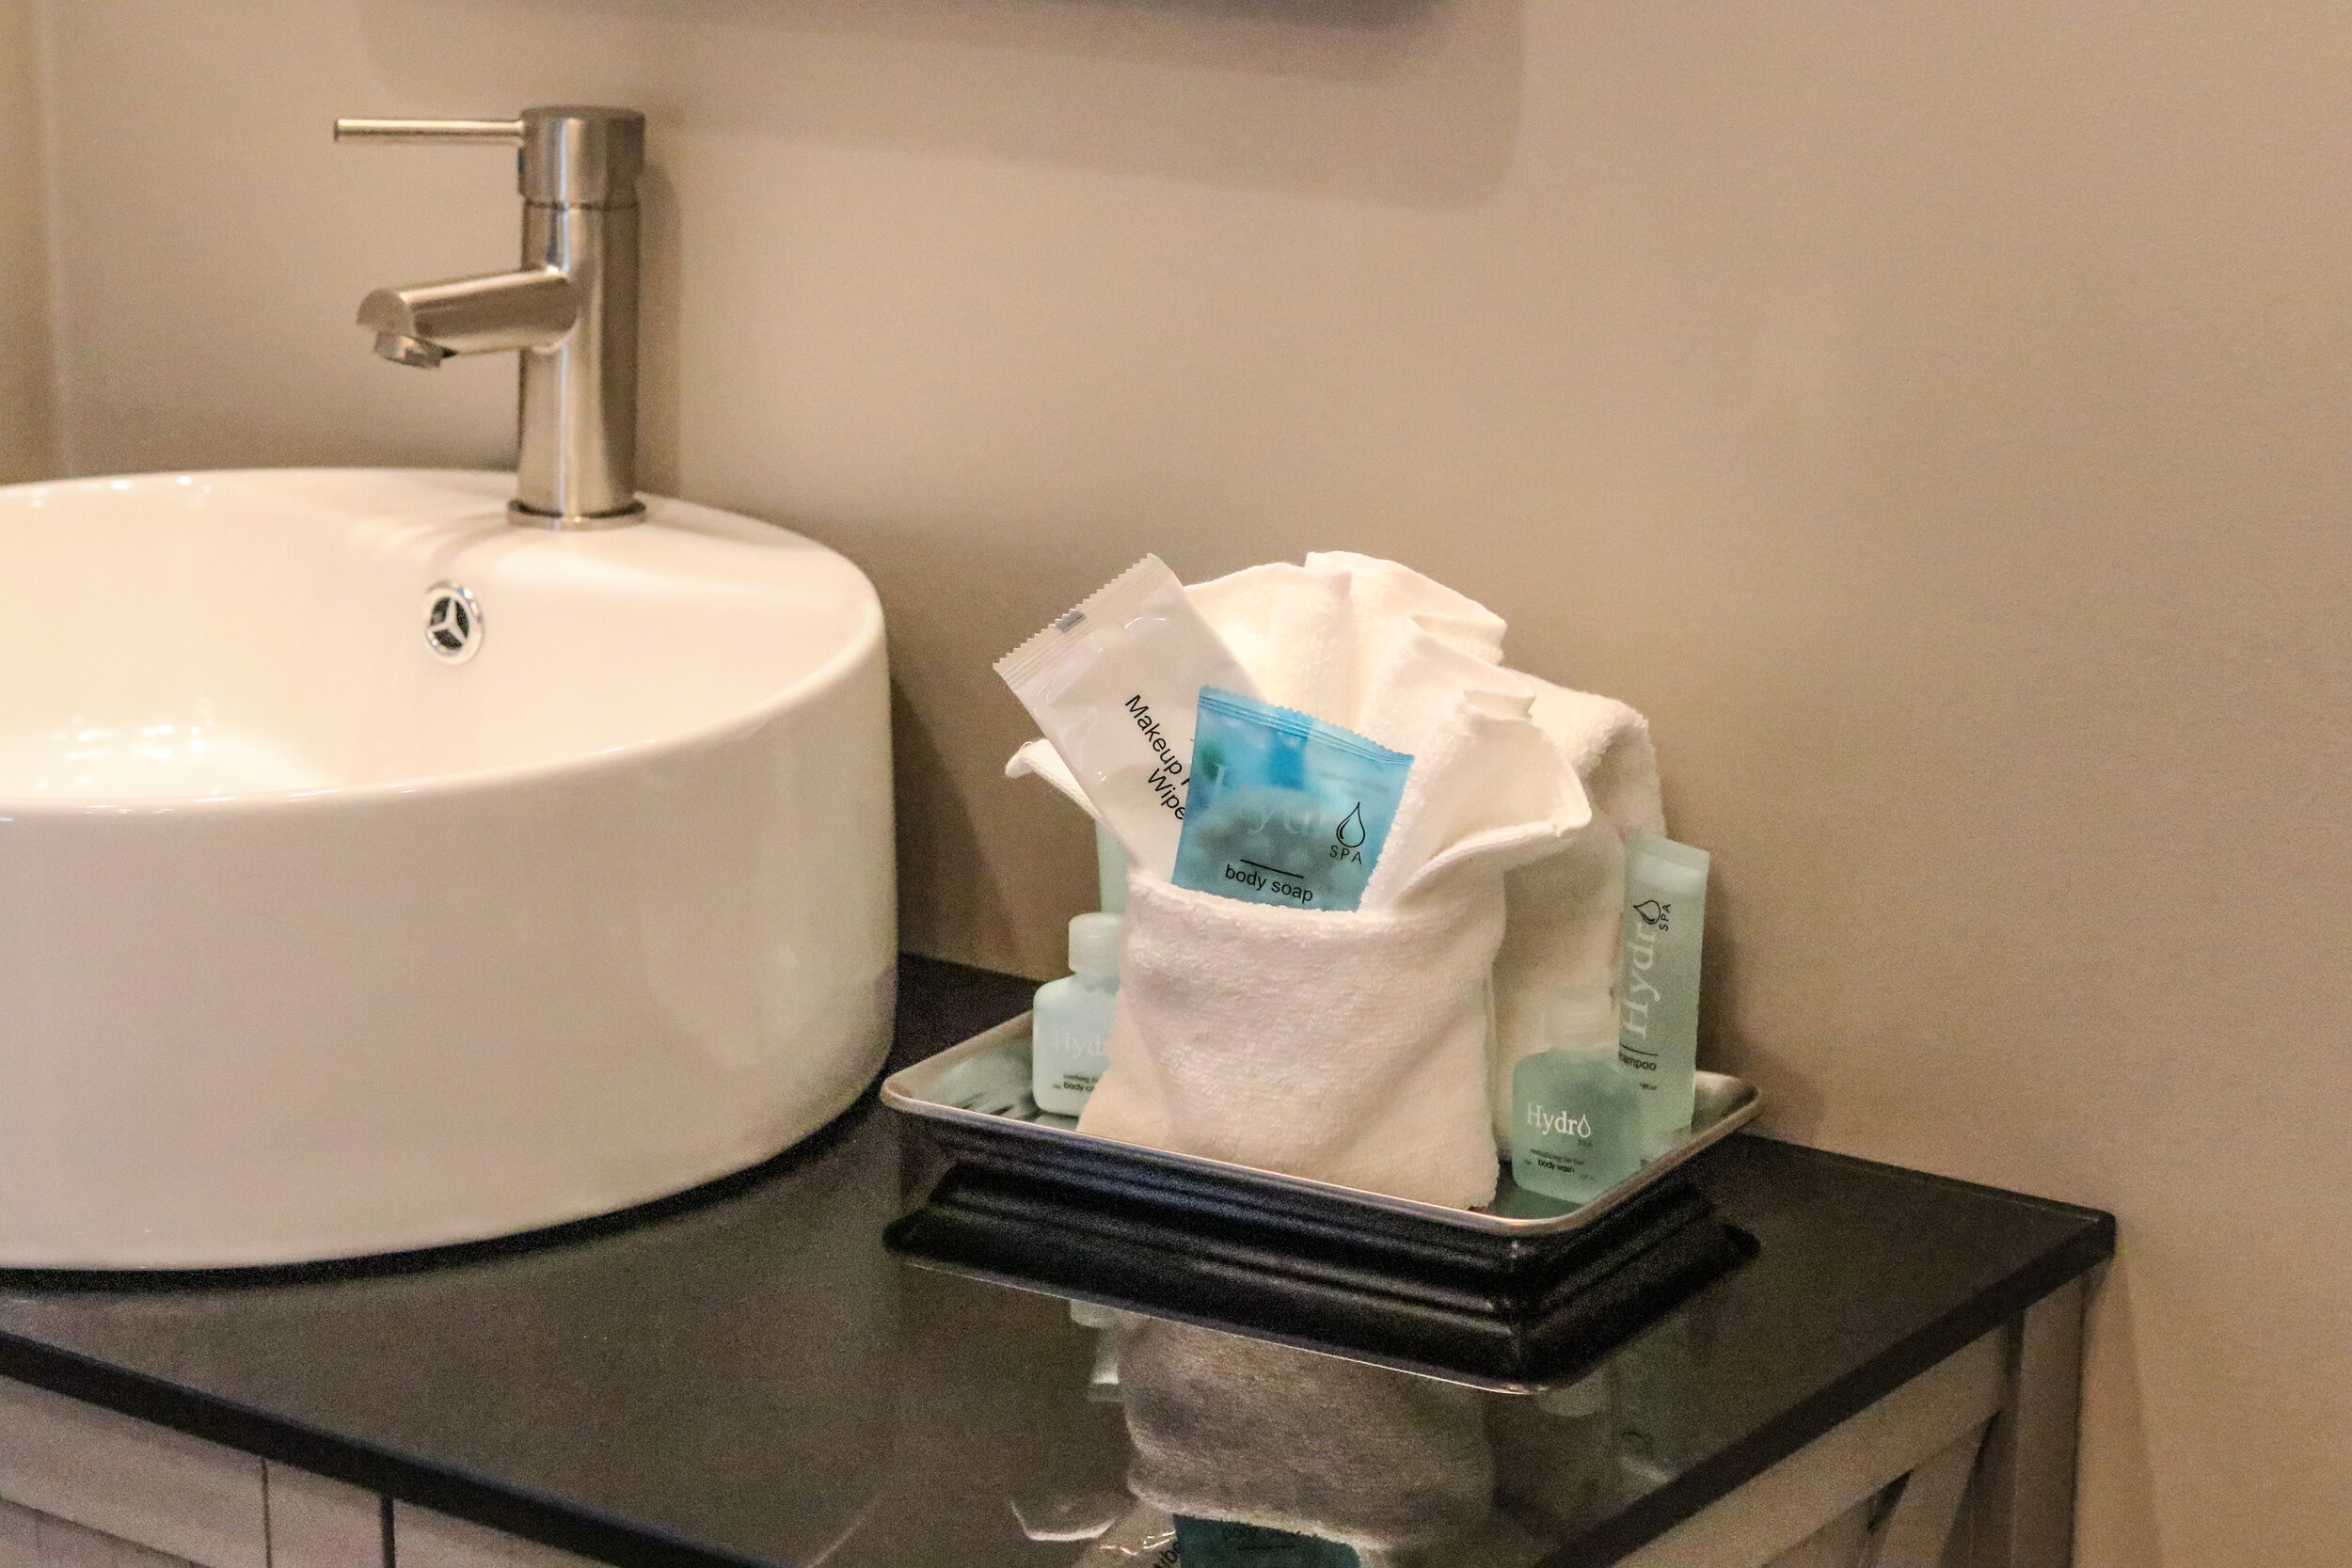
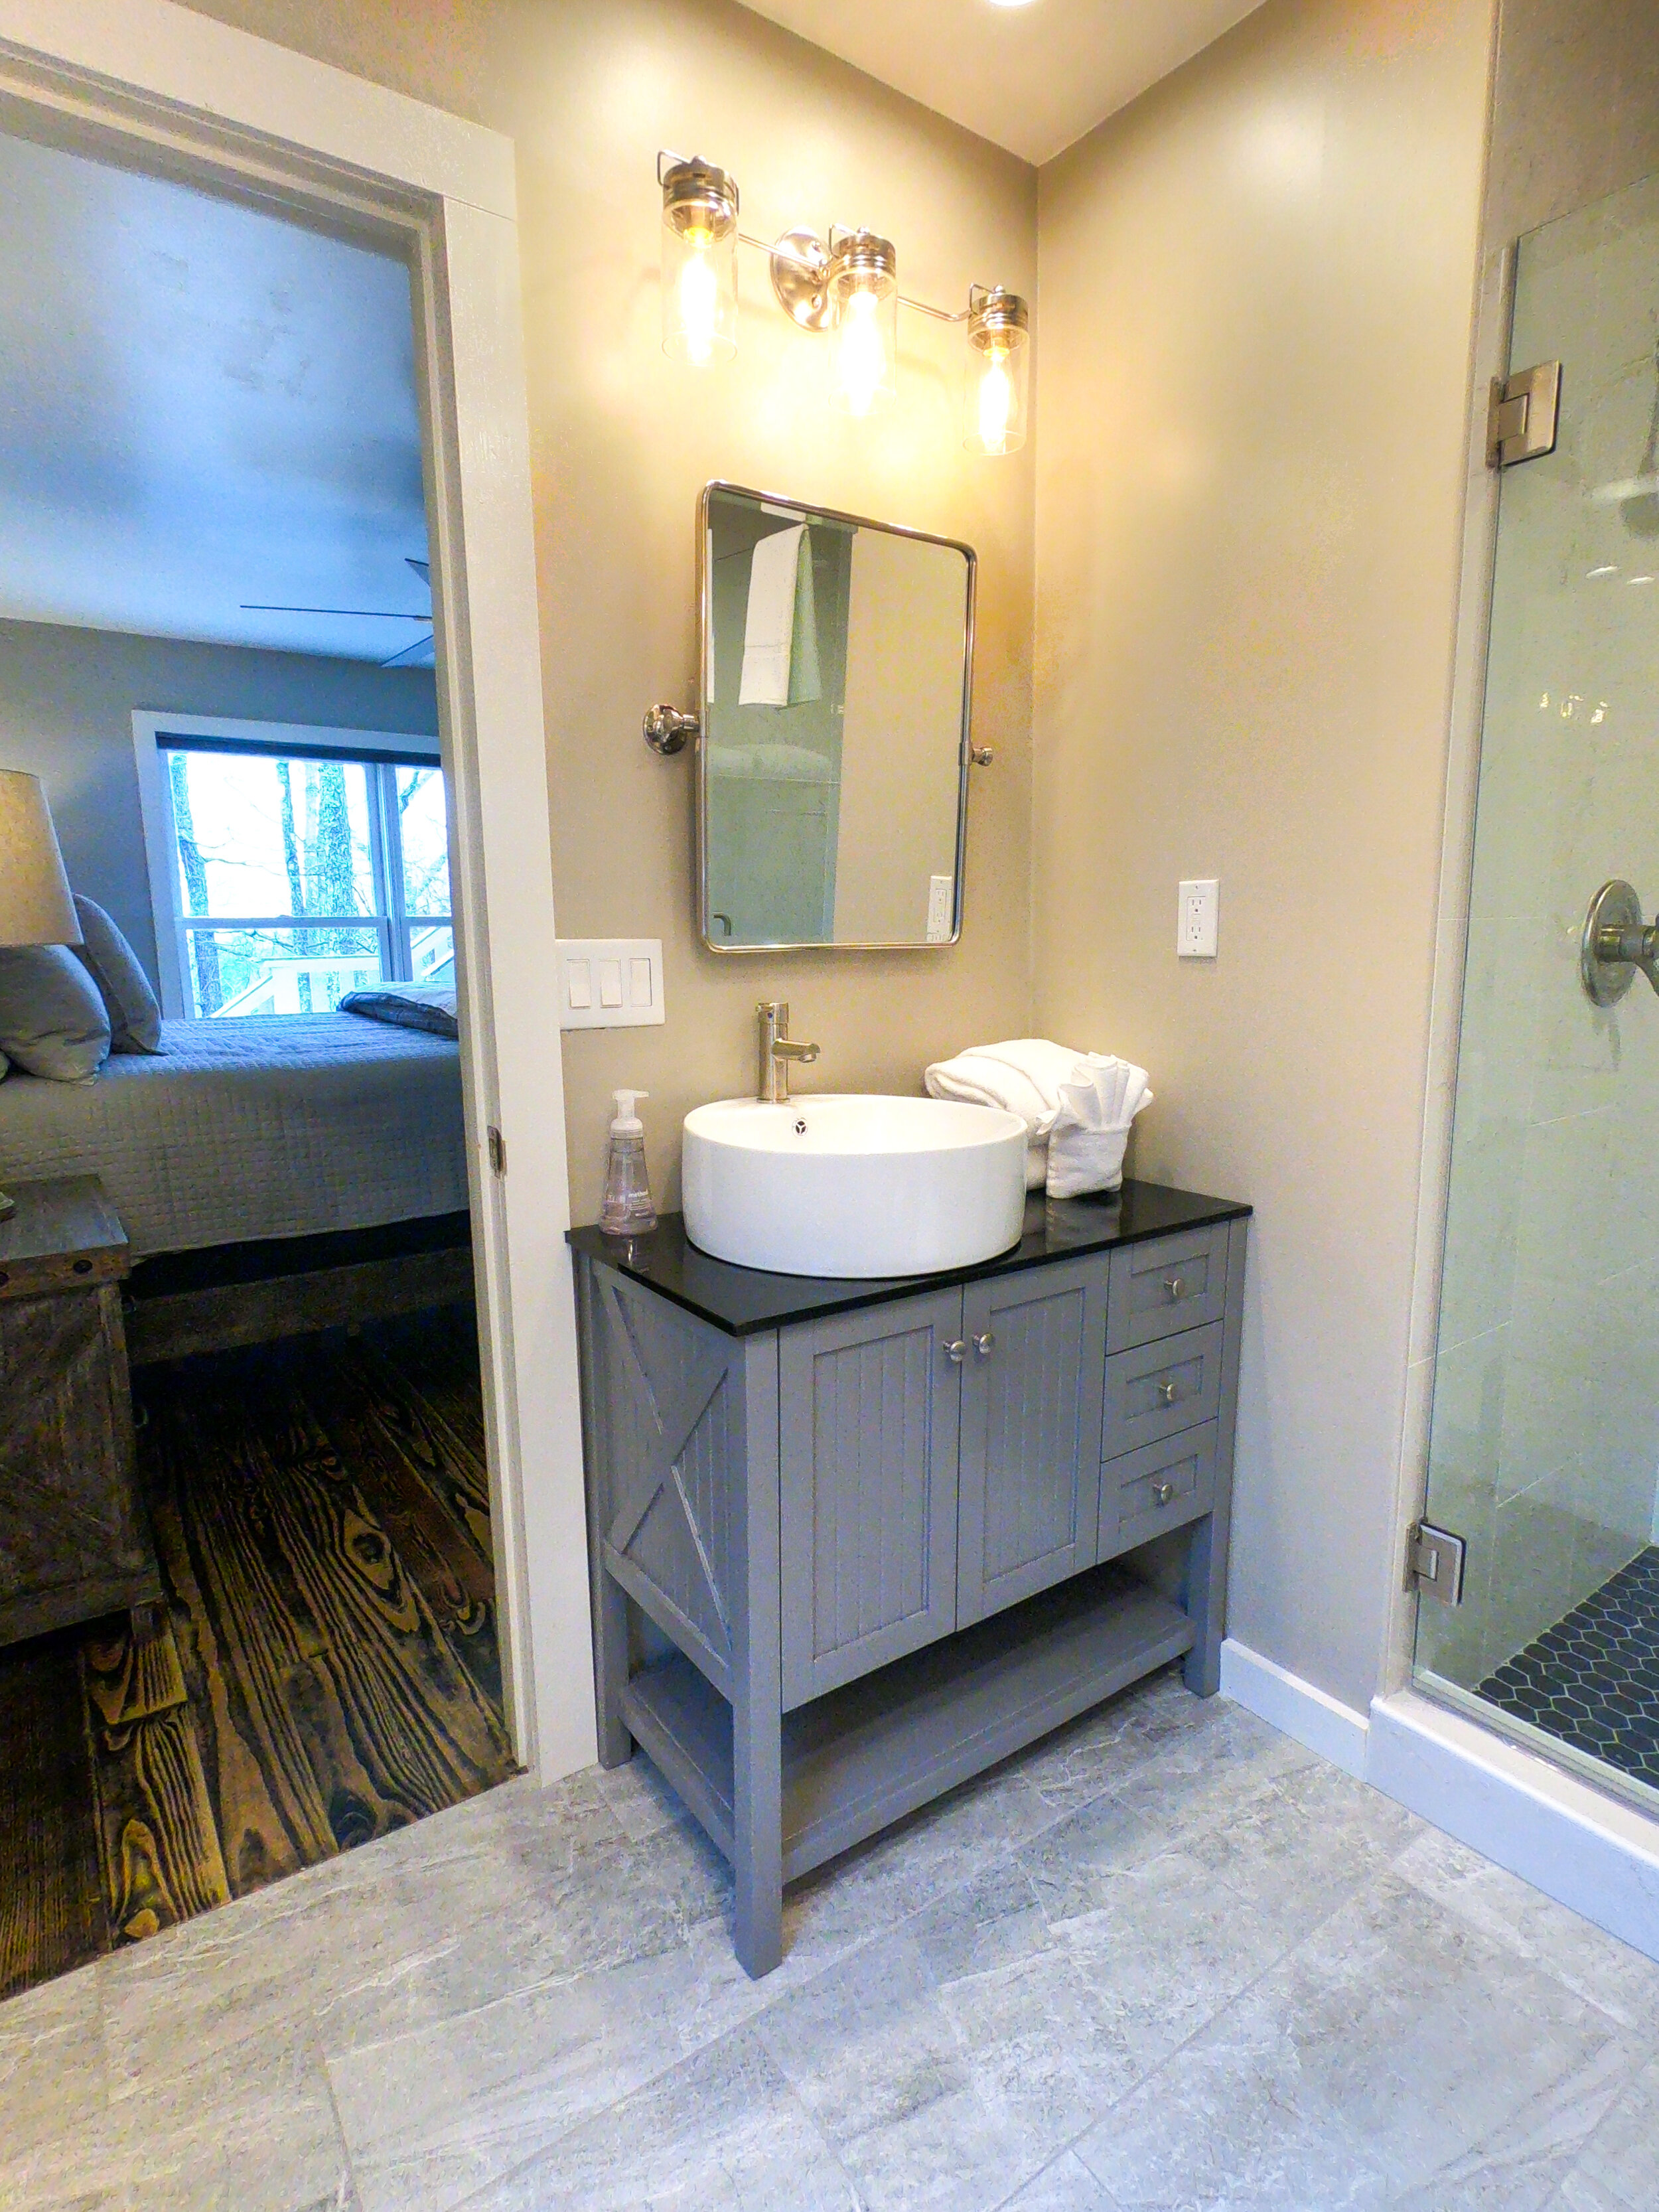
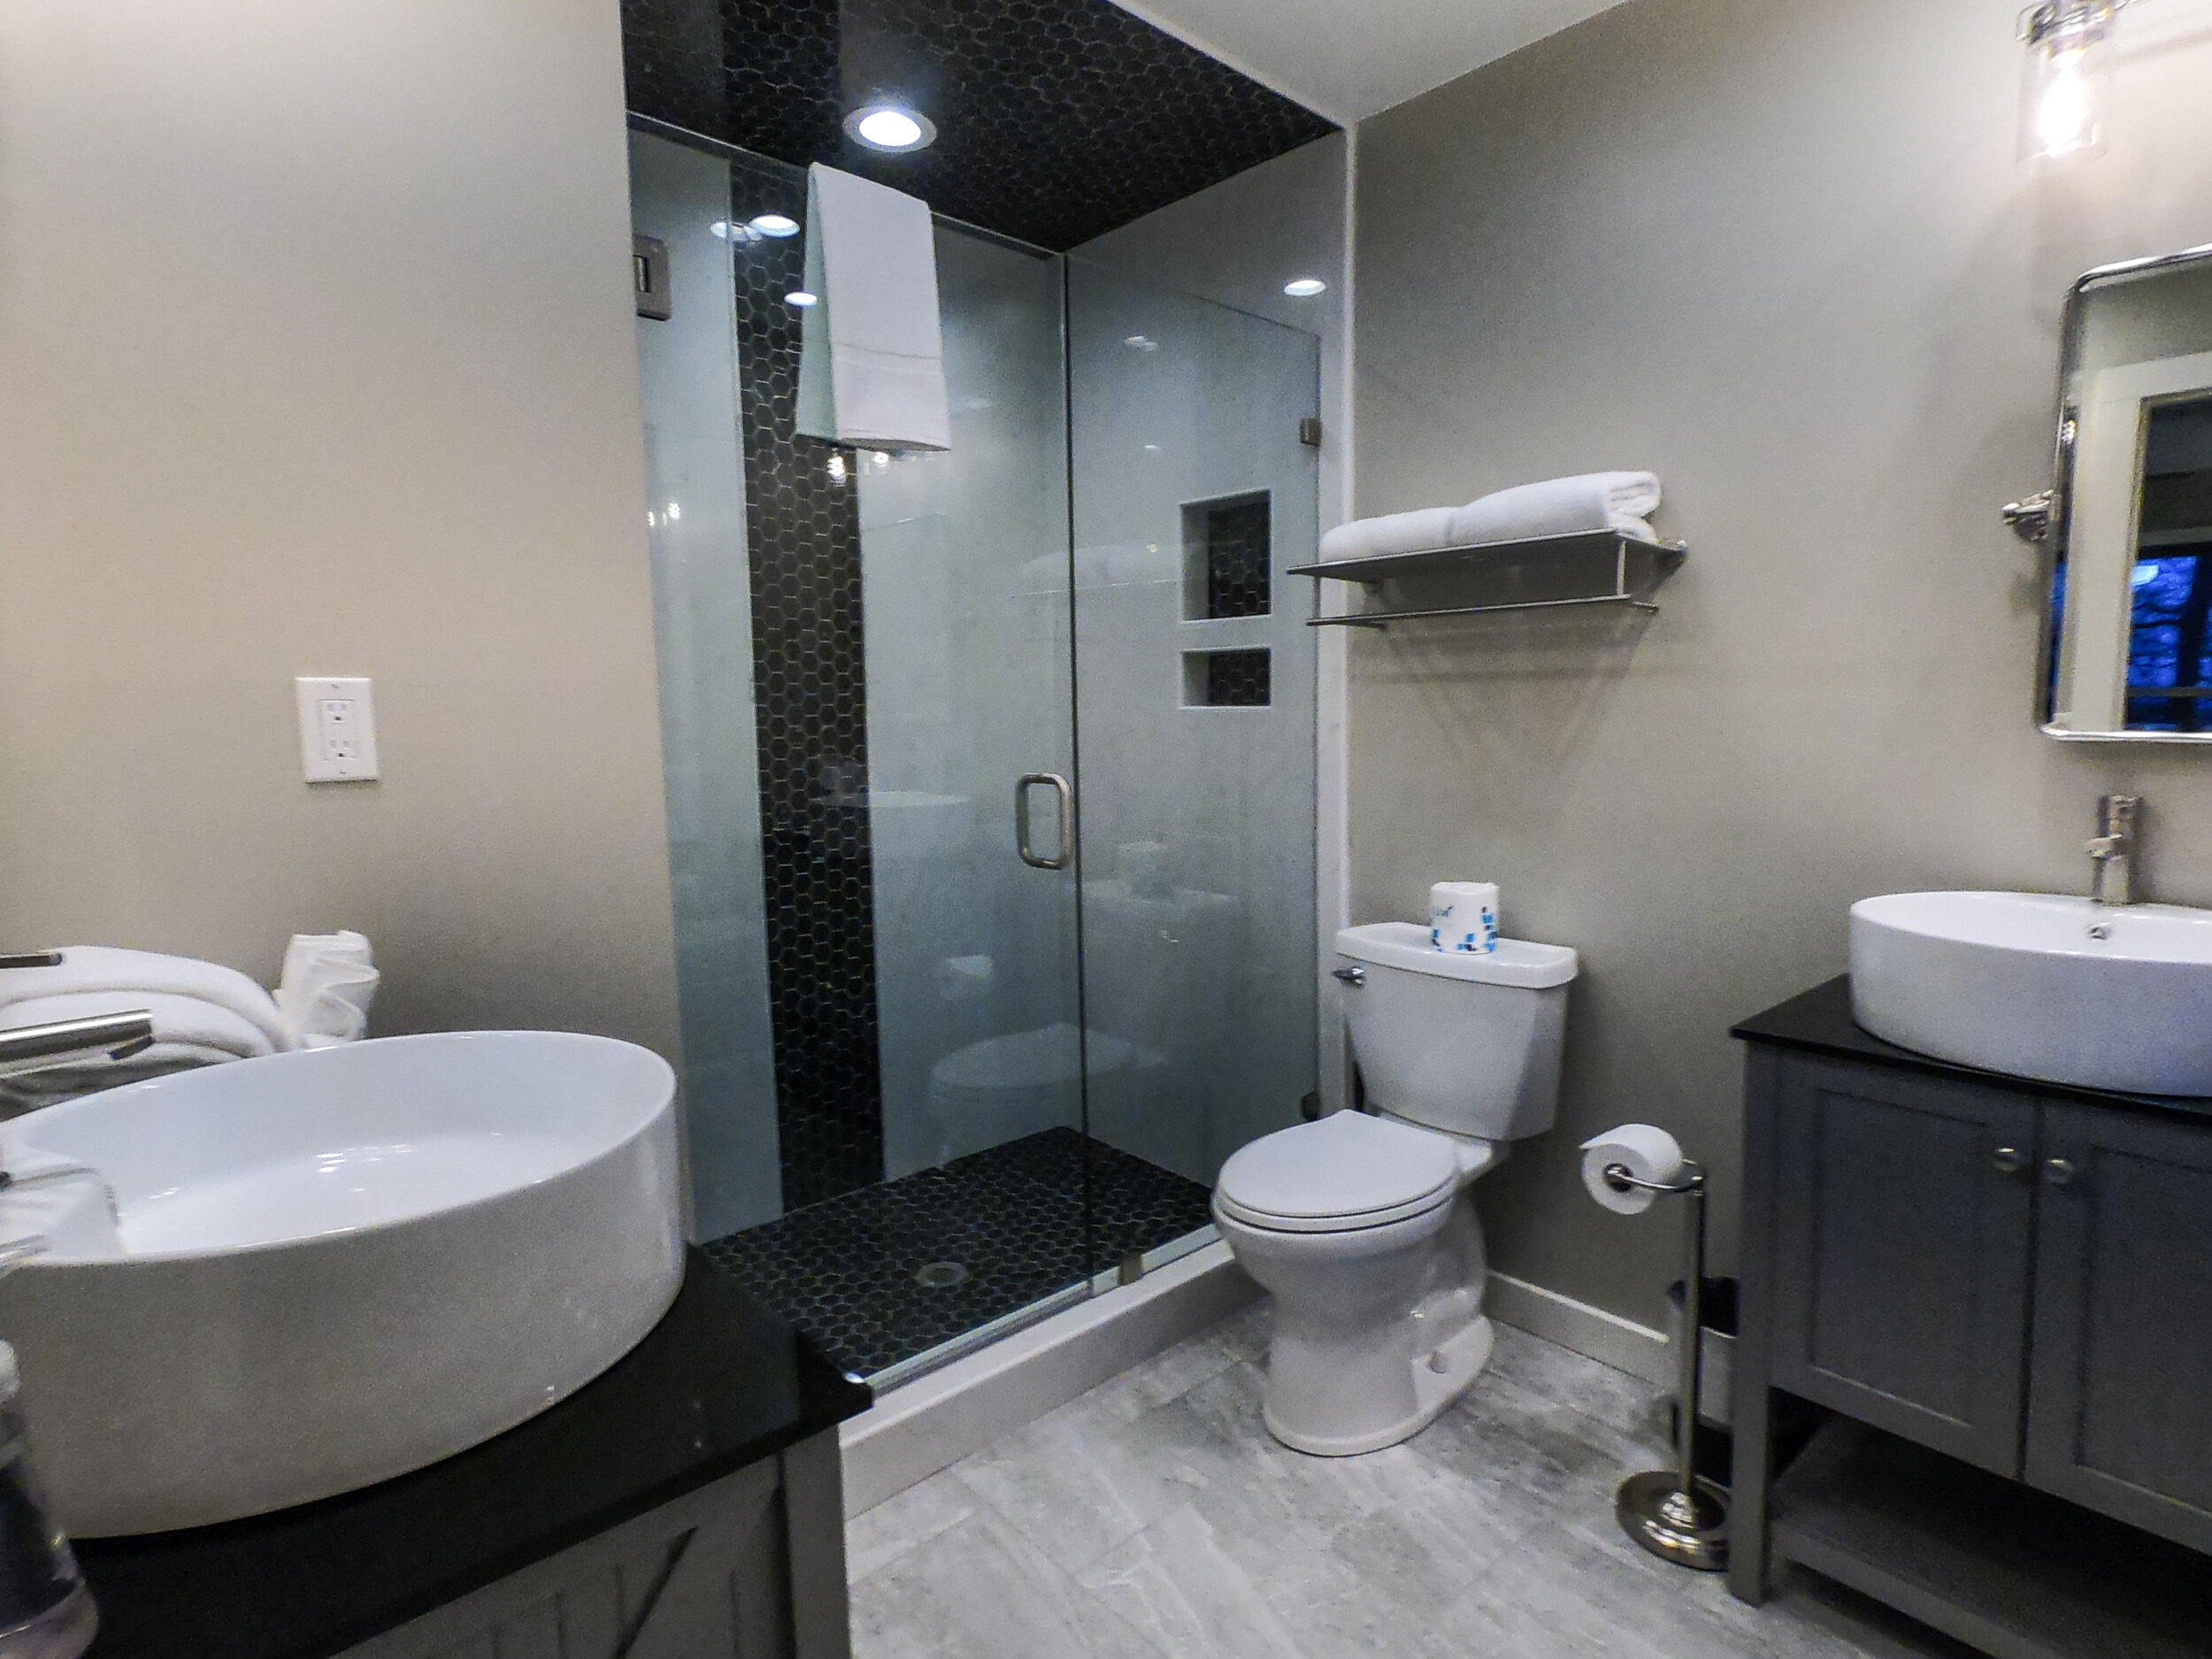
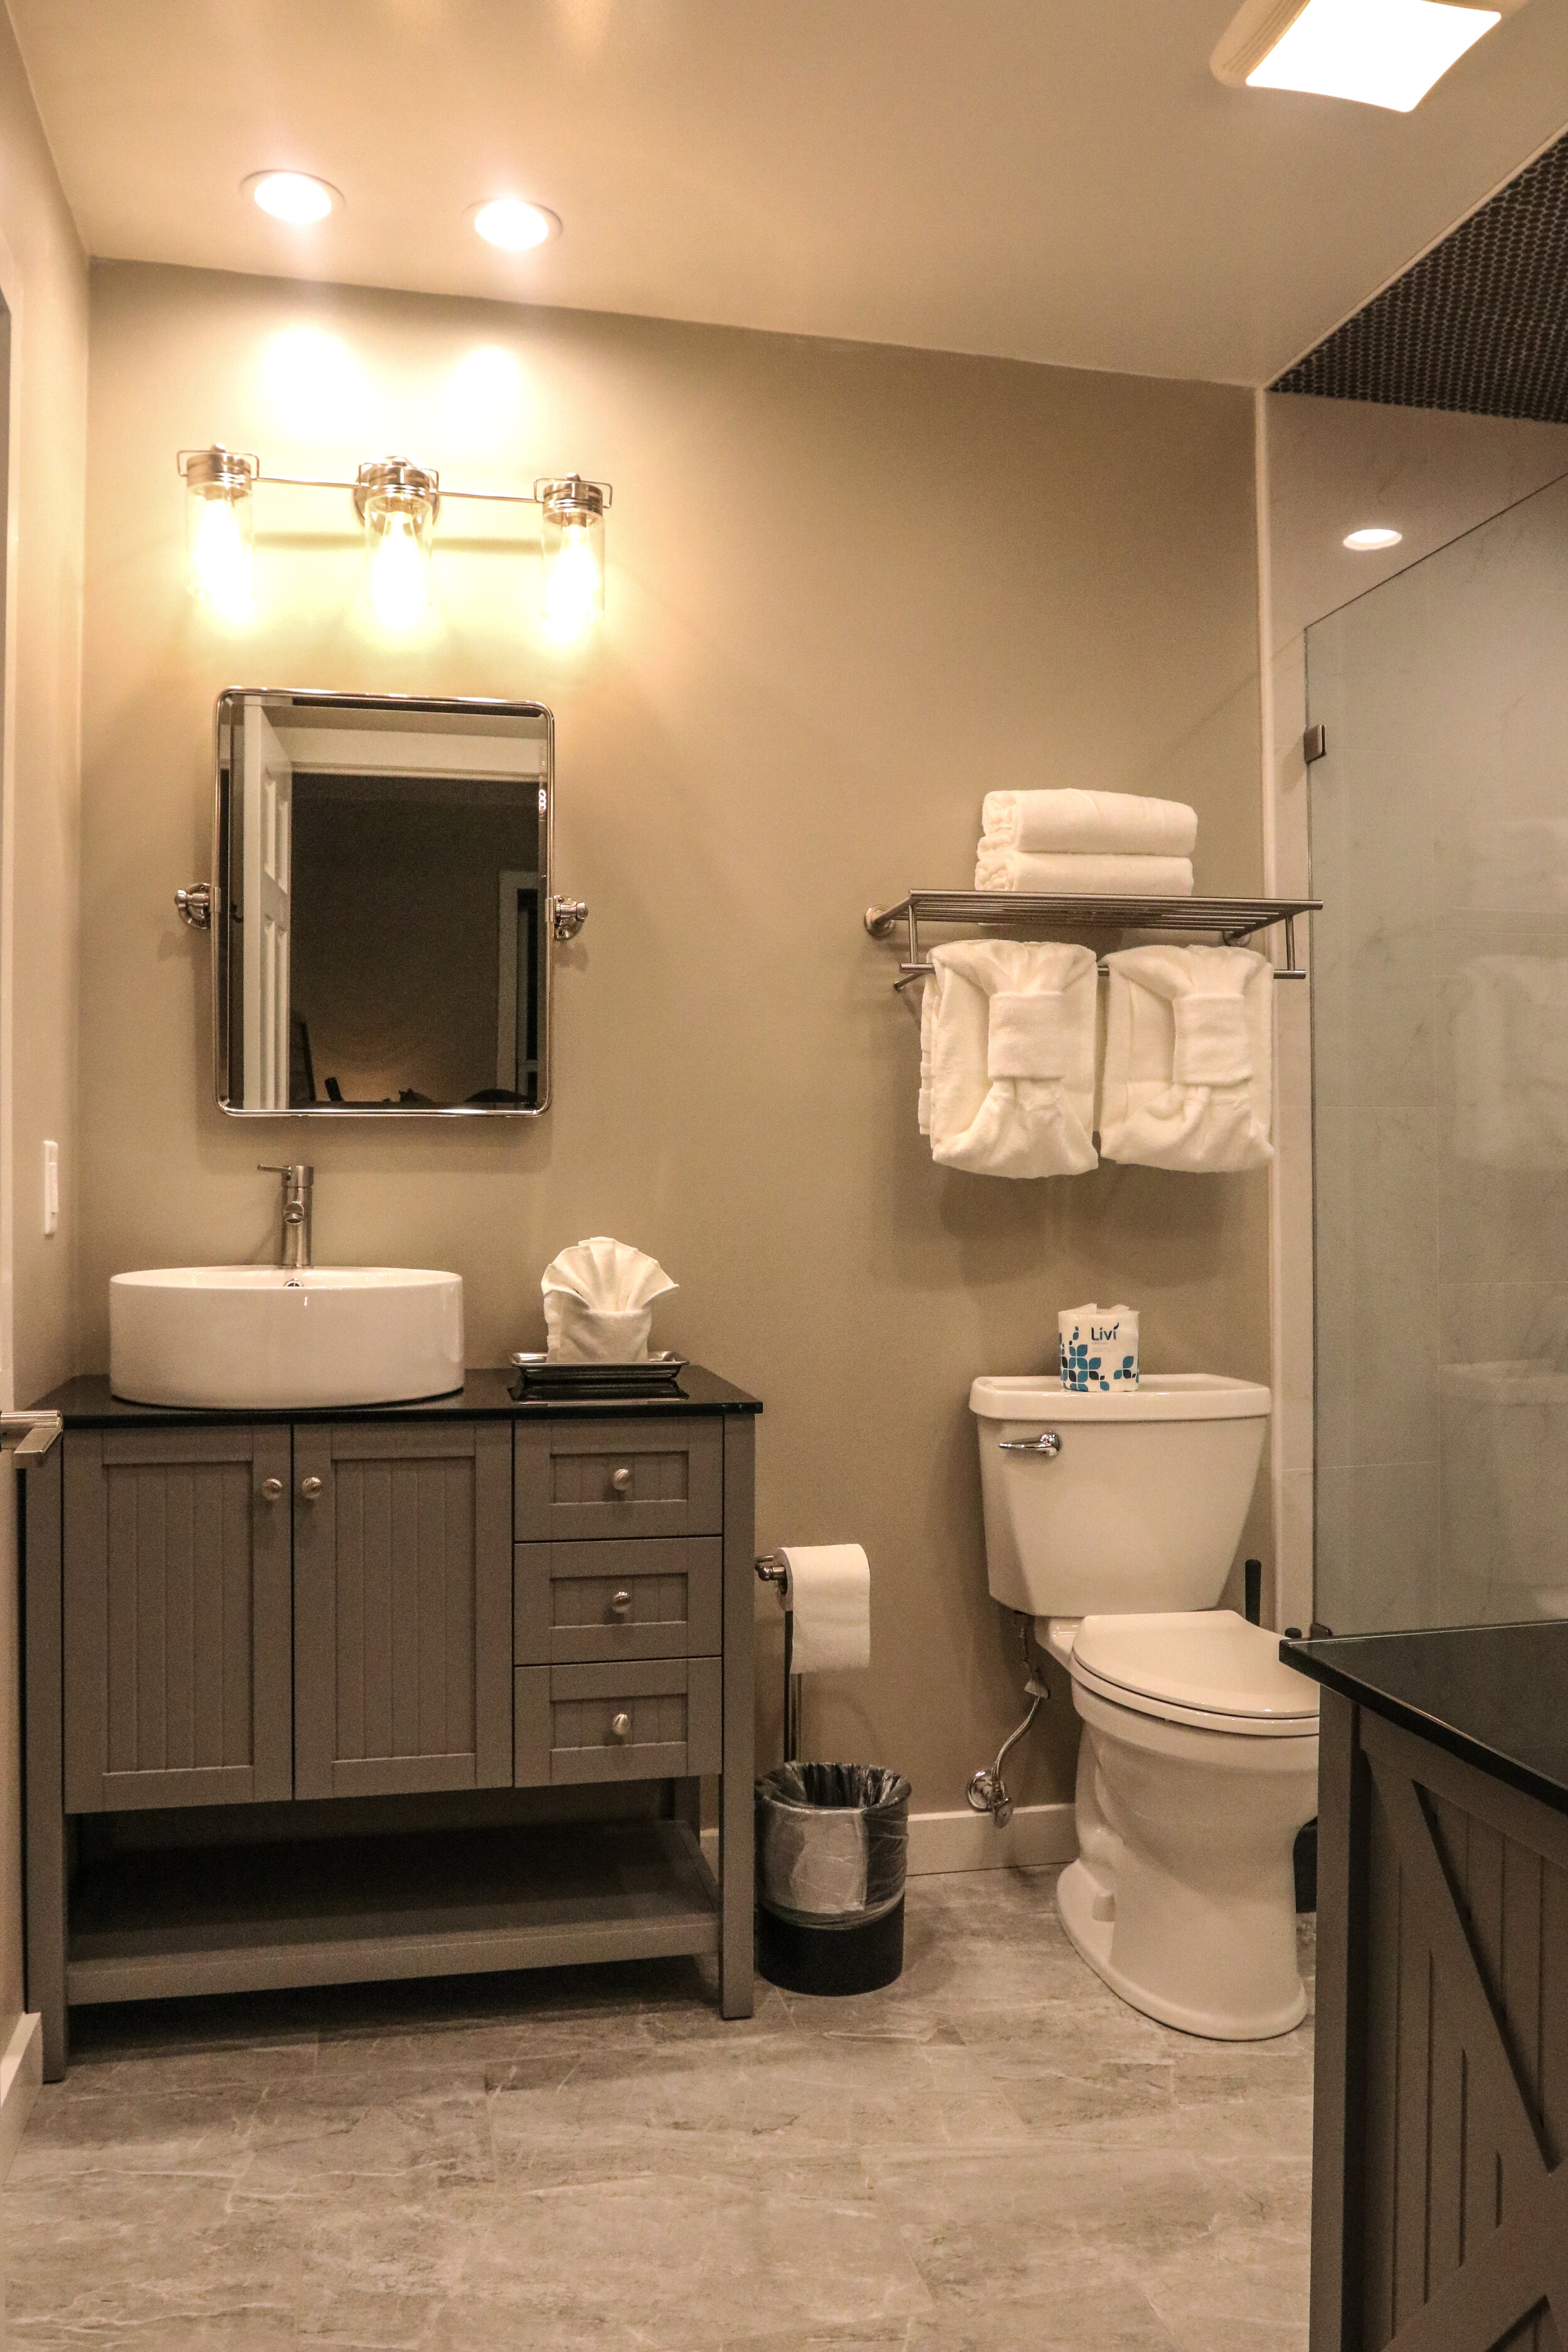
BATHROOM REMODEL!
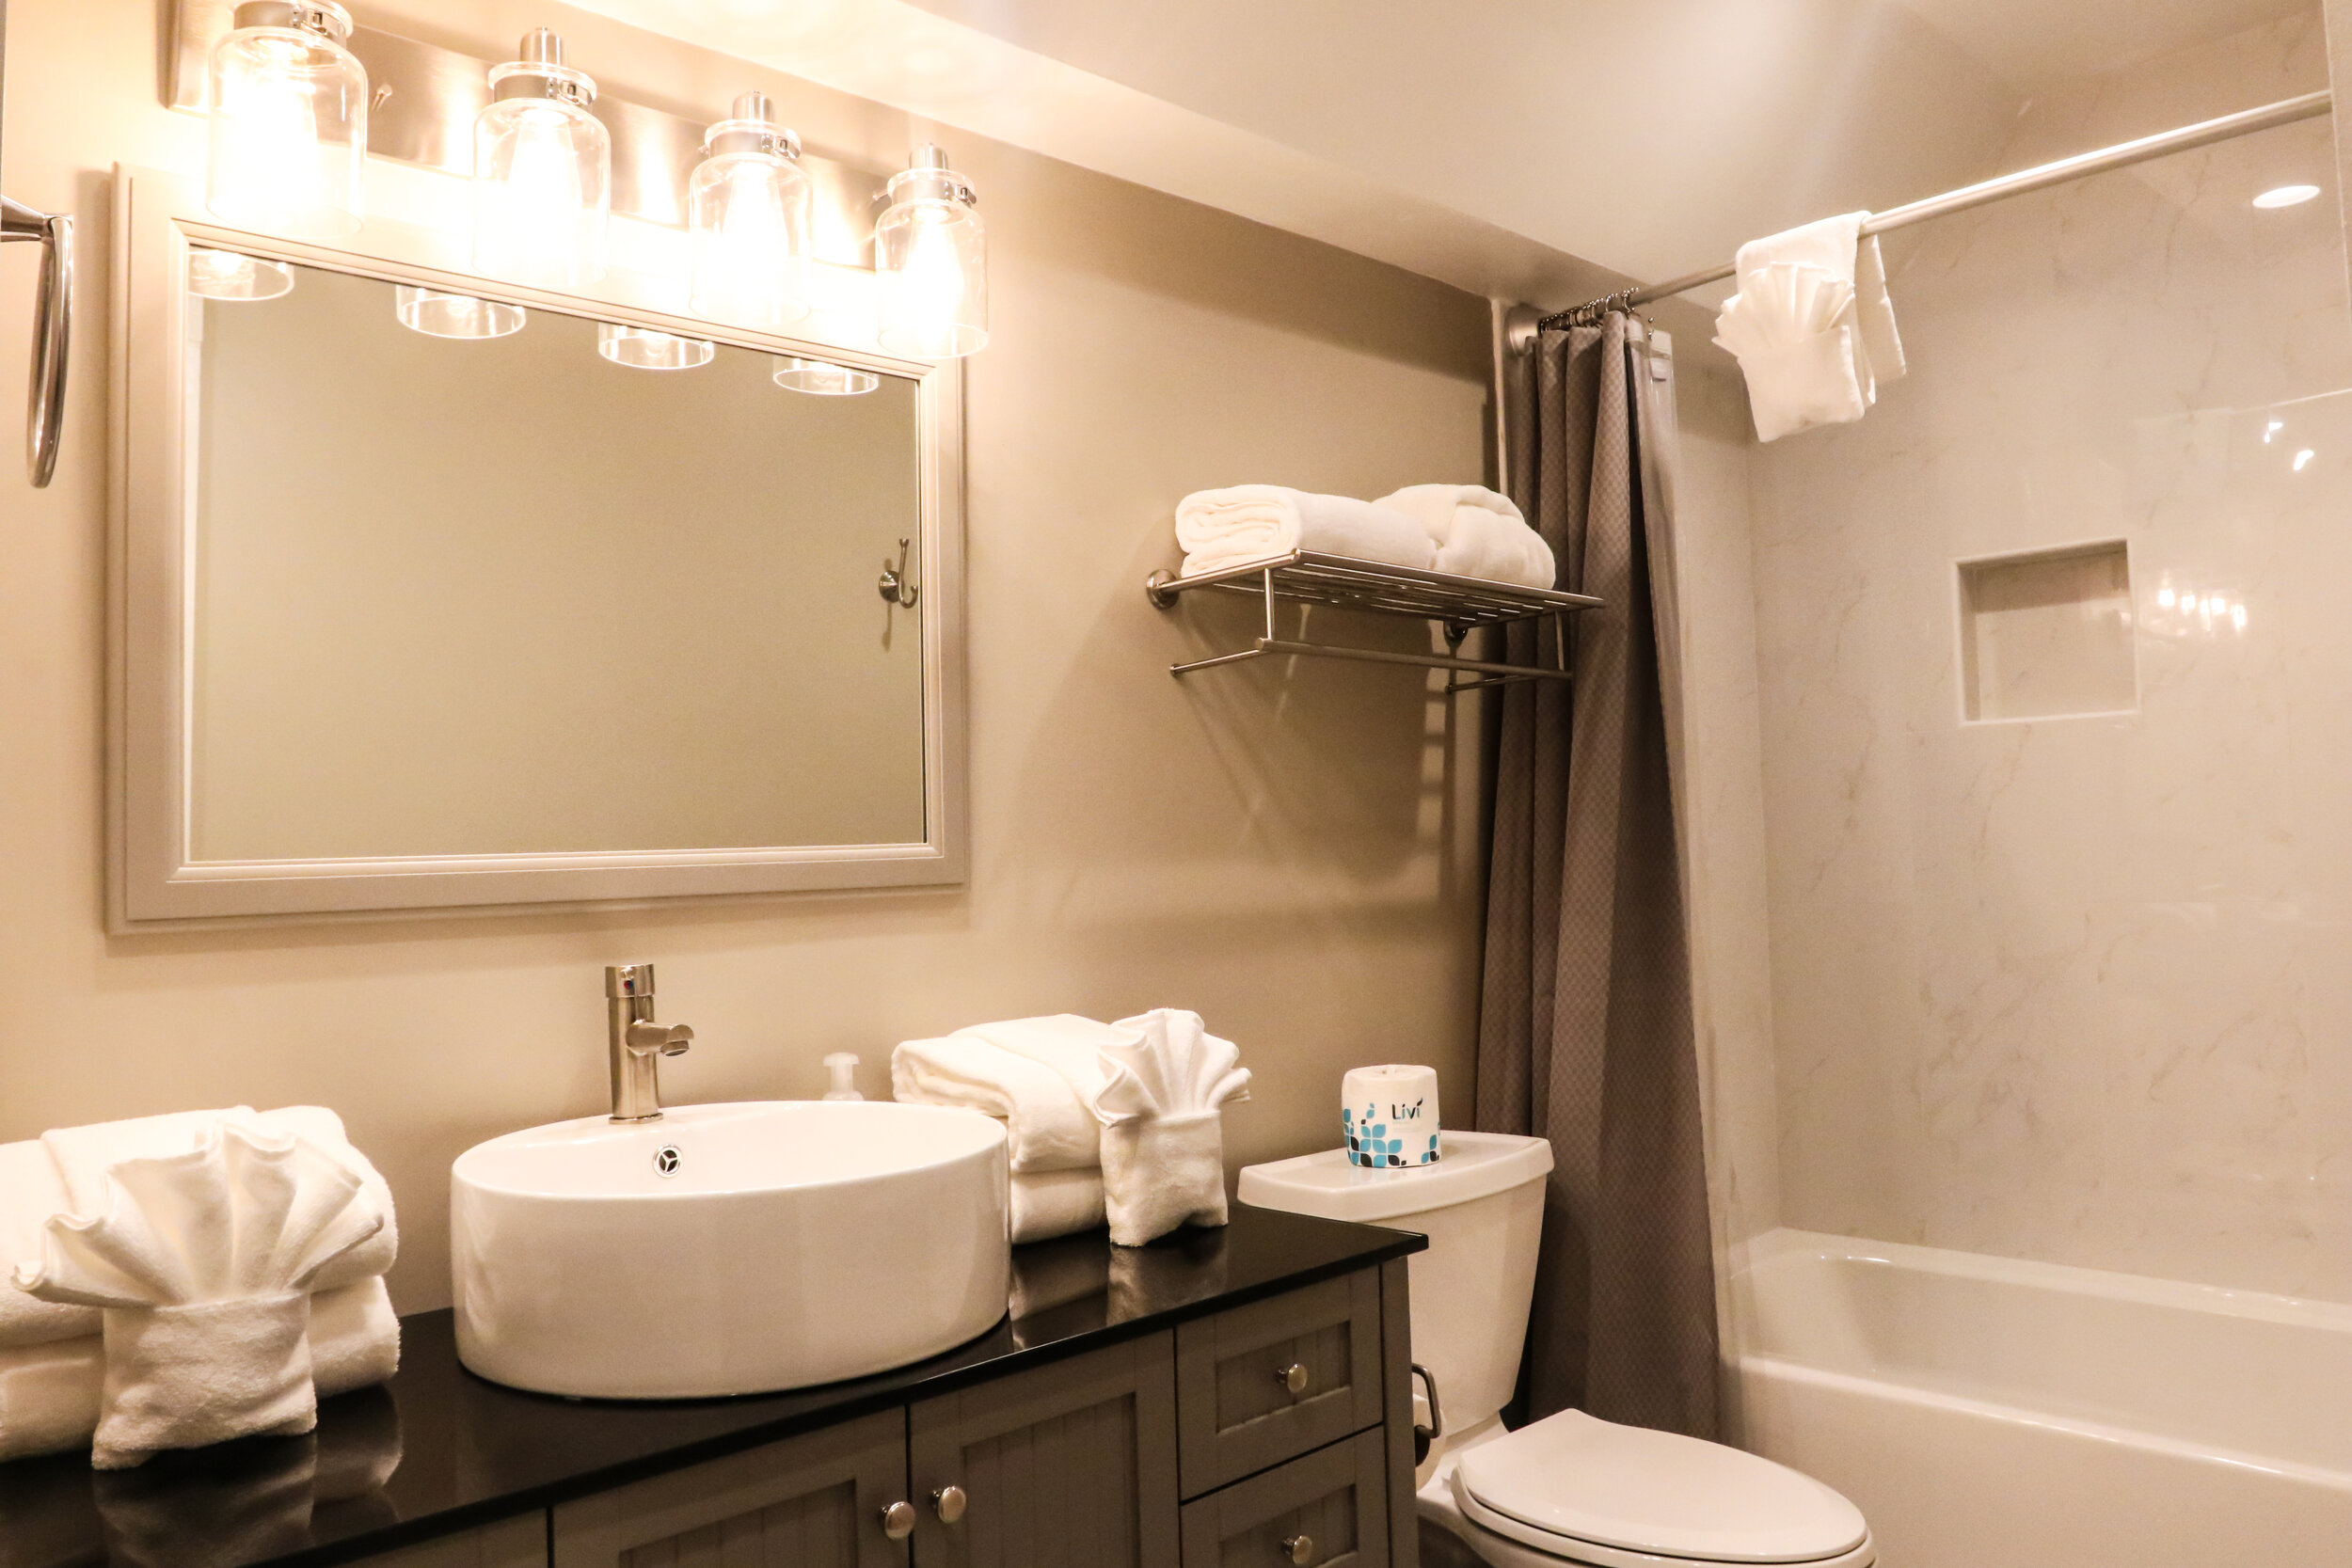
We both really enjoyed the bathroom remodel and picking out tile and finishes!
BEFORE AFTER
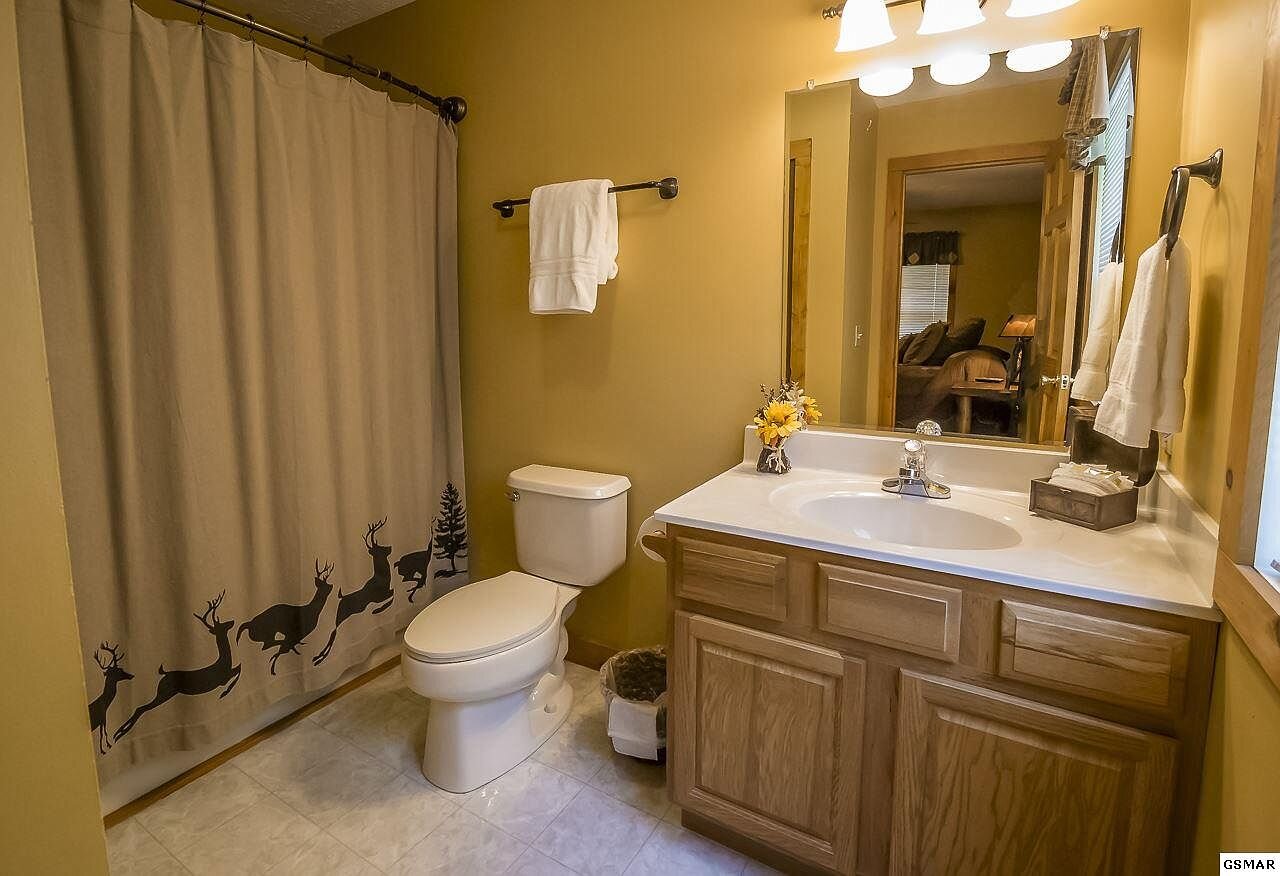

We tore out the vanity, bathtub & flooring! We replaced the tub with a beautiful tile shower and added a Delta shower head. We get so many positive reviews about the showers from our guests and how much they love the water pressure!
We replaced the ONE vanity and added TWO vanities in each bathroom with a modern design. You can see below that we stuck with a similar look for each bathroom (:
We had so much fun renovating this entire home and the hard work has paid off as this is one of our top rented properties! This home was also featured by VRBO and has been used in commercials, ads, and even now is used as mobile and desktop backgrounds!
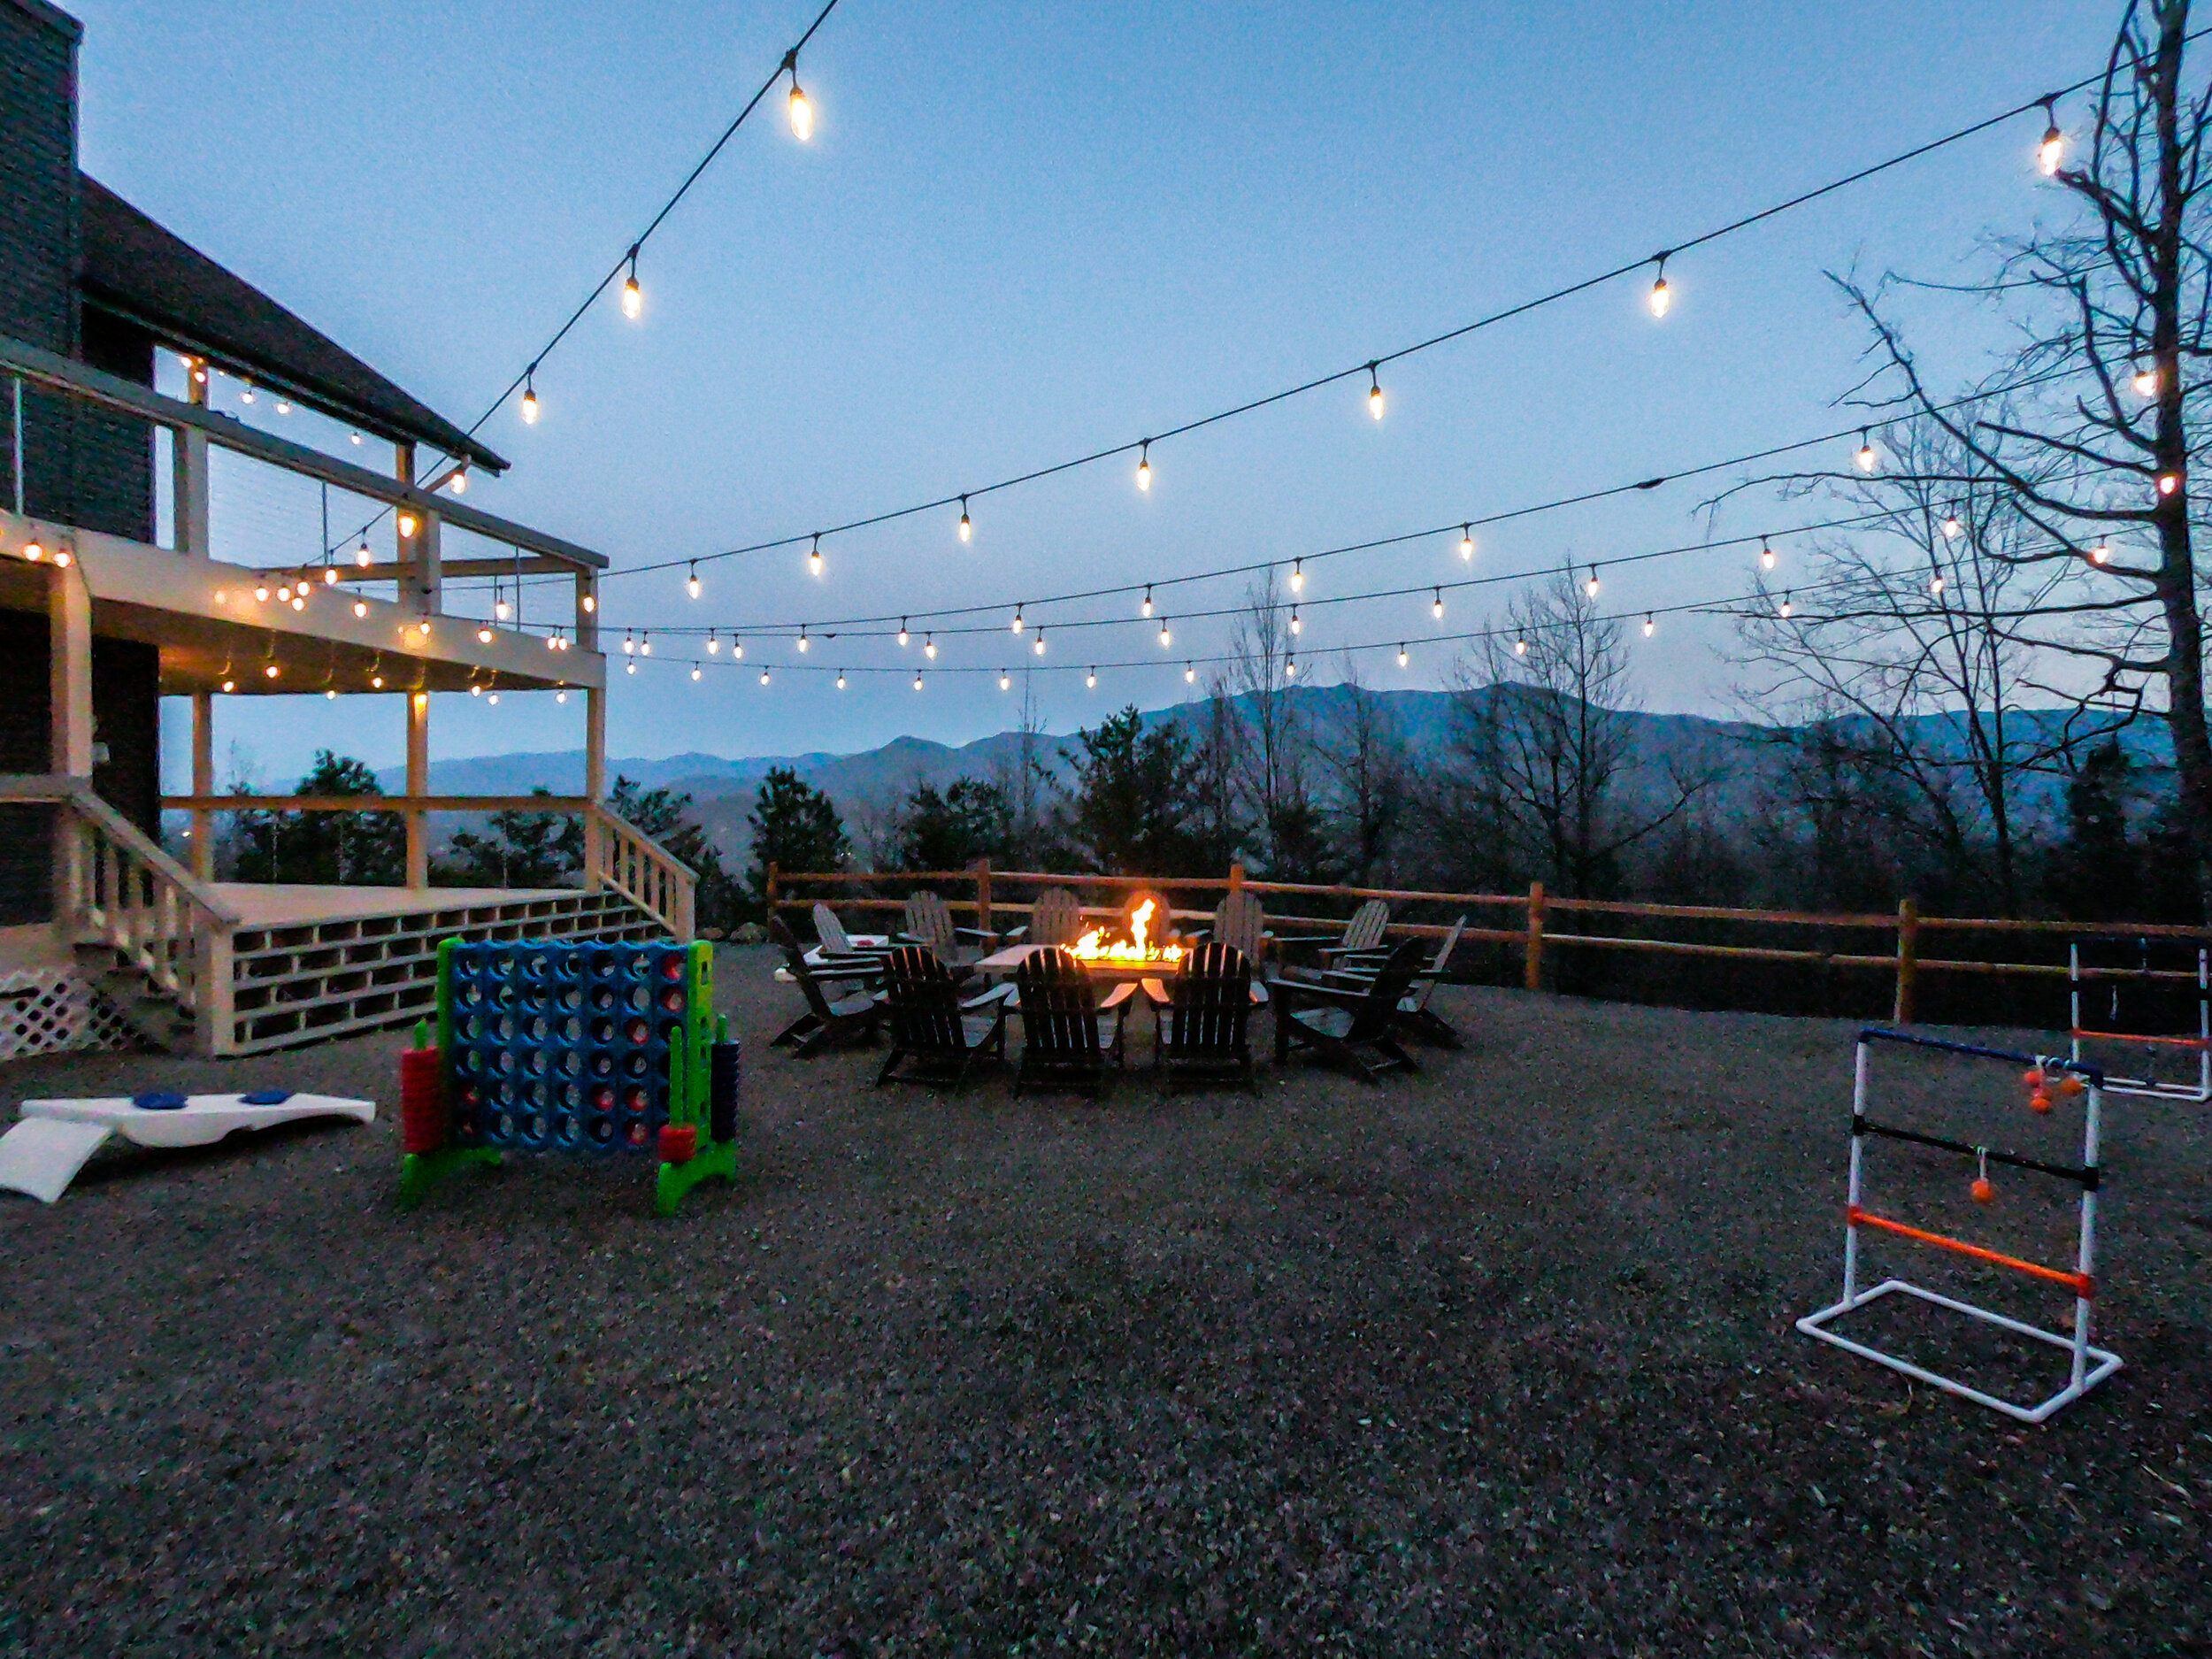
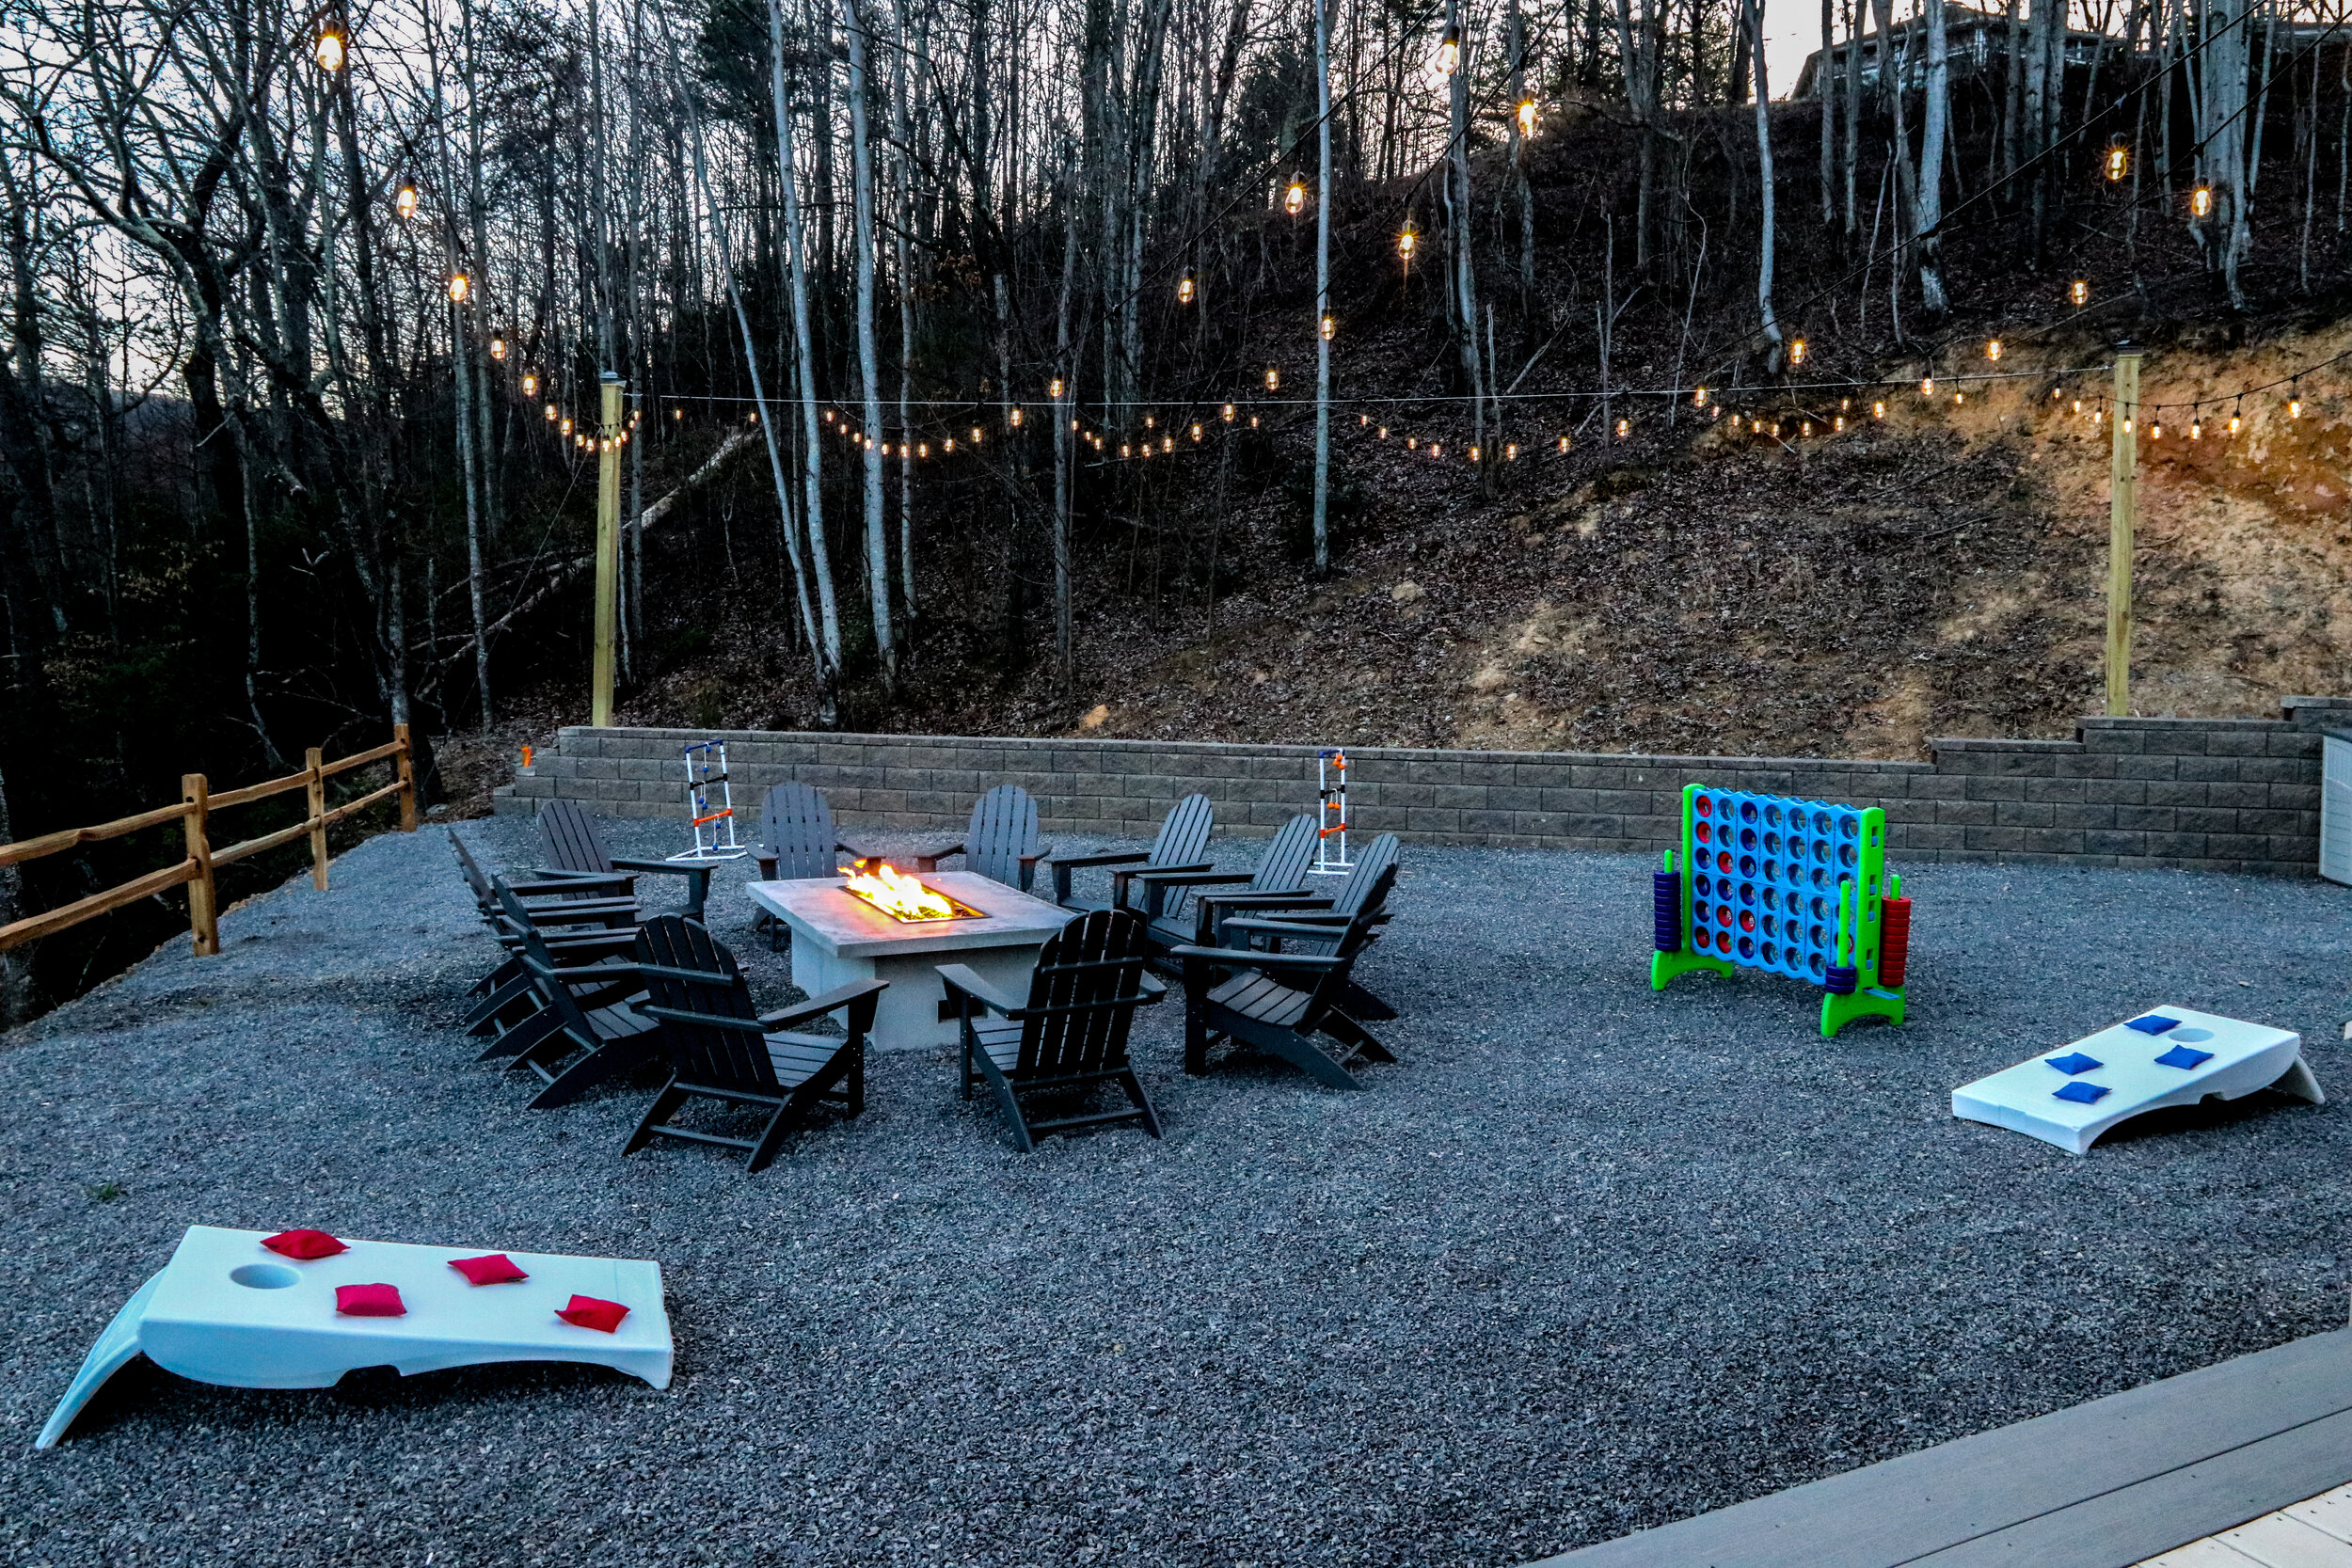
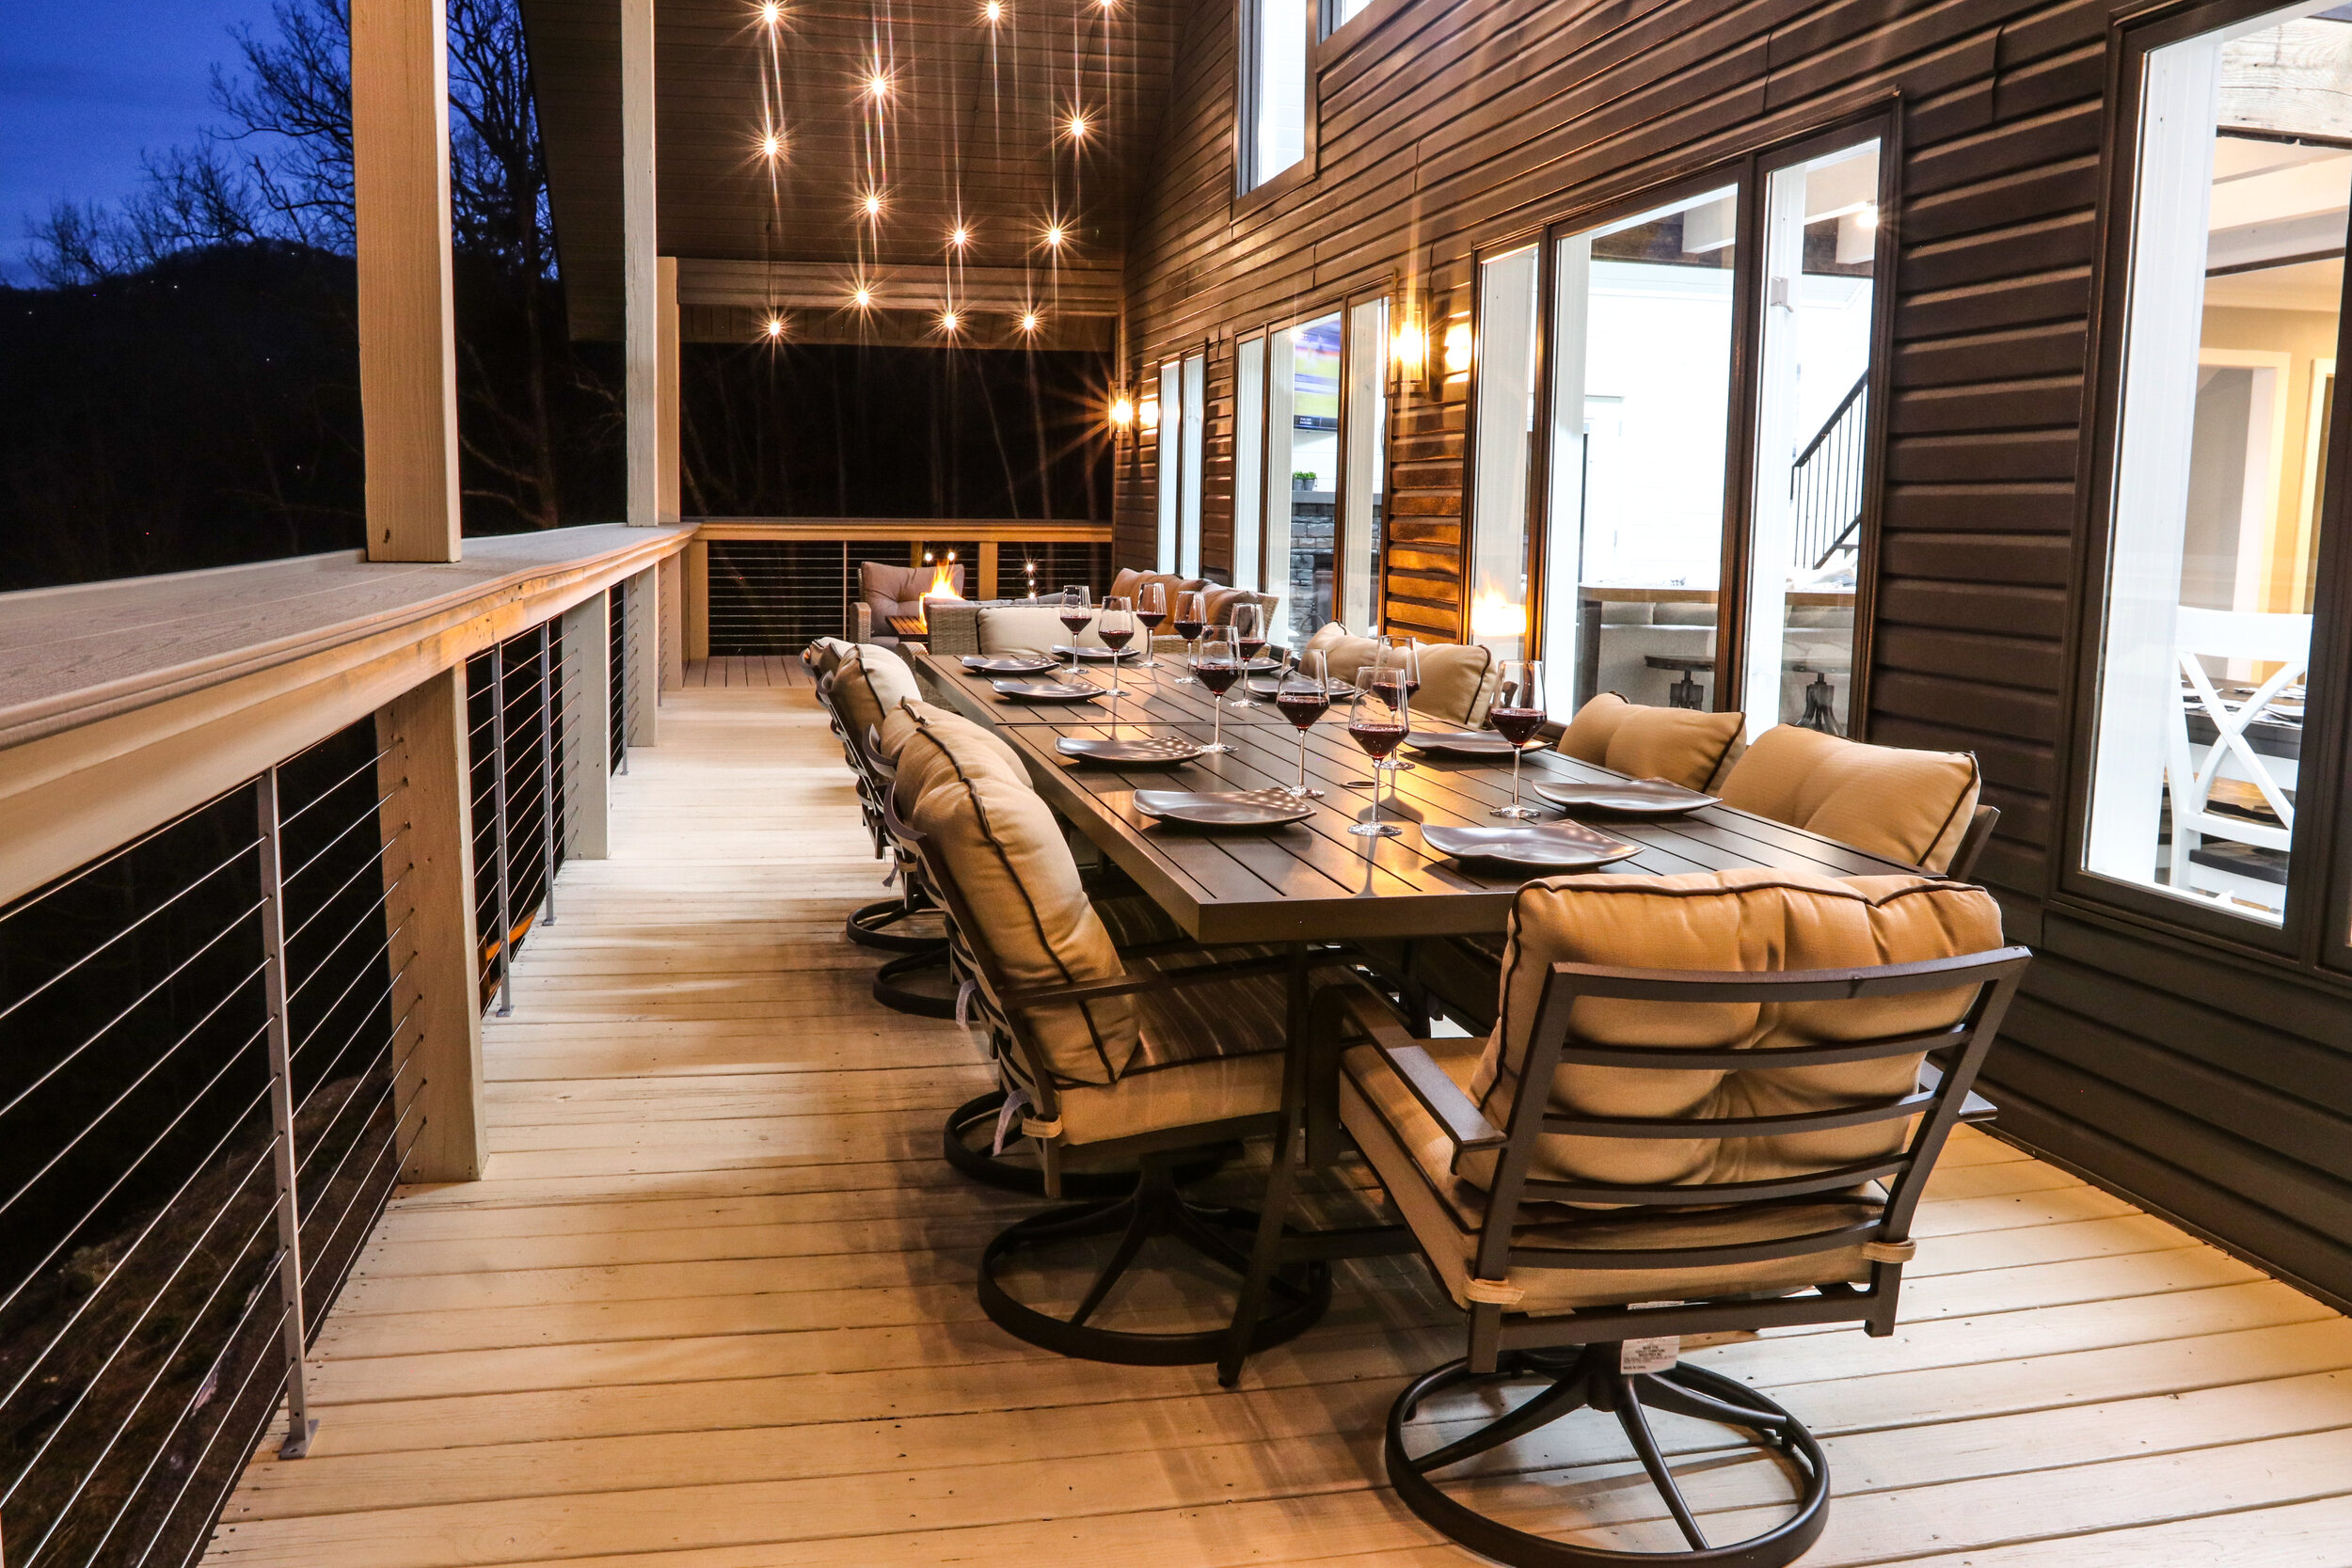
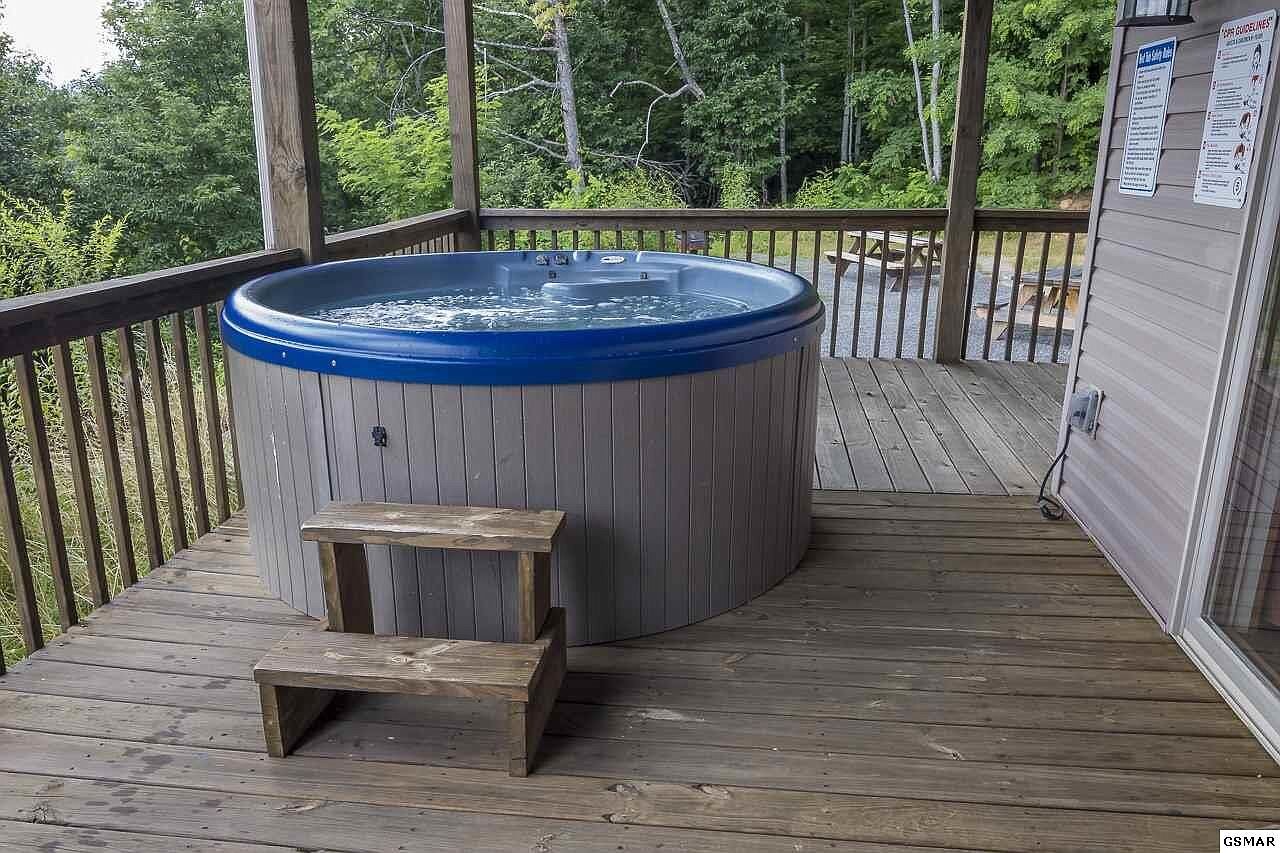
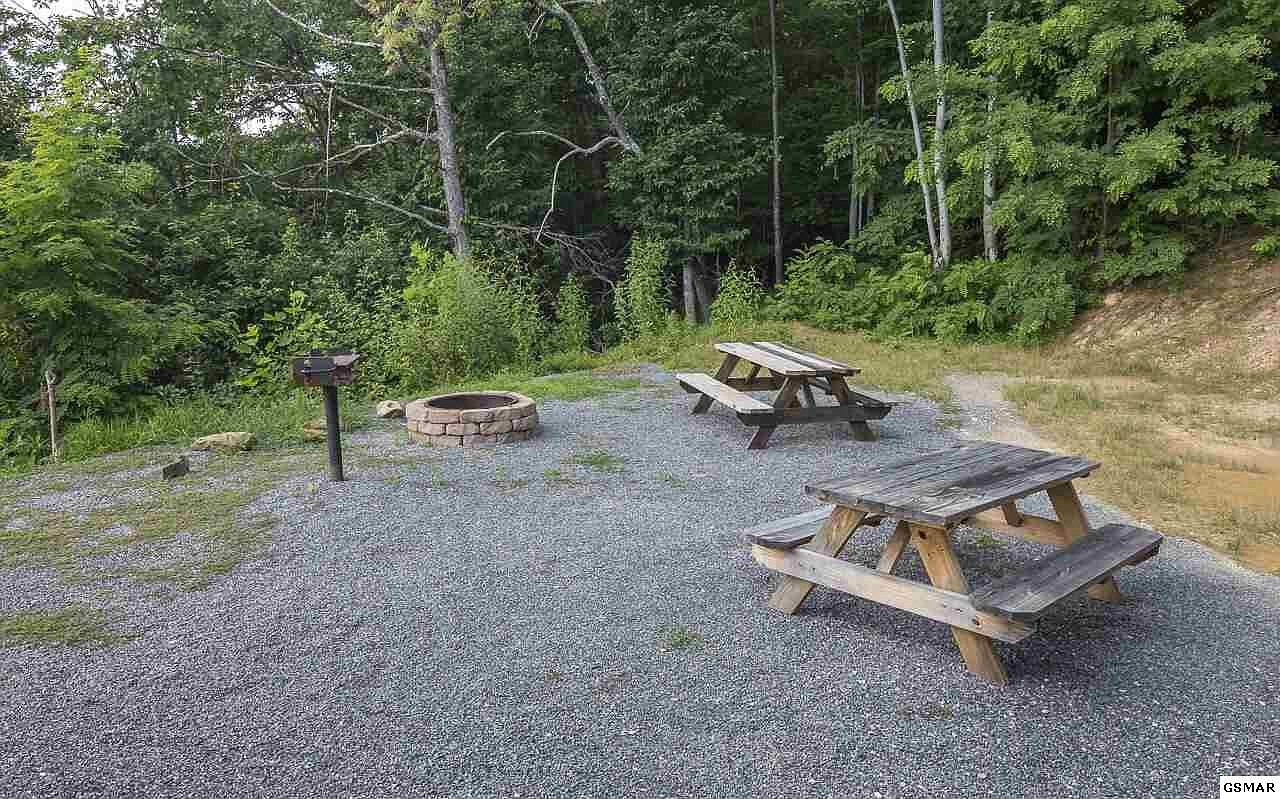
This house is filled with so many things families dream of in a vacation home, such as this theater, bunk beds, pool table, shuffle board, PacMan & foosball! The inside is amazing…but wait until you see the outside in our next blog post!
All the Best,
Amy & Grant